

Worn-out cabinets can make even a tidy kitchen feel neglected. Maybe a door hangs crooked, a drawer sticks every time you open it, or the finish has started to peel near the sink. The good news? You don’t need a contractor to fix most of these problems. Learning how to repair kitchen cabinets is one of the most satisfying weekend projects you can tackle, and it costs far less than a full replacement.
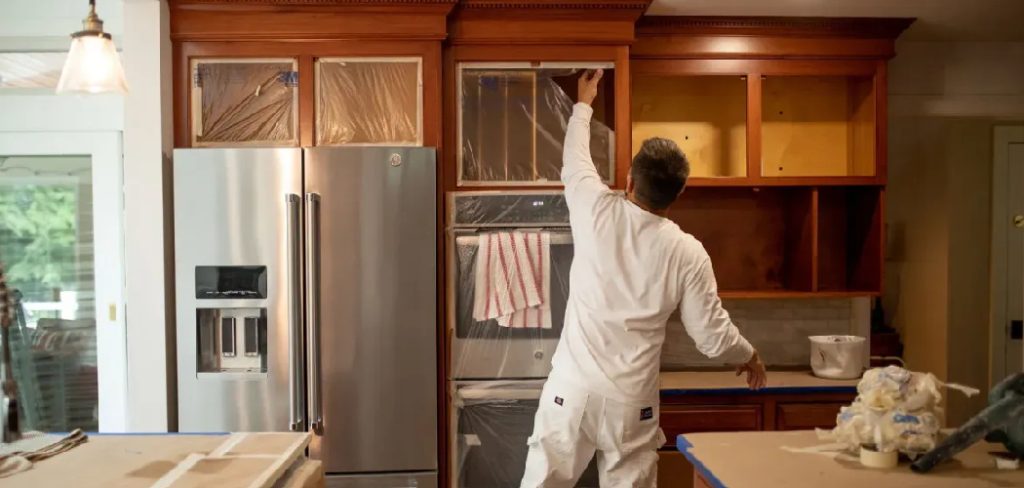
With a few basic tools and a little patience, you can bring tired cabinets back to life. We’ll walk you through everything in plain, simple steps so nothing feels overwhelming. This guide gives you a clear, beginner-friendly path to fixing common cabinet problems yourself, from loose hardware to surface damage.
Why Repairing Kitchen Cabinets Matters
Cabinets take a beating. You open and close them dozens of times a day, splash water near them, and lean on them while cooking. Over time, screws loosen, hinges wear out, and the finish fades. Replacing everything can cost thousands, so knowing how to make repairs yourself saves serious money.
For renters, small fixes keep your space looking sharp without major changes, and they help protect your deposit. Homeowners boost their property value with well-kept cabinetry that buyers notice right away. And if you’re a DIY beginner, cabinets are a forgiving place to learn. The materials are affordable, the techniques are simple, and mistakes are usually easy to undo. Each repair builds your confidence for bigger projects down the road.
Tools and Materials You’ll Need
Before you start, gather your supplies so you’re not running to the hardware store mid-project. Here’s what you’ll want on hand:
- Screwdriver set (both Phillips and flathead)
- Drill with assorted bits
- Wood filler for cracks and gaps
- Wood glue for loose joints
- Sandpaper in medium and fine grits
- Replacement hinges and screws
- Clean cloths and mild cleaner
- Painter’s tape
- Touch-up paint or matching finish
- Putty knife
- Optional: A magnetic wristband to hold screws and bits while you work (a real time-saver when your hands are full)
Lay everything out on a towel or drop cloth. Having your tools ready makes the whole job smoother and faster.
Step-by-Step Guide on How to Repair Kitchen Cabinets
Step 1 – Inspect Every Cabinet Closely
Start by giving each cabinet a careful once-over. Open and close every door and drawer, listening for squeaks and watching for wobble. Run your hand along the surfaces to feel for rough spots, chips, or peeling finish.
Make a quick list of what needs attention. You might notice loose hardware on one door, a sticky drawer somewhere else, and a scratched panel near the stove. Grouping problems helps you work efficiently instead of jumping around.
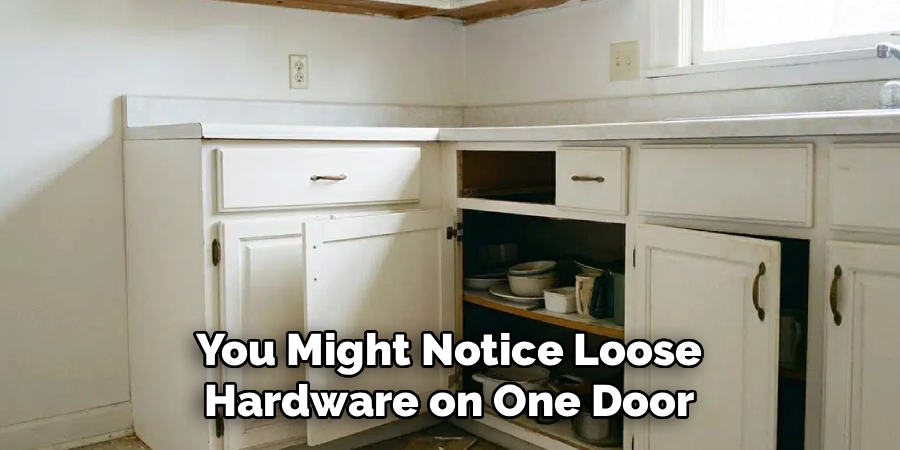
Pay special attention to the hinges and where screws meet the wood. These are the spots that fail first. Knowing how to repair kitchen cabinets begins with honest inspection, because spotting every issue now saves you from reopening the same cabinet twice later.
Step 2 – Tighten or Replace Loose Hardware
Loose hardware is the most common cabinet complaint, and it’s the easiest to fix. Grab your screwdriver and gently tighten any screws on handles, knobs, and hinges. Turn slowly so you don’t strip the threads.
If a screw spins freely and won’t grip, the hole has worn out. Dab a little wood glue inside, push in a few wooden toothpicks, snap off the ends, and let it dry. Then drive the screw back in for a snug, solid hold.
You’ll feel the difference immediately. That satisfying firmness when a handle no longer wiggles tells you the fix worked. Replace any rusted or bent screws with fresh ones that match the original size.
Step 3 – Fix Sagging or Misaligned Cabinet Doors
Crooked cabinet doors stand out the moment you walk in. Most modern hinges have small adjustment screws that control alignment up, down, left, and right. Turn them in tiny increments while watching the door shift into place.
If the hinges themselves are worn or squeaky, swap them out. Unscrew the old ones, hold the new hinge in the same spot, and mark the holes before drilling. Matching the position keeps everything lined up.
Close the door slowly and check the gap against neighboring doors. You want even spacing all around. A little patience here pays off, and the smooth, quiet swing of a properly hung door feels genuinely rewarding after a few small turns.
Step 4 – Repair Scratches and Surface Damage
Surface damage happens from daily use, hot pans, and stray knives. For shallow scratches, rub a matching wood marker or a dab of touch-up finish along the mark, then wipe away the excess with a soft cloth.
Deeper gouges need wood filler. Press it firmly into the damaged area with a putty knife, smoothing it level with the surface. Let it dry completely, which usually takes an hour or two depending on the product.
Once dry, the filler hardens into a solid base you can sand smooth. The repaired spot should sit flush with the surrounding wood. Run your fingertips over it to confirm there’s no ridge before you move on to finishing.
Step 5 – Sand the Repaired Areas
Sanding makes the difference between a patch you can see and one that disappears. Start with medium-grit sandpaper to knock down any high spots on the wood filler or rough edges.
Work in the direction of the wood grain, never against it. Going across the grain leaves swirl marks that show through paint and stain. You’ll hear the gritty sound smooth out as the surface evens.
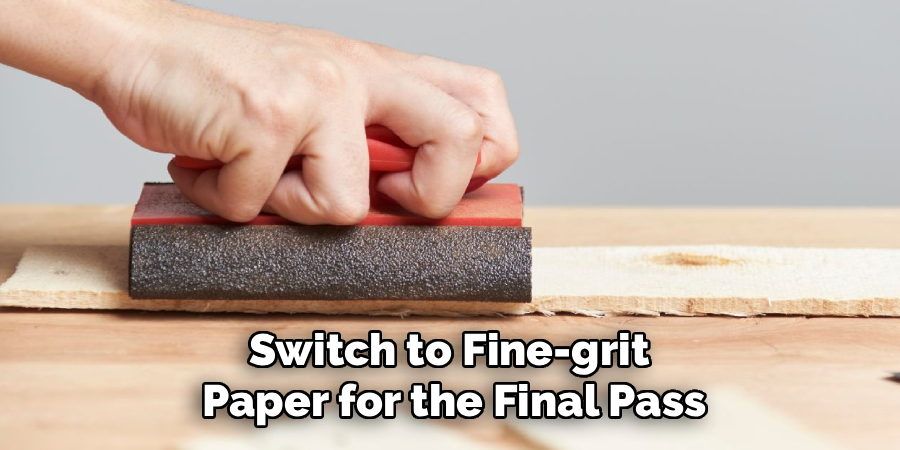
Switch to fine-grit paper for the final pass. Wipe the area with a slightly damp cloth to remove dust, then let it dry. The surface should feel silky and look uniform under good light. Proper sanding sets the stage for a finish that blends seamlessly with the rest of the cabinet.
Step 6 – Refinish or Repaint the Surface
Now bring back that fresh look. Tape off areas you don’t want to paint, like walls, hinges, and countertops. Painter’s tape gives you clean, crisp lines and saves cleanup time.
Apply your finish in thin, even coats. One thick coat tends to drip and dry unevenly, while two or three light layers build a smooth, durable surface. Let each coat dry fully before adding the next.
For repainting, use a quality brush or small foam roller for cabinet doors and drawer fronts. The smell of fresh paint signals progress, but keep your kitchen ventilated. Step back between coats and check for missed spots. A patient finish turns a tired cabinet into something that looks brand new.
Step 7 – Repair Sticking or Broken Drawers
Drawers that drag or jam wear on your patience fast. Pull the drawer all the way out and inspect the slides or runners. Wipe away grease and crumbs, then add a little candle wax or rub-on lubricant to wooden slides.
If the drawer front feels loose, tighten the screws holding it to the box. For cracked joints, apply wood glue, clamp the corner, and let it set overnight. The glue dries clear and strong.
Slide the drawer back in and test it a few times. It should glide quietly without catching. That smooth, effortless motion is the goal, and it makes daily kitchen tasks feel a whole lot nicer.
Step 8 – Reattach Hardware and Do a Final Check
With repairs and finishing complete, reinstall all your knobs, pulls, and any hardware you removed. Use the original holes when possible, and make sure each piece sits straight and tight.
Walk through the whole kitchen one more time. Open and close every door and drawer, checking alignment, smooth motion, and a clean appearance. Look for any spots you missed, like a screw that needs one more turn.
Wipe everything down to remove dust and fingerprints. Stand back and admire your work. After this final review, you’ll know your cabinets are solid, good-looking, and ready for years of daily use. That sense of a job done right is the best part.
Critical Mistakes When Repairing Kitchen Cabinets
A few common slip-ups can undo your hard work, so it pays to know them ahead of time. The biggest mistake is rushing the drying time. Wood filler, glue, and paint all need to cure fully before you move forward. When you skip this wait, finishes smear, joints fail, and you end up redoing the whole repair. Patience truly saves time here.
Another frequent error is overtightening screws. It feels productive to crank them down hard, but too much force strips the threads or cracks the wood around them. Tighten until snug, then stop.
Many beginners also forget to sand before painting. Skipping this step leaves the surface slick, so the new finish peels within weeks. A quick sanding gives paint something to grip.
People also ignore proper alignment when rehanging cabinet doors. Eyeballing it usually leads to uneven gaps that look sloppy. Use the hinge adjustment screws and compare against nearby doors.
Finally, using mismatched hardware throws off the whole look. When you replace hinges or screws, match the size and style so everything stays consistent and functional.
Expert Cleaning Tips
Clean cabinets last longer and look better between repairs. Wipe spills right away, especially near the stove and sink, since grease and moisture break down the finish over time. A soft cloth with mild dish soap and warm water handles most everyday grime without harming the surface.
Avoid harsh scrubbing pads and strong chemicals, which scratch and dull the finish. For sticky buildup, mix a little baking soda with water into a gentle paste and rub softly with the grain.
Dry the surface afterward so water doesn’t seep into seams or around screws. Give your cabinet doors and drawer fronts a deeper wipe-down every few months, paying attention to handles where oils collect. A quick, regular routine keeps your cabinets fresh and reduces the need for future fixes.
Frequently Asked Questions
How much does it cost to repair kitchen cabinets yourself?
Doing it yourself is surprisingly affordable. Most repairs cost between $20 and $80, depending on what you need. Common expenses include:
- Wood filler and glue: around $10 to $15
- Replacement hinges and screws: $5 to $20
- Touch-up paint or finish: $15 to $40
Compared to professional rates of several hundred dollars, the savings are significant, especially when you already own basic tools.
Can I fix a stripped screw hole without special tools?
Yes, and the trick is simple. Squeeze a little wood glue into the worn hole, then push in a few wooden toothpicks or a golf tee. Snap off the extra and let the glue dry completely. This fills the space so the threads have fresh wood to grip. Once dry, drive your screw back in, and it will hold firmly again.
How long does it take to repair a cabinet door?
Most single-door repairs take 30 minutes to an hour, not counting drying time. Tightening loose hardware or adjusting hinges goes quickly. Jobs involving wood filler, sanding, and repainting need extra hours for each layer to cure properly. Plan a full afternoon if you’re refinishing, and always let coats dry as directed for the best, longest-lasting result.
What’s the best way to match the existing cabinet finish?
Take a cabinet door or drawer front to the hardware store and compare it directly to stain or paint samples in natural light. Many stores offer touch-up markers and pens made for cabinetry. Test your chosen color on a hidden spot first, like the inside edge, before applying it to a visible surface. This prevents an obvious mismatch.
Should I repair or replace damaged cabinets?
Repair makes sense when the cabinet structure is solid and the damage is cosmetic, such as scratches, loose hardware, or peeling finish. Replace cabinets only when the wood is rotted, swollen from water, or falling apart at the joints. In most kitchens, simple repairs and a fresh coat of finish restore both function and appearance at a fraction of the cost.
Conclusion
Fixing up your cabinets doesn’t require special skills or a big budget, just a little time and willingness to learn. We covered how to inspect every cabinet, tighten loose hardware, adjust sagging doors, smooth out surface damage with wood filler and sanding, and finish strong with paint or stain. You also learned the common mistakes to dodge and easy cleaning habits that keep your work looking great for years.
The real takeaway is that you’re more capable than you think. Each small fix, from a wobbly handle to a sticky drawer, builds confidence for the next one. Take it one step at a time, respect the drying times, and double-check your alignment as you go.
Now that you know how to repair kitchen cabinets, grab your screwdriver, pick the cabinet that bugs you most, and start with that first repair today. You’ll be amazed at how quickly your kitchen feels refreshed, and you’ll have done it all yourself.