

Foggy glass, cold drafts, or a cracked seal—these are signs your double pane window needs attention. The good news? You can fix most of these problems yourself. Learning how to repair double pane window issues saves you money and keeps your home comfortable year-round.
Double pane windows trap a layer of gas or air between two glass sheets. This barrier blocks heat and noise. When the seal fails, moisture sneaks in, and that insulating power drops fast.
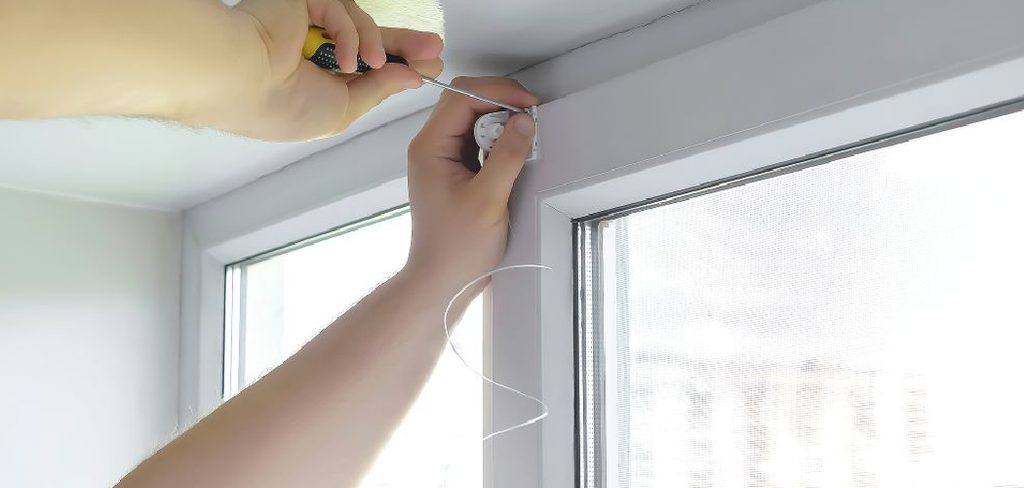
You don’t need to be a pro to handle these repairs. With the right tools and a bit of patience, most homeowners and renters can restore a window in an afternoon.
This guide walks you through every step, from spotting the problem to sealing it tight, so you can fix your window with confidence.
Why Repairing a Double Pane Window Matters
A failed window costs you more than you think. Cold air leaks in during winter. Hot air sneaks in during summer. Your heating and cooling bills climb, month after month.
Fixing the problem yourself puts that money back in your pocket. A professional repair can run hundreds of dollars. A DIY fix often costs less than the price of dinner out.
There’s more to it than savings. A clear, sealed window improves how your home looks and feels. Foggy glass blocks your view and signals neglect to anyone walking by.
You also gain a skill you’ll use again. Once you understand how these windows work, you can spot trouble early and act fast. That confidence pays off across many home projects, not just this one.
Tools and Materials You’ll Need
Gather everything before you start. A few quick trips to the hardware store now beats stopping halfway through.
- Putty knife – pry out old glazing and seals cleanly
- Utility knife – cut through caulk and sealant
- Glass cleaner and lint-free cloths – clear residue for a tight bond
- Replacement glazing or silicone sealant – seal the unit against moisture
- Defogging kit – remove trapped condensation between panes
- Measuring tape – size replacement glass accurately
- Work gloves and safety glasses – protect against sharp edges
- Caulk gun – apply sealant in a smooth, even bead
- Replacement glass unit – needed if a pane is cracked or shattered
- Heat gun(optional) – soften stubborn old sealant faster
Quality matters here. Cheap sealant cracks within months. Spend a little more for products rated for exterior use and temperature swings.
Step-by-Step Guide: How to Repair Double Pane Window
Step 1 – Inspect the Window and Find the Problem
Start by looking closely at the entire window. Press your hand against the glass and feel for cold spots or drafts along the edges. Run your fingers over the seal and check for cracks, gaps, or peeling material.
Look for fog or moisture trapped between the panes. This tells you the seal has failed. A visible crack in the glass means you’ll need a full pane replacement instead.
Tap the frame gently and listen. A hollow rattle can point to loose hardware or a worn gasket.
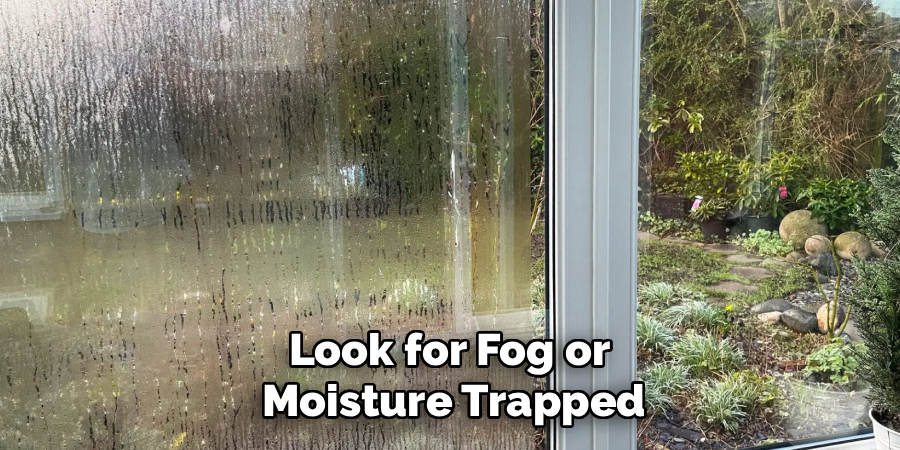
Knowing how to repair double pane window damage starts with a clear diagnosis. Write down what you find so you buy the right materials the first time.
Step 2 – Remove the Window Sash
Take the moving part of the window out for easier access. Open the sash halfway, then look for the tilt latches or clips on each side of the frame.
Press the latches inward and tilt the sash toward you. Lift it gently from the track. Some older windows use stops you’ll need to unscrew first—keep those screws in a small dish so they don’t roll away.
Set the sash on a padded surface, like a folded towel on your workbench. This protects the glass from scratches and keeps it steady while you work.
Wear your gloves now. The edges of the sash can be sharp, and a firm grip prevents slips.
Step 3 – Clean the Old Seal and Glass
Scrape away the old glazing and sealant with your putty knife. Work slowly along each edge, peeling the dried material in strips. You’ll feel it give way with a satisfying release.
If the sealant clings stubbornly, warm it with a heat gun until it softens. Keep the heat moving so you don’t crack the glass.
Wipe the glass and frame channels with glass cleaner. Use a lint-free cloth and buff until the surface squeaks clean. Any leftover dust or grease weakens the new bond.
Let everything dry fully before moving on. A damp surface ruins fresh sealant, so give it ten minutes in open air.
Step 4 – Defog the Glass (If Sealed Unit Is Foggy)
A foggy pane means moisture is trapped inside. A defogging kit clears it without replacing the whole unit.
Drill a small hole in the corner of the outer pane, following the kit’s instructions exactly. You’ll hear a faint hiss as trapped air escapes.
Spray the cleaning solution through the hole. Let it loosen the mineral buildup and condensation inside. Tilt the window so the liquid drains back out the same hole.
Insert the small vent valve to keep airflow steady. This stops fog from coming back.
The glass should clear within a day or two as it dries. Be patient—rushing this step leaves streaks you can’t reach.
Step 5 – Replace a Cracked Pane
Skip this step if your glass is intact. For a crack, you’ll swap in a new glass unit sized to fit.
Measure the opening twice—width and height—before you order. Even a small mismatch means starting over.
Lift out the broken pane carefully, working from one corner. Place the shards in a sturdy box, not your trash bag, to avoid tears and cuts.
Set the new unit into the channel. Press it firmly so it sits flush against the frame. You should feel it click into a snug position.
Check that the glass sits even on all sides. A tilted pane never seals right and lets drafts back in.
Step 6 – Apply New Sealant
Load your caulk gun with fresh exterior-grade sealant. Cut the tip at a 45-degree angle for a clean, controlled flow.
Run a steady bead around the edge where the glass meets the frame. Move at an even pace so the line stays smooth and unbroken. You’ll see it fill each gap as you go.
Smooth the bead with a wet finger or a caulk tool. This presses the sealant into the joint and creates a watertight finish.
Wipe away any excess right away with a damp cloth. Dried sealant is tough to remove later and leaves a messy edge.
Let the sealant cure fully—check the label, but most need at least twenty-four hours.
Step 7 – Reinstall the Sash
Lower the sash back into the track once the sealant feels firm to the touch. Line up the bottom edge first, then tilt the top into place.
Press the tilt latches until they click. Give the sash a gentle wiggle to confirm it sits secure in the frame.
Reinstall any stops or screws you removed earlier. Tighten them snugly, but don’t over-crank and risk stripping the holes.
Slide the window up and down a few times. It should glide smoothly without sticking or grinding.
Step 8 – Test for Drafts and Leaks
Run your hand along every edge to feel for moving air. Light a small candle and hold it near the seal—a flickering flame reveals hidden drafts.
Mist the outside with a spray bottle and watch for water seeping through. A tight seal stays dry inside.
If you find a leak, add a thin extra bead of sealant to that spot. Let it cure, then test again until the window holds firm.
Critical Mistakes When Repairing Double Pane Windows
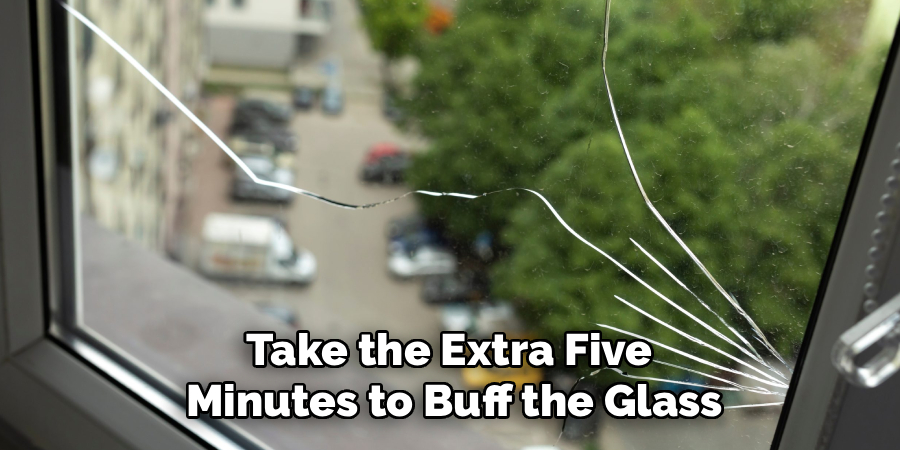
Rushing the cleaning step ruins more repairs than anything else. Fresh sealant needs a spotless, dry surface to bond. Skip the scrubbing, and your new seal peels away within weeks. Take the extra five minutes to buff the glass and frame until they’re truly clean.
Using the wrong sealant is another common slip. Interior caulk can’t handle sun, rain, and freezing nights. It cracks fast and lets moisture back in. Always choose an exterior-grade product rated for temperature swings, even if it costs a few dollars more.
Many people measure replacement glass just once. A single mistake here means an ill-fitting pane and a wasted order. Measure twice, check your numbers, then order. Glass cut wrong rarely gets refunded.
Forcing the sash back too soon causes problems, too. If the sealant hasn’t cured, reinstalling it smears the bead and breaks the seal. Wait the full curing time listed on the label, even when you’re eager to finish.
Finally, don’t ignore safety. Working with glass without gloves and eye protection invites injury. A small cut can derail your whole project and send you to urgent care instead of admiring your finished window.
Expert Tips
Work on a dry, mild day when you can. Sealant cures faster and bonds tighter in moderate temperatures, between 50 and 80 degrees.
Keep a damp rag in your back pocket. Wiping excess sealant the moment it appears saves a frustrating cleanup later.
Label your screws and clips as you remove them. A piece of tape with a quick note prevents the classic puzzle of leftover parts.
Test your defogging results in indirect light. Direct sun hides streaks that show up clearly later, leading to a redo.
For older windows, check the entire frame for rot or warping before you start. Fixing the glass on a failing frame only buys you a few months. Address the root problem, and your repair lasts for years.
Frequently Asked Questions
Can you really fix a foggy double pane window yourself?
Yes, you can clear most foggy windows with a defogging kit. The kit removes trapped moisture through a small drilled hole and a vent valve. It works best when the glass is intact and only the seal has failed. For cracked or heavily damaged panes, you’ll need a full glass unit replacement instead.
How long does a double pane window repair last?
A proper repair lasts five to ten years when done right. The key factors are:
- Quality, exterior-grade sealant
- A fully cleaned and dried surface
- Correct curing time before reuse
Cut corners on any of these, and the seal may fail within months. Use the right materials and follow each step for lasting results.
When should I replace the window instead of repairing it?
Replace the window if the frame is rotted, warped, or the glass is shattered. Repairs make sense for foggy panes, failed seals, and minor drafts. If you’ve fixed the same window two or three times already, replacement is the smarter long-term choice. A new unit also gives you better energy efficiency overall.
Is repairing a double pane window cheaper than hiring a pro?
Yes, doing it yourself costs far less. A professional repair often runs $100 to $300 or more per window. A DIY fix usually costs $20 to $60 in materials. You save on labor and gain a skill you can reuse. Just budget for quality sealant and the right tools.
What causes a double pane window to fog up?
Fog appears when the seal between the two panes fails. Moisture seeps into the gap and condenses against the cold glass. Common causes include:
- Age and worn-out sealant
- Temperature swings stressing the seal
- Poor original installation
Once moisture gets in, the window loses its insulating power and needs attention.
Conclusion
Fixing a window doesn’t require a professional or a big budget. With basic tools, the right sealant, and a careful approach, you can restore clarity, comfort, and energy savings to your home in a single afternoon.
Remember the essentials. Diagnose the problem first. Clean every surface until it’s spotless. Choose exterior-grade materials, measure twice for any glass replacement, and give the sealant full time to cure. Each step builds toward a repair that lasts for years, not weeks.
You now know how to repair double pane window problems from start to finish. That knowledge saves you money on every future fix and helps you catch small issues before they grow. A drafty, foggy window is no longer something you have to live with—or pay someone else to handle.
Grab your tools and tackle that window. Once you feel the difference in your home and see the clear view return, you’ll wonder why you waited. Your next repair will be even faster, because now you know exactly what to do.