

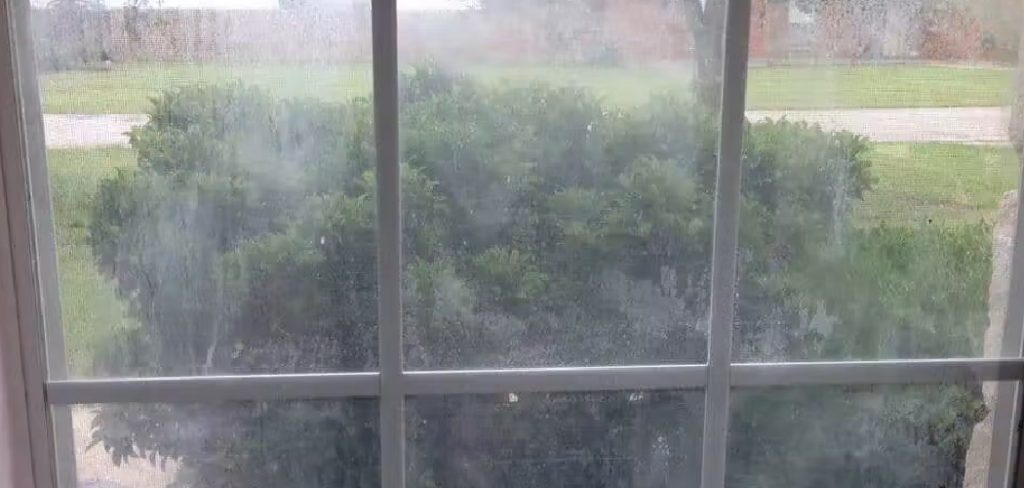
Has your beautiful view been ruined by a stubborn, cloudy haze trapped between your glass panes? You are not alone. Many homeowners deal with this frustrating issue in their double-pane windows.
When you learn how to repair foggy windows yourself, you gain a massive advantage. You save hundreds of dollars by skipping expensive glass replacement. You also extend the life of your current window units.
This guide will walk you through the entire process from start to finish. I will show you exactly what to do, just like a helpful neighbor would.
Grab your tools, roll up your sleeves, and let us get that clear view back.
Understanding the Double-Pane Window Design
Before we jump into the fix, it helps to understand how your windows work. Double-pane windows are designed to keep your home insulated. They feature two layers of glass with a pocket of gas or air in between.
This trapped layer acts as a barrier against outside temperatures. It keeps your house warm in the winter and cool in the summer.
A tight seal around the edges holds this entire unit together. When that seal fails, outside air and moisture sneak in.
Once moisture enters, the temperature changes cause condensation. That is the annoying fog you see trapped between the panes.
What Causes Foggy Windows in Your Home?
Window seals do not last forever. They face daily wear and tear from the elements.
Here are the most common reasons your window seals fail and cause fogging:
- Sun Exposure: Constant heat from direct sunlight causes the window panes to expand and contract. This daily movement weakens the seal over time.
- Old Age: Most window seals simply degrade as they get older. Even the best windows have a natural lifespan of 15 to 20 years.
- Water Damage: Poor drainage around the window frame allows water to pool. Sitting water quickly rots the seal material.
- Improper Installation: If the windows were installed incorrectly, the seals might endure uneven pressure. This leads to premature cracking and failure.
- Harsh Weather: Extreme temperature drops and harsh winds put heavy stress on the glass. This flexes the frame and breaks the tight factory seal.
Why Knowing How to Repair Foggy Windows Saves Money
Replacing an entire window unit is incredibly expensive. You have to pay for the new glass, the frame, and the labor.
Even replacing just the glass insulated glass unit (IGU) costs a fair bit. You still have to pay a technician for their time and expertise.

By doing it yourself, you only pay for a few basic materials. The fix we are doing today is called window defogging.
It removes the moisture and restores your view. It costs a fraction of the price of replacement.
Tools & Materials Needed for the Job
You need the right gear before you start this project. Gathering everything beforehand makes the job much smoother.
Here is what you need to repair your windows:
- A power drill with a new, sharp glass drill bit (typically 1/8 inch).
- A defogging kit (includes cleaning solutions and defogger valves).
- A small turkey baster or specialized moisture extraction pump.
- A clean microfiber cloth.
- Safety goggles and thick work gloves.
- A small soft-bristled brush.
- Clear silicone sealant.
Step-by-Step Guide: How to Repair Foggy Windows
This process requires a bit of patience, but it is entirely manageable. Take your time and follow these instructions carefully.
We are going to drill tiny holes, clean the inside, and let the moisture escape.
Step 1: Inspect the Glass and Frame
Check the entire window before you begin. You need to make sure the glass is not cracked or shattered.
Look closely at the bottom of the frame for water damage or rot. If the frame is completely rotted, defogging will not solve your main problem.
Ensure the window is safe to work on. If everything looks structurally sound, you are ready to proceed.
Step 2: Prepare Your Work Area
Clear any furniture or rugs away from the window. You want plenty of room to move around comfortably.
Put on your safety goggles and work gloves right now. Safety is always the top priority when working with glass.
Lay a drop cloth or old towel on the floor beneath the window. This catches any dust or small glass shards from the drilling process.
Step 3: Drill the Micro-Holes
This is the most delicate part of the repair. You must drill a tiny hole into the outside pane of the glass.
Place your glass drill bit at the bottom corner of the window. Apply very light pressure and let the drill do the heavy lifting.
Keep the drill speed slow and steady to avoid cracking the glass pane. Once you break through the first layer, stop immediately.
Repeat this process at the opposite top corner of the window. These two holes will create a cross-ventilation system.
Step 4: Apply the Cleaning Solution
Your defogging kit will come with a specialized liquid cleaner. This solution removes the hard water stains left by the trapped fog.
Inject the cleaning solution into the top hole using your pump or a small tube. Let the liquid run down the inside of the glass.
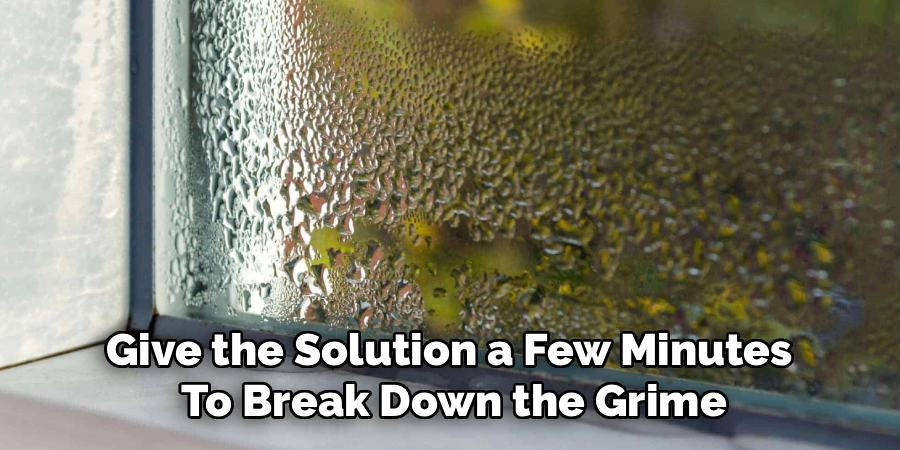
Give the solution a few minutes to break down the grime. It will slowly pool at the bottom near the lower hole.
Step 5: Rinse and Extract the Moisture
Next, you need to rinse out the cleaning solution. Inject distilled water into the top hole to wash away the cleaner.
Never use tap water for this step. Tap water contains minerals that will leave new spots on the inside of the glass.
Use your extraction pump at the bottom hole to suck out the dirty water. Get as much liquid out of the window as possible.
Step 6: Let the Window Dry Completely
The inside of the window must dry completely before you finish. The cross-ventilation from the two holes will help speed this up.
You can leave the window alone for a few days to air dry. Direct sunlight will help bake the remaining moisture out.
If you want to speed up the process, place a small fan near the bottom hole. Do not use a high-heat tool like a hair dryer, as it might crack the glass.
Step 7: Install the Defogger Valves
Once the inside is bone dry, it is time to seal the holes. Your defogging kit includes tiny micro-valves.
Press these plastic valves firmly into the holes you drilled. They are designed to let air escape while keeping new moisture out.
Apply a tiny dab of clear silicone sealant around the edge of each valve. This ensures they stay securely in place for years to come.
Crucial Safety Warnings for Window Repair
Working with glass always carries some risk. You must protect yourself from accidental breaks.
Always wear heavy-duty work gloves and impact-resistant safety goggles. One tiny slip of the drill can send glass flying toward your face.
Never press hard on the drill when making your holes. Pushing too hard will shatter the entire pane instantly.
If the glass cracks while you are drilling, stop working immediately. Apply heavy tape over the crack and call a glass replacement specialist.
When to Call a Professional for Foggy Windows
DIY fixes are great, but they have their limits. Some situations simply require professional help.
If the glass is cracked or broken, you cannot defog it. The structural integrity is gone, and the glass must be replaced.
If your windows have a special low-E coating or argon gas fill, defogging reduces their energy efficiency. A professional can replace the IGU to restore its full insulation value.
If you feel nervous about drilling into glass, do not force it. It is perfectly fine to hire a pro if you are not comfortable taking the risk.
Cost Estimate: DIY Window Repair vs. Pro Fix
Let us talk numbers so you can see the real value of this project. Fixing things yourself always keeps money in your pocket.
A DIY defogging kit and a glass drill bit will cost you between $30 and $60. Once you buy the tools, you can fix multiple windows for the same price.
Hiring a professional defogging service usually costs between $100 and $200 per window. It is still cheaper than replacement, but much pricier than DIY.
Replacing the entire glass unit costs anywhere from $300 to $800 per window. Doing the repair yourself clearly offers massive savings.
Frequently Asked Questions
Can I clean the inside of my double-pane window without drilling?
No, it is impossible to clean between the panes without creating an entry point. The factory seal is airtight, so you must drill tiny holes to access the trapped moisture.
Does defogging a window replace the argon gas?
No, defogging simply removes the moisture and leaves regular air between the panes. You will lose a small percentage of energy efficiency, but you regain a perfectly clear view.
Will a hair dryer fix my foggy windows?
A hair dryer will only temporarily evaporate the surface condensation. It does not remove the moisture from between the panes, so the fog will quickly return.
How long does a DIY window defogging repair last?
If done correctly with high-quality micro-valves, the repair can last for many years. The valves constantly let new moisture escape, keeping the glass clear.
Can I use regular drill bits on my glass windows?
Absolutely not. Regular masonry or wood drill bits will shatter the glass instantly. You must use a specialized diamond or carbide-tipped glass drill bit.
Conclusion
Dealing with condensation between your glass panes is annoying, but it is highly fixable. Now that you know how to repair foggy windows, you can tackle this project with confidence.
Taking the time to extract the moisture yourself saves a huge amount of money. You get to keep your current windows and enjoy the clear view you deserve.
Do not let cloudy glass ruin the look of your home for another day. Order a defogging kit online, grab your drill, and bring your windows back to life this weekend!