

You pop the hood and spot a slow drip, or maybe a sweet smell drifts through the engine bay and your temperature gauge keeps creeping upward. A leaking radiator can feel like a major headache, but plenty of small cracks and pinhole leaks don’t require a tow truck or a hefty shop bill.
Aluminum radiators handle heat well, yet they’re prone to corrosion, hairline cracks along a seam, and damaged fins over time. The good news? Many of these problems respond beautifully to a careful DIY fix.
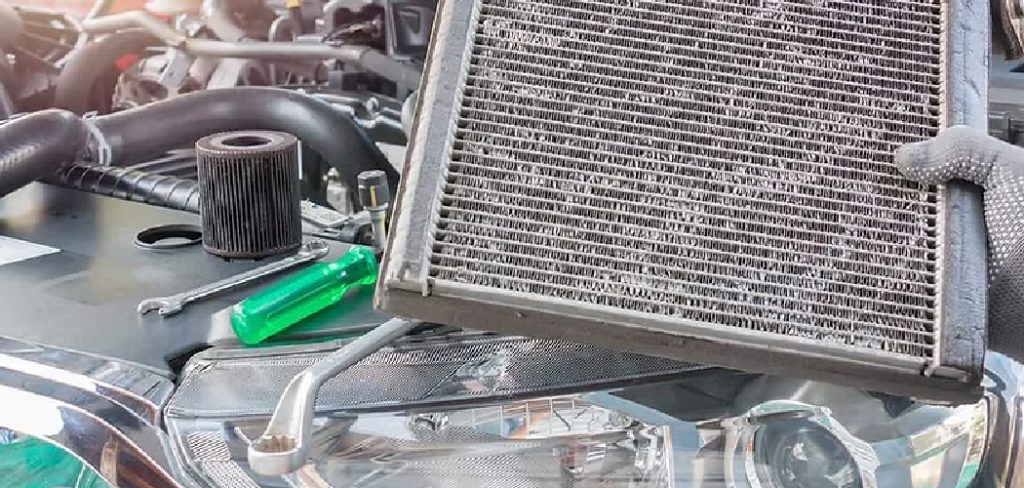
Learning how to repair aluminum radiator damage gives you a real, money-saving skill—as long as you know which jobs are safe to tackle and which ones belong to a pro.
This guide walks you through safely locating leaks, patching minor damage, and getting your cooling system back in shape without hiring a mechanic.
Why Repairing an Aluminum Radiator Matters
A small coolant leak rarely stays small. Left alone, it leads to overheating, and overheating can warp a cylinder head or destroy an engine—repairs that cost thousands.
Knowing how to seal a minor leak early protects your whole cooling system and your wallet. You’ll also gain confidence reading the warning signs before they become roadside emergencies.
These skills pay off big for campers and outdoor beginners. If you drive an RV to a remote site, tow a trailer through the mountains, or run older gear far from any garage, a roadside radiator patch can mean the difference between finishing your trip and waiting hours for help.
Carrying a basic repair kit and knowing how to use it turns a scary breakdown into a manageable pause. That kind of self-reliance is exactly what makes outdoor adventures less stressful and far more fun.
Tools and Materials You’ll Need
Gather everything before you start so coolant isn’t dripping while you hunt for supplies.
- Radiator-safe epoxy or a cold-weld metal repair compound rated for aluminum
- An aluminum patch kit for larger leak points
- A drain pan to catch old coolant
- Fresh coolant matched to your vehicle’s specs
- A wire brush and sandpaper to clean the leak point
- Acetone or a degreaser to prep the surface
- A screwdriver set and pliers for hose clamps
- Safety goggles and nitrile gloves for protection
- Clean rags for wiping and drying
- A flashlight to inspect tight spots in the engine bay
Optional but handy: a small handheld pressure tester. It lets you confirm where coolant escapes and verify your repair holds before you button everything up—saving you a frustrating do-over later.
Step-by-Step Guide on How to Repair Aluminum Radiator
Work through these steps in order, and never rush. Knowing how to repair aluminum radiator leaks safely starts with a cool engine and a clean work area.
Step 1 – Let the Engine Cool Completely
Patience here protects you from serious burns. A hot radiator sits under pressure, and opening it early can blast scalding coolant straight at your face.
Park on level ground, turn off the engine, and wait at least an hour. The metal should feel cool to the touch before you go near the cap.
While you wait, gather your tools and lay down cardboard to keep your workspace clean. Slip on your goggles and gloves now so you’re ready.
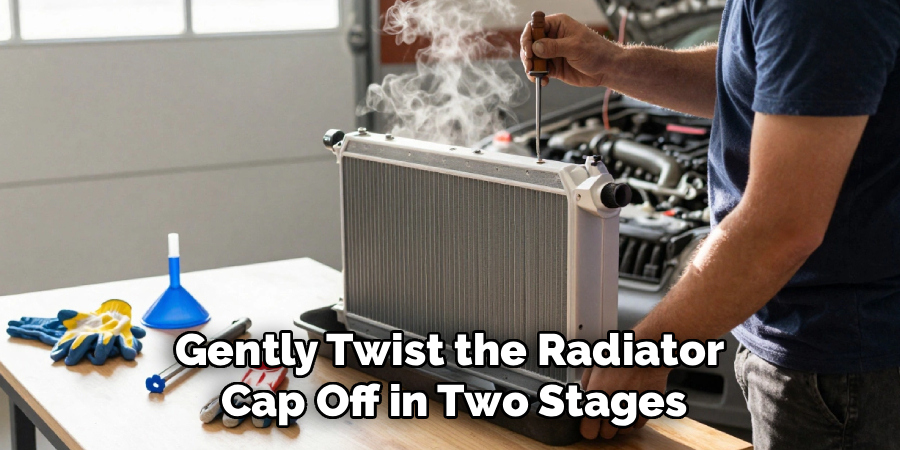
Once everything feels cool, gently twist the radiator cap off in two stages. You may hear a soft hiss as residual pressure escapes. When the hissing stops, remove the cap fully and set it aside somewhere safe.
Step 2 – Locate the Leak Point
Now play detective. Finding the exact leak makes every later step easier and more reliable.
Grab your flashlight and inspect the radiator closely in the engine bay. Look for telltale signs: a crusty white or greenish residue, damp spots, or a thin trail of dried coolant. These stains usually point right to the crack or seam that’s failing.
Run your fingers gently along the surface, feeling for moisture or a rough corroded patch. Check the seams, the bent radiator fins, and the spots where hoses connect.
If you can’t spot it, a pressure tester helps push coolant toward the weak point so it weeps visibly. Mark the leak with a piece of tape once you find it.
Read More: How to Use Thread Repair Kit.
Step 3 – Drain the Coolant Safely
Before patching anything, you need to drain the system below the leak point. Working on a wet surface guarantees a failed repair.
Slide your drain pan directly under the radiator’s drain valve, often called the petcock, near the bottom corner. Loosen it slowly with pliers or by hand.
Warm-but-cool coolant will stream out with a steady trickle. Let it flow completely until the drip slows to nothing. Coolant has a faintly sweet smell and a bright color, so wipe up any spills right away.
Remember that coolant is toxic to pets and wildlife. Never pour it down a drain or onto the ground—collect it in a sealed container for proper disposal at an auto parts store or recycling center.
Step 4 – Clean and Prep the Damaged Area
A patch only sticks to a clean, dry surface. Skipping this step is the number one reason DIY repairs peel away.
Scrub the area around the crack with your wire brush to strip away corrosion, grime, and flaking residue. You want bright, bare aluminum showing around the leak point.
Follow up with sandpaper to rough up the surface slightly. This gives the epoxy something to grip. Wipe everything down with acetone or degreaser to remove oil and dust.
Let the spot dry fully—give it several minutes in open air. Run a clean rag over it one last time and confirm it feels dry and grit-free. A smooth, prepped surface makes all the difference for a lasting seal.
Read More: How to Repair Peeling Laminate Cabinets.
Step 5 – Apply Radiator-Safe Epoxy or Patch
Here’s where the actual fix happens. For small cracks and pinholes, a quality radiator-safe epoxy works wonders.
Knead or mix the epoxy according to the package directions until the color turns uniform. You’ll feel it warm slightly as it activates—that’s normal.
Press it firmly over the crack, spreading it about half an inch past the damage on every side. Smooth it down so it bonds tightly to the metal with no air gaps.
For a larger leak point, lay an aluminum patch over the epoxy and press it in place, then cover the edges with another thin layer. Avoid torch brazing or casual soldering on modern thin-wall radiators—it warps the metal and usually makes things worse for beginners.
Step 6 – Let the Repair Cure Fully
This is the hardest step for impatient folks, but rushing ruins everything. Curing time is non-negotiable.
Check the epoxy’s instructions for the exact cure window. Most products need at least an hour to set firm and several hours—sometimes a full day—to reach full strength.
Resist the urge to refill or start the engine early. The repair needs to harden completely to withstand cooling system pressure and heat.
While you wait, double-check that the patch looks solid with no lifting edges. Gently touch a hidden spot to test firmness; it should feel hard, not tacky.
Use this downtime to clean your tools and dispose of the old coolant properly. A fully cured patch holds far better than a rushed one ever will.
Read More: How to Repair Hot Tub Leak Issues.
Step 7 – Refill Coolant and Reassemble
With the repair cured rock-hard, you’re ready to bring the system back together. Close the drain valve snugly first—just firm, not overtightened.
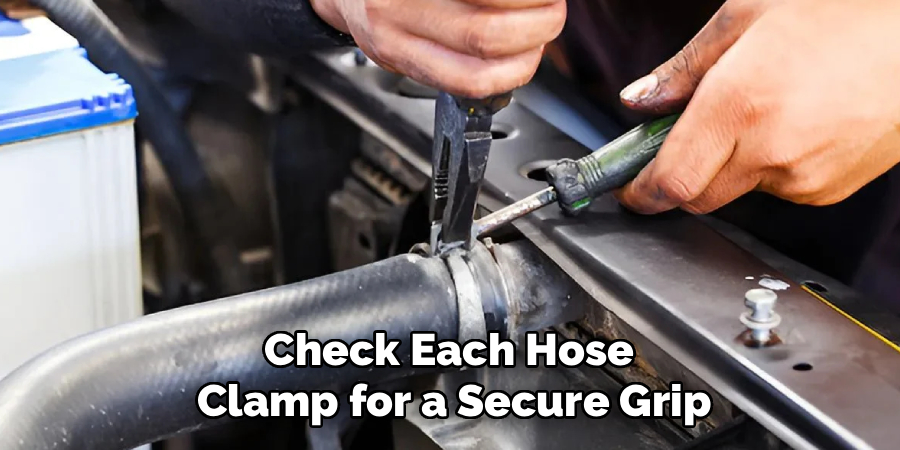
Reconnect any hoses you loosened and check each hose clamp for a secure grip. A loose clamp creates a brand-new leak.
Pour fresh coolant slowly into the radiator and coolant reservoir, matching the type your vehicle requires. Mixing incompatible coolants causes sludge, so stick to the right spec.
Fill to the marked line, pausing to let air bubbles rise and settle. You’ll see the level drop slightly as it works through the system. Top it off to the correct mark, then reinstall the radiator cap firmly until it clicks.
Step 8 – Test for Leaks
The moment of truth. Start the engine and let it idle while you watch closely.
As the engine warms, the cooling system builds pressure—exactly what tests your repair. Keep your flashlight handy and inspect the patched area for any fresh dampness or drips.
Watch your temperature gauge too. It should climb to normal and hold steady. Listen for the cooling fan kicking on, a good sign the system is circulating properly.
Let it run for ten to fifteen minutes, then recheck the leak point and the coolant level. If everything stays dry and the gauge sits normal, congratulations—your fix held.
If coolant still seeps out, shut the engine down and let it cool. The repair may need redoing, or the damage may be beyond a DIY patch.
Critical Mistakes When Repairing an Aluminum Radiator
The most dangerous mistake is opening the system while it’s hot. Pressurized coolant can erupt and cause severe burns, so always let the engine cool fully before touching the cap or draining anything. No repair is worth a trip to the emergency room.
Another common error is applying epoxy to a dirty or wet surface. Corrosion, oil, and moisture stop the patch from bonding, and the leak returns within days. Take your time cleaning down to bright bare aluminum and let it dry completely.
Many beginners also rush the cure time. They refill and fire up the engine before the epoxy hardens, and the pressure blows the patch right off. Follow the product’s full cure window, even when it tests your patience.
Reaching for a torch is another big misstep. Casual soldering or brazing on thin modern aluminum radiators warps the metal and often destroys the part entirely.
Finally, people ignore the bigger picture. A patch buys time, but widespread corrosion, a split seam, or repeated overheating signals a failing radiator that a professional mechanic should evaluate or replace.
Expert Tips
Keep your repair area as flat and well-lit as possible. Good lighting helps you spot a hairline crack you’d otherwise miss, and a level surface keeps coolant from pooling where you’re working.
Always match new coolant to your manufacturer’s exact specification. Mixing types creates gel and sludge that can clog the radiator fins and reduce cooling efficiency.
After any patch, monitor your coolant reservoir level daily for a week. A slow drop tells you the repair is weeping even if you can’t see the leak directly.
Carry a small emergency repair kit in your trunk, especially on long drives or camping trips. A roadside patch can get you safely to the next town.
And trust your instincts about scale. If a crack is long, the seam is separating, or overheating keeps returning, stop patching and let a professional mechanic take a proper look.
Frequently Asked Questions
Can you fix an aluminum radiator with epoxy?
Yes, for minor damage. Radiator-safe epoxy and cold-weld compounds bond well to clean aluminum and reliably seal small cracks and pinhole leaks. Success depends on prep and patience. Make sure you:
- Clean down to bare, bright metal
- Apply the epoxy past the leak edges
- Allow the full cure time before pressurizing
For large cracks or split seams, though, epoxy won’t hold and you’ll need professional help.
How long does a radiator epoxy repair last?
A well-applied epoxy patch can last months or even years on a small leak, especially if the metal around it stays solid. The key factors are surface prep, full curing, and the size of the original damage. Think of it as a dependable semi-permanent fix rather than forever. Keep an eye on the area and plan for eventual replacement if corrosion spreads.
Why does my aluminum radiator keep leaking after I patch it?
Repeated leaks usually mean one of a few things. The surface wasn’t clean or dry enough for the epoxy to bond, the patch didn’t cure fully before you ran the engine, or the underlying damage is simply too large. Widespread corrosion also weakens the metal so new leaks pop up nearby. If patching keeps failing, the radiator likely needs professional replacement.
Is it safe to drive with a small radiator leak?
Only very briefly, and with caution. A small leak can worsen fast and lead to overheating, which causes expensive engine damage. If you must drive, watch your temperature gauge closely and carry extra coolant to top off. Pull over immediately if the gauge climbs into the red. The safest move is to repair the leak before any real driving.
When should I replace instead of repair the radiator?
Replace it when the damage outgrows a simple patch. Telltale signs include a separating seam, widespread corrosion, internal blockage causing repeated overheating, or patches that keep failing. If your radiator is old and weeping in multiple spots, a new unit is more reliable and often cheaper than chasing leaks. A professional mechanic can confirm whether replacement is the smarter choice.
Conclusion
A leaking radiator doesn’t have to mean panic or a giant repair bill. Once you understand how to repair aluminum radiator damage step by step, you can handle the small stuff with confidence and keep your engine running cool.
The routine is simple: let the engine cool, find the leak point, drain the coolant, clean the area down to bare metal, apply a quality epoxy or aluminum patch, cure it fully, then refill and test for leaks. Patience during prep and curing makes all the difference between a fix that holds and one that fails.
Just as important, you’ve learned where to stop. Major seam failures, spreading corrosion, internal blockages, and repeated overheating all call for a professional mechanic—no shame in that.
So grab your gloves, lay out your tools, and take it one careful step at a time. When you start the engine, watch the gauge hold steady, and see that patched spot stay bone dry, you’ll feel the real satisfaction of fixing it yourself and knowing exactly when to call for backup.