

Walking into your kitchen and seeing the edge of a cabinet door starting to lift can be incredibly frustrating. You work hard to keep your home looking nice.
When you spot that ugly bubbling or flaking, you might worry that a massive kitchen remodel is in your future. Fortunately, learning how to repair peeling laminate cabinets like a pro is entirely possible for the average DIYer.
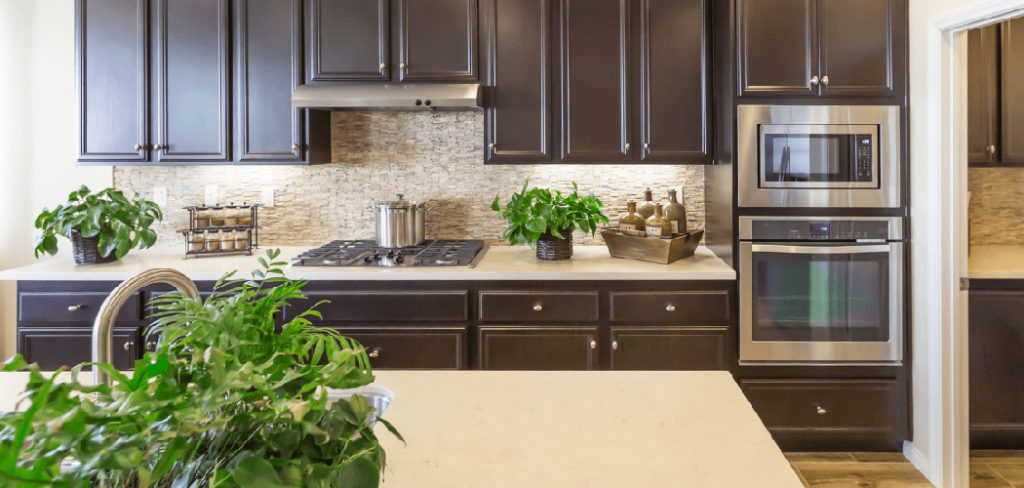
Homeowners and renters face this exact issue every single day, especially around stoves and dishwashers. Replacing entire cabinet sets easily costs thousands of dollars.
Fixing the problem yourself saves you a ton of cash and restores your kitchen’s beauty in just a single weekend. You do not need expensive machinery or years of carpentry experience to get the job done right.
Grab a cup of coffee, and let us walk through this project together. We will show you exactly how to tackle this simple fix.
What Causes Laminate Cabinets to Peel?
Before we dive into the repair, it helps to understand why your cabinets are acting up in the first place. Laminate is essentially a durable layer glued to a core material like particleboard or MDF.
Over time, the bond holding these layers together can weaken. Knowing the root cause helps you prevent the issue from happening again once you finish the repair.
Here are the most common culprits behind peeling laminate:
- Excessive Heat: Cabinets near ovens, toasters, and coffee makers are exposed to constant temperature swings. Heat softens the adhesive holding the laminate in place.
- High Moisture and Humidity: Steam from dishwashers or boiling pots easily penetrates the seams of cabinet doors. Moisture degrades the glue and swells the underlying wood core.
- Adhesive Aging: Nothing lasts forever, and factory glues applied decades ago will eventually lose their holding power. Natural aging causes the glue to turn brittle and flake away.
- Harsh Cleaning Chemicals: Wiping down your cabinets with heavy-duty degreasers can eat away at the glue line. If liquid seeps into the edges, it slowly dissolves the bond.
- Physical Wear and Tear: Banging pots, pulling edges, and daily kitchen traffic can physically catch the edge of the laminate. Once a tiny corner lifts, it creates a pocket that quickly worsens.
Essential Tools and Materials You Need
Proper preparation makes any DIY project run smoothly. Before you start pulling at loose laminate, gather your supplies.
Having everything within arm’s reach prevents panic when you have sticky glue on your hands. Most of these items are already sitting in your garage or are cheap to pick up at a local hardware store.
Here is exactly what you need to successfully repair your cabinets:
- Contact Cement: This is the absolute best adhesive for laminate repair. Wood glue will not work effectively on non-porous laminate surfaces.
- A Small Putty Knife or Paint Scraper: You need a thin metal tool to gently lift the peeling laminate without snapping it.
- Medium-Grit Sandpaper (120 to 150 grit): Sandpaper helps rough up the old glue and gives the new adhesive a solid surface to grip.
- Small Disposable Brushes or Cotton Swabs: You need a way to apply the contact cement deep into tight crevices.
- C-Clamps or Bar Clamps: Applying steady pressure is the secret to a perfect, seamless bond.
- Scrap Wood Blocks: You will place these between the clamps and the cabinet to prevent crushing or scratching the good finish.
- Masking Tape or Painter’s Tape: Tape helps hold the laminate out of the way while you clean and prep the area.
- Rubbing Alcohol or Acetone: You need a solvent to clean the surfaces and wipe away any accidental glue spills.
How to Repair Peeling Laminate Cabinets: A Step-by-Step Guide
Now that your workspace is prepped and your tools are ready, it is time to get to work. This process requires patience, not brute strength.
Rushing through the gluing phase often leads to messy results or a weak bond. Follow these simple, beginner-friendly steps to achieve a flawless repair.
Step 1: Inspect and Gently Open the Gap
First, figure out exactly how far the laminate has peeled back. Gently lift the loose edge using your fingers or a clean putty knife.
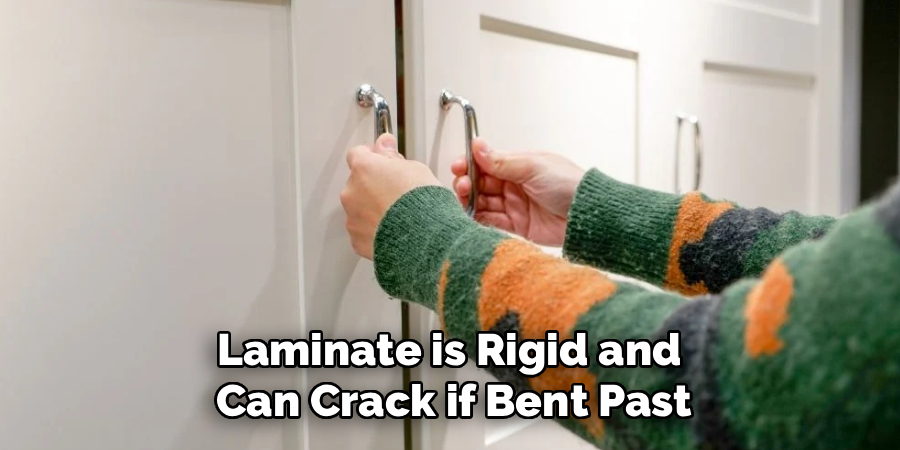
Do not pull the laminate too hard, or you risk snapping it completely off. Laminate is rigid and can crack if bent past its breaking point.
Use a small piece of masking tape to hold the lifted flap back. This keeps your hands free to work on the layers underneath without constantly fighting the material.
Step 2: Clean Out the Old, Dead Adhesive
New glue will never stick to old, crumbly glue. You must create a clean, smooth surface for the contact cement to do its job.
Take your small putty knife or scraper and carefully scrape away any dried, flaky adhesive from both the wood core and the back of the laminate. Blow away the dust as you work.
If the old glue is stubborn, fold a small piece of medium-grit sandpaper and slide it into the gap. Gently sand both surfaces until they feel relatively smooth and free of debris.
Step 3: Clean the Surfaces Thoroughly
Even a thin layer of dust or kitchen grease will ruin your new adhesive bond. Take a rag, lightly dampen it with rubbing alcohol, and wipe inside the gap.
Rubbing alcohol evaporates very quickly and leaves zero residue behind. Make sure you wipe down the wooden core and the underside of the laminate flap.
Wait about five minutes to ensure the area is bone dry. Moisture is the enemy of contact cement, so never rush this drying phase.
Step 4: Apply the Contact Cement
This is where the magic happens. Read the instructions on your specific bottle of contact cement, as some brands have slightly different application rules.
Use a small disposable brush, a toothpick, or a cotton swab to apply a thin, even layer of cement. You must apply the glue to both the wooden cabinet core and the back of the laminate flap.
Contact cement only bonds to itself, which is why both surfaces need a coat. Avoid globbing the glue, as thick puddles will not dry properly and will seep out the edges.
Step 5: Wait for the Glue to Tack Up
This step is where most beginners make a critical mistake. Do not press the laminate down immediately after applying the wet glue!
Contact cement must dry until it feels tacky to the touch. This usually takes between 10 to 15 minutes, depending on the humidity in your room.
Gently tap the glued surface with your knuckle. If the glue feels sticky but does not transfer onto your skin, it is ready to be joined.
Step 6: Press the Laminate Into Place
Once the contact cement is tacky, carefully remove your holding tape and lower the laminate down. You only get one shot at this.
As soon as the two glued surfaces touch, they will bond instantly and permanently. Align the edges perfectly before letting them make contact.
Start from the deepest part of the gap and slowly press outward toward the edge. This motion pushes out any trapped air bubbles and creates a perfectly flat surface.
Step 7: Clamp and Secure the Repair
Even though contact cement bonds instantly, adding pressure ensures maximum strength. Grab your scrap wood blocks and place one on the front of the cabinet and one on the back.
Slide your C-clamp over the wood blocks and tighten it down firmly. The scrap wood distributes the pressure evenly and prevents the metal clamp from denting your cabinet doors.
Leave the clamp in place for at least two to four hours. For the absolute best results, let it sit overnight to cure completely.
Step 8: Clean Up Excess Adhesive
Once you remove the clamps, you might notice a tiny bead of glue that squeezed out of the seam. Do not panic, as this is completely normal.
Take a clean rag and dampen it lightly with acetone or mineral spirits. Gently rub the edge to dissolve the excess glue.
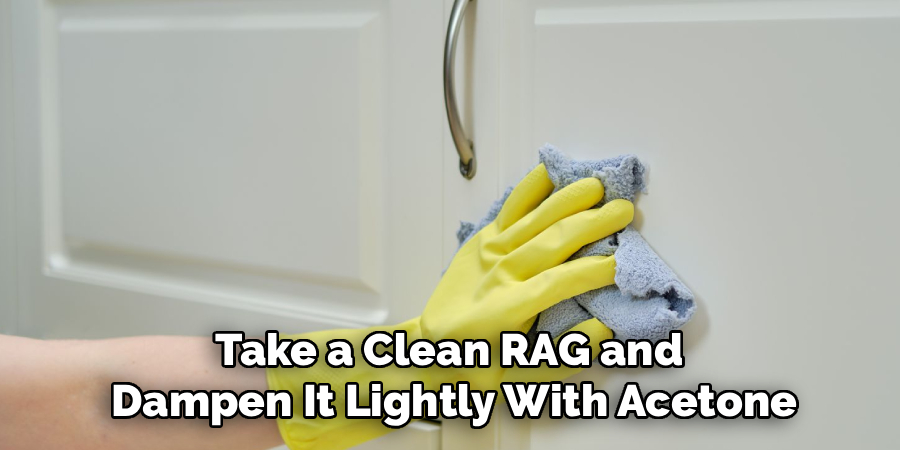
Wipe the area clean with a dry towel. Your cabinet should now look seamless, sturdy, and as good as new.
Crucial Safety Warnings for Your DIY Repair
Working with household adhesives is generally safe, but you still need to protect yourself and your home. Contact cement contains strong chemicals that require respect.
Always work in a well-ventilated area. Open your kitchen windows, turn on the exhaust fan, and keep the air moving to avoid breathing in heavy fumes.
Keep contact cement far away from open flames. The fumes are highly flammable, so never use this adhesive near a lit gas stove, water heater, or lit candle.
Protect your skin and eyes. Wear a pair of nitrile gloves to keep sticky residue off your fingers, and wear safety glasses just in case a drop of solvent splashes up.
When to Call a Professional Cabinet Repair Expert
While learning how to repair peeling laminate cabinets is a great skill, some situations require a professional touch. Knowing your limits saves you from making a problem worse.
If the underlying wood core of your cabinet is crumbling, black with mold, or severely swollen from water damage, glue will not fix it. The structural integrity of the door is compromised.
Extensive delamination is another red flag. If the entire sheet of laminate is peeling off in multiple places, replacing the door or hiring a pro for refacing is a better option.
A professional cabinet technician has access to commercial-grade presses, heavy-duty industrial adhesives, and exact match materials. Call them if your DIY attempts fail to hold, or if the cabinet damage is beyond a simple edge repair.
DIY Cost vs. Professional Repair Cost Estimate
One of the best parts about this project is the massive savings. Fixing a cabinet yourself keeps your hard-earned money right in your pocket.
A standard DIY repair will cost you very little. A small bottle of contact cement runs about $8 to $12. If you need to buy basic clamps and sandpaper, you might spend $25 total.
If you already have a basic toolbox, your out-of-pocket cost drops to nearly nothing. Your main investment is simply an hour of your time.
Hiring a professional tells a very different story. Handymen and cabinet experts often charge a minimum call-out fee just to walk through your front door.
Professional cabinet repairs easily cost between $150 and $300 per cabinet door, depending on your location and the extent of the damage. By tackling this yourself, you are saving hundreds of dollars for a very straightforward fix.
Frequently Asked Questions About Peeling Laminate
Can I use super glue or wood glue to fix peeling laminate?
No, you should avoid using super glue or standard wood glue. Wood glue requires porous surfaces to work, and laminate is entirely non-porous. Super glue dries brittle and will easily snap when the cabinet door expands and contracts with temperature changes.
Why is the laminate peeling off my bathroom vanity?
Bathrooms experience extreme humidity swings from hot showers. This constant moisture attacks the adhesive line over time. To fix thermofoil or laminate in a bathroom, you must use a highly water-resistant contact cement and ensure the room is well-ventilated going forward.
Can I heat the old glue with a hair dryer to stick it back down?
Sometimes, factory heat-activated glues can be temporarily reactivated using an iron or a hair dryer. However, this is usually a short-term fix. The old glue has already degraded, so applying fresh contact cement is the only way to ensure a permanent, reliable repair.
How do I fix edge banding that has snapped off entirely?
If the edge banding has broken off completely, you can buy rolls of iron-on melamine or laminate edge banding at a hardware store. You simply cut it to size, apply it with a household iron to melt the pre-applied glue, and trim the excess edges with a utility knife.
Will painter’s tape damage the finish of my cabinets?
Standard blue painter’s tape is designed with a low-tack adhesive that should not damage your cabinets. However, do not leave the tape on for several days, especially in direct sunlight, as it can occasionally leave a sticky residue behind.
Conclusion and Next Steps
Dealing with kitchen wear and tear does not have to be a stressful or expensive ordeal. You now have the exact knowledge needed to tackle this project with total confidence.
Learning how to repair peeling laminate cabinets is an incredibly rewarding DIY task. With a little bit of contact cement, some basic clamps, and a dose of patience, you can extend the life of your kitchen by years.
Do not let a small peeling edge intimidate you. Grab your supplies, follow our step-by-step guide carefully, and enjoy the satisfaction of fixing your own home.
If you found this guide helpful, be sure to browse our other home maintenance tutorials for more money-saving tips. Have a question about your specific cabinet repair? Leave a comment below, and we will gladly help you out!