

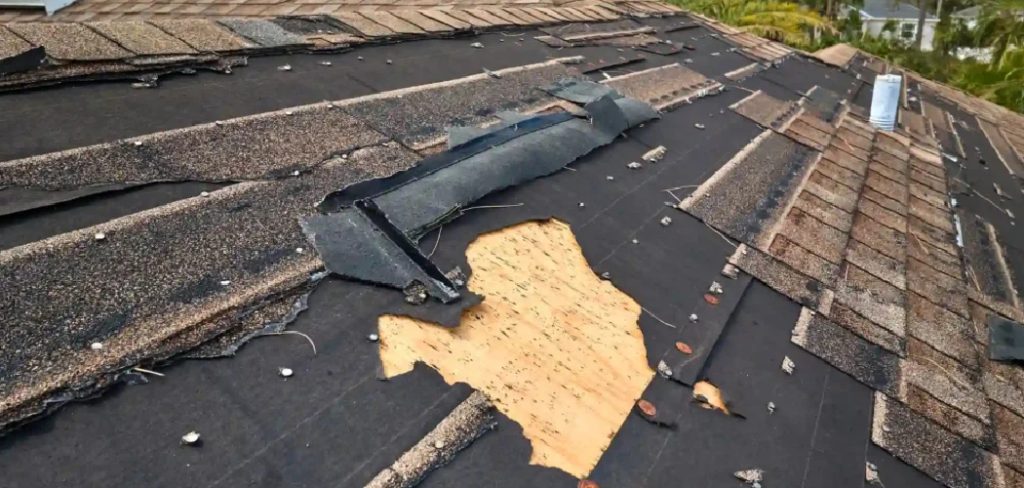
Have you noticed tiny, sand-like pebbles collecting in your gutters? That is a clear sign your asphalt shingles are losing their protective coating. Figuring out how to repair granular loss on roof shingles is a common challenge for homeowners.
This issue exposes your roof to harsh weather and UV damage. Left ignored, it can lead to devastating leaks and expensive water damage inside your home. But do not panic just yet.
Tackling this project yourself can save you hundreds of dollars in labor costs. You do not need to be a professional contractor to fix minor bald spots. With a free weekend and some basic supplies, you can extend the life of your roof.
Let us grab our tools and get to work! We will walk through everything you need to know.
What Causes Roof Granule Loss?
Understanding the root cause helps prevent future damage to your shingles. It is normal for a new roof to shed some loose granules. However, excessive loss is a warning sign.
Here are five common causes of this frustrating problem:
- Severe Weather: Hail, heavy rain, and strong winds physically strip granules from the shingle surface.
- Aging Shingles: As asphalt dries out over the years, it loses its grip on the protective mineral granules.
- Poor Ventilation: Extreme attic heat bakes the shingles from underneath, causing the asphalt to blister and shed granules.
- Physical Damage: Walking on the roof frequently or dragging tree branches across it easily scrapes off the protective coating.
- Improper Installation: If shingles are installed incorrectly, they might endure uneven stress and premature wear.
Tools & Materials Needed for the Job
Before you climb any ladders, gather your supplies. Having everything ready saves time and keeps you safe. You can find all these items at your local hardware store.
Here is what you will need for this DIY repair:
- Sturdy extension ladder
- Fall protection harness and roof anchor
- Soft-bristle broom or brush
- Roofing cement (in a caulking tube or tub)
- Caulking gun (if using tube cement)
- Putty knife or small trowel
- Matching replacement roof granules
- Work gloves and safety goggles
- Rubber-soled work boots for traction
Step-by-Step Fix Guide: How to Repair Granular Loss on Roof
Ready to fix those bald spots? This simple guide will show you exactly how to repair granular loss on roof sections safely. Follow these beginner-friendly steps carefully.
Step 1: Secure Your Ladder and Safety Gear
Safety must always come first when working at heights. Place your ladder on flat, solid ground. Ensure it extends at least three feet above the roof edge.
Put on your rubber-soled shoes and fall protection harness. Tie off to a secure roof anchor. Never skip this vital safety step.
Step 2: Locate and Inspect the Bald Spots
Carefully walk the roof to find areas missing granules. Look for dark, shiny, or bare patches on the asphalt shingles.
Check around the chimney, vents, and valleys. These areas endure high water flow and often lose granules first. Mark the spots mentally or with a piece of chalk.
Read More: How to Repair Water Damaged Drywall.
Step 3: Clean the Damaged Area
You must prepare the surface before applying any adhesive. Grab your soft-bristle broom or brush. Gently sweep away any loose debris, dirt, or remaining loose granules.
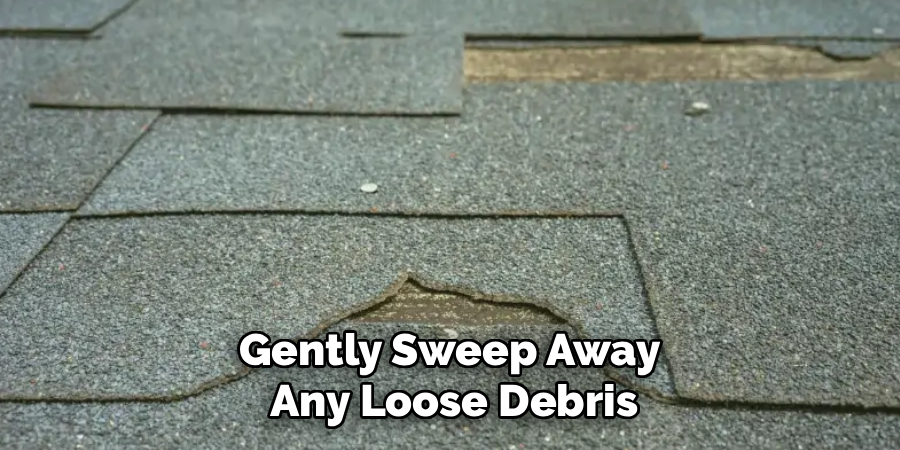
Do not scrub too hard. You only want to remove dust so the roofing cement sticks properly. A clean surface ensures a lasting repair.
Step 4: Apply the Roofing Cement
Load your roofing cement into the caulking gun. Squeeze a small amount directly onto the bald spot. If using a tub, scoop a little out with your putty knife.
Spread the cement evenly over the bare asphalt. Keep the layer thin—about one-eighth of an inch thick. Smooth it out with your putty knife so it blends with the shingle.
Step 5: Sprinkle the Replacement Granules
You must act quickly before the roofing cement dries. Take a handful of your matching replacement granules. Sprinkle them generously over the wet cement.
Cover the entire glued area completely. It is okay to apply extra granules. You want the cement to absorb as many as possible.
Read More: How to Repair a String of Christmas Lights.
Step 6: Press and Embed the Granules
Gently press the granules down into the adhesive. You can use your gloved hand or the flat side of your putty knife.
Applying light pressure ensures they bond securely to the asphalt. Do not press so hard that the cement squishes out the sides. Just make sure the granules are firmly seated.
Step 7: Sweep Away Excess Granules
Wait a few minutes for the cement to set up slightly. Take your soft brush and lightly sweep the repaired area.
This removes the excess granules that did not stick to the adhesive. Your repaired patch should now blend in nicely with the rest of the shingle.
Safety Warnings for Roof Repairs
Working on a roof is inherently dangerous. A single slip can cause severe injuries. Always respect the height and the slope of your roof.
Never work on a wet or frosty roof. Moisture makes asphalt shingles incredibly slippery. Always wait for a dry, calm day to tackle this project.
Watch out for overhead power lines when moving your ladder. Do not work alone. Always have a neighbor or family member spot your ladder and keep an eye on you.
When to Call a Professional
DIY repairs are great for small, isolated bald spots. However, some situations require professional expertise. Knowing your limits is crucial for your safety and your home’s integrity.
Call a professional if the granular loss is widespread across the entire roof. This usually means the shingles have reached the end of their lifespan. A full roof replacement might be necessary.
You should also hire a pro if your roof has a very steep pitch. Do not risk a dangerous fall. If you notice structural sagging or active interior leaks, bring in an expert immediately.
Cost Estimate: DIY vs. Professional
Fixing this yourself is incredibly budget-friendly. A tube of roofing cement costs around $5 to $10. A small bucket of replacement granules usually runs between $15 and $30.
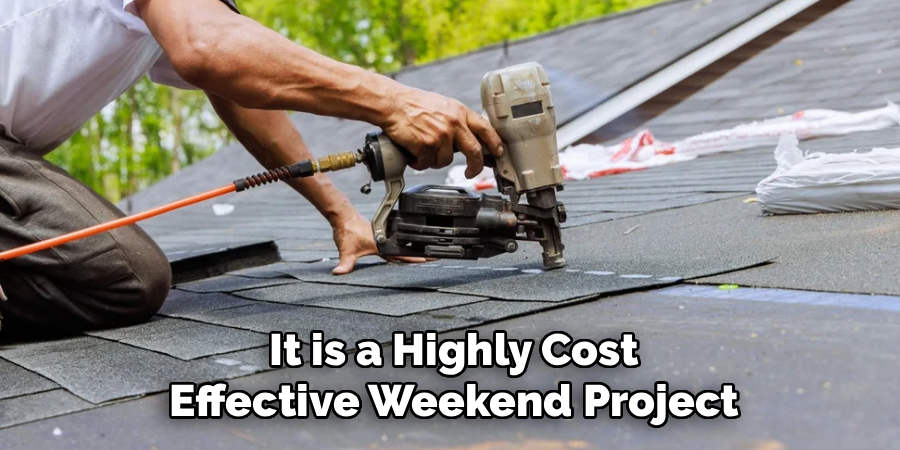
Your total DIY cost will likely stay under $50. This assumes you already own basic tools like a ladder and safety harness. It is a highly cost-effective weekend project.
Hiring a professional roofer changes the math completely. A contractor will usually charge a minimum service fee just to show up. This fee ranges from $150 to $300.
If they find more extensive damage, the bill can easily exceed $500. Doing the work yourself keeps that money right in your pocket.
Frequently Asked Questions
Can I just paint over the bald spots?
No, painting over bald spots will not protect your shingles. Paint does not block harmful UV rays or shed water effectively. You must use roofing cement and proper mineral granules.
Will home insurance cover roof granular loss?
Insurance rarely covers granular loss due to normal wear and tear. However, they might cover it if a specific storm caused the damage. You will need a professional inspection to prove it was storm-related.
How do I match the color of my roof granules?
Look for loose granules in your gutters to get a color match. Take a small handful to a roofing supply store. They can usually sell you a matching blend of replacement granules.
How long does this DIY repair last?
A proper patch job can last several years. It extends the life of that specific shingle. However, it will not stop the rest of your aging roof from shedding granules over time.
Is it normal to see granules in gutters on a new roof?
Yes, it is completely normal. Manufacturers apply extra granules during production. The excess ones wash off during the first few heavy rains.
Conclusion: Take Pride in Your Roof Repair
Learning how to repair granular loss on roof shingles is a fantastic skill to master. You have saved money, protected your home, and proven your DIY capabilities. Your roof is now better prepared to face the elements.
Remember to inspect your roof at least twice a year. Catching small bald spots early prevents them from becoming massive leaks. Regular maintenance is the secret to a long-lasting roof.
Do not let those bare patches sit there another week. Grab your ladder, get your supplies, and tackle this simple project today. Your home will thank you for it!