

Finding a soggy, discolored spot on your wall is a frustrating experience. You might wonder if you need to tear down the whole room to fix it.
The good news is you can handle this yourself. Knowing how to repair water damaged drywall is a valuable skill for any homeowner. It saves you from paying expensive contractor fees for a job you can complete in a weekend.
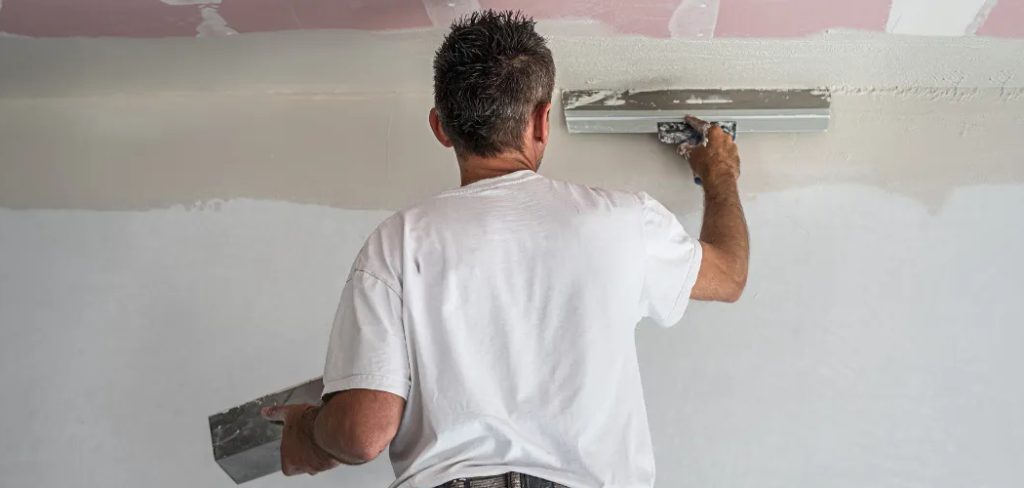
Whether it is a small ceiling stain or a crumbling wall patch, tackling this DIY project protects your home. You will stop further structural damage and prevent harmful mold growth. Plus, there is a great sense of pride in fixing your own home.
We will walk through everything you need to know to get your wall looking brand new again.
What Causes Water Damaged Drywall?
Before you patch the wall, you must fix the root of the problem. If you ignore the source, your new drywall will just get wet again.
Here are the most common culprits behind wet walls and ceilings:
- Leaky Plumbing: Small drips from pipes behind the wall often go unnoticed until a stain appears.
- Roof Leaks: Missing shingles or damaged flashing can let rainwater seep down into your ceiling and walls.
- Window and Door Drafts: Poorly sealed frames allow heavy rain to penetrate the perimeter of your drywall.
- HVAC Condensation: Blocked drain lines on your air conditioning unit can cause water to overflow and soak your ceiling.
- High Indoor Humidity: Bathrooms without proper ventilation often suffer from peeling paint and soft drywall.
- Appliance Failures: Dishwashers, washing machines, and refrigerators with faulty water lines can flood adjacent walls.
Tools and Materials Needed for the Job
Gathering your supplies beforehand makes the repair process smooth and stress-free. You can find all these items at your local hardware store.
Tools:
- Utility knife with fresh blades
- Drywall saw (keyhole saw)
- Tape measure and pencil
- Putty knife set (4-inch and 10-inch blades)
- Drill or Phillips head screwdriver
- Sanding sponge (fine grit)
- Safety goggles and dust mask
Materials:
- A replacement piece of drywall (match the thickness of your existing wall, usually 1/2 inch)
- Wood backing strips (1×2 or 1×3 pine boards work perfectly)
- Drywall screws (1 1/4 inch)
- Drywall joint tape (fiberglass mesh is easiest for beginners)
- Joint compound (also known as drywall mud)
- Stain-blocking primer
- Interior paint to match your wall
Step-by-Step Guide: How to Repair Water Damaged Drywall
Ready to fix that ugly spot? Follow these simple steps to learn how to repair water damaged drywall safely and effectively.
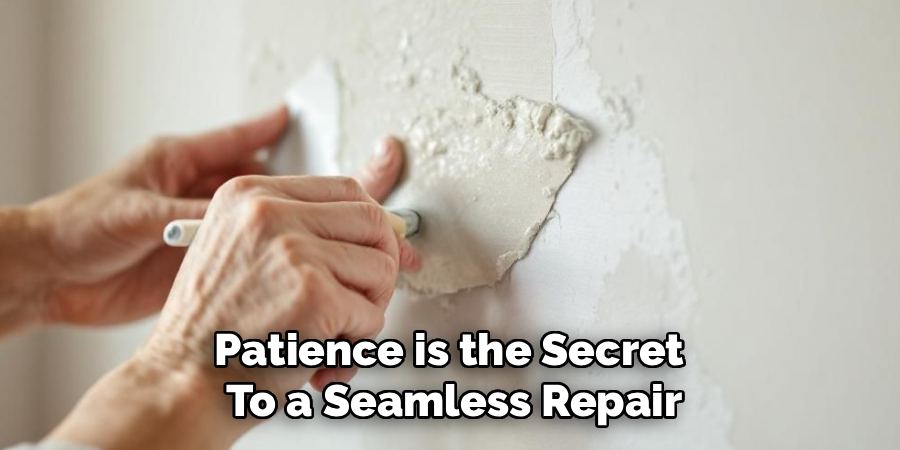
Take your time with each phase. Patience is the secret to a seamless repair.
Step 1: Assess the Damage and Find the Source
Safety comes first. Make sure the area is completely dry and the power to nearby outlets is turned off.
Press gently on the stained drywall. If it feels firm and the stain is small, you might only need to prime and paint. If it feels soft, crumbly, or spongy, the drywall must be replaced.
Confirm that the original leak is completely fixed. Do not proceed until you are certain no more water is dripping behind the wall.
Step 2: Remove the Damaged Drywall
Put on your dust mask and safety goggles. Use your pencil and tape measure to draw a square or rectangle around the damaged area.
Drawing straight lines makes it much easier to cut a matching replacement patch. Make sure your lines extend about an inch past the soft, damaged portion into good, solid drywall.
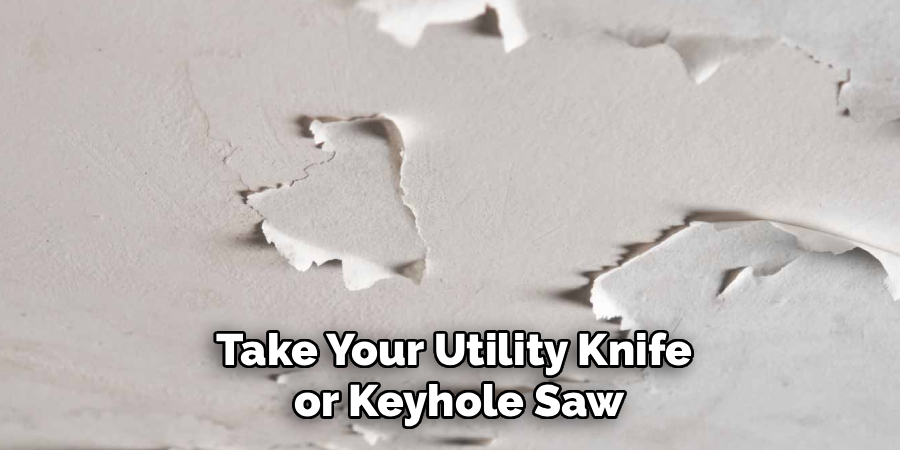
Take your utility knife or keyhole saw and carefully cut along the lines. Cut shallowly at first so you do not hit any hidden wires or pipes. Remove the wet drywall and throw it away in a heavy-duty trash bag.
Step 3: Measure and Cut the New Drywall Patch
Measure the exact height and width of the hole you just created. Write these numbers down.
Transfer these measurements to your new piece of drywall. Use a straight edge to draw your cut lines clearly.
Score the front paper of the drywall with your utility knife. Snap the drywall along the scored line, then cut through the paper backing. Test fit the patch in the wall hole to ensure it fits snugly.
Step 4: Install Support Backing
Unless your hole ends perfectly on a wall stud, your new patch needs something to attach to. This is where your wood strips come in.
Cut two pieces of wood backing a few inches longer than the hole. Slide them inside the wall hole, positioning them vertically on the left and right edges.
Hold the wood tight against the back of the good drywall. Drive drywall screws through the good wall and into the wood strips to hold them securely in place. The screw heads should sink slightly below the wall surface.
Step 5: Attach the New Drywall Piece
Now you have a solid frame behind your hole. Place your new drywall patch into the opening.
Drive drywall screws through the patch and into the wood backing strips. Space your screws about every four to six inches.
Make sure the screws sit just below the surface of the drywall paper. Be careful not to tear the paper, or the screw will lose its holding power.
Step 6: Tape and Mud the Joints
This step hides the seams so your wall looks like one solid piece. Apply strips of fiberglass mesh tape over all four seams of your patch.
Scoop some joint compound onto your 4-inch putty knife. Spread a thin layer of mud over the tape, pressing firmly to push the compound through the mesh.
Scrape off the excess mud so the surface is relatively flat. Let this first coat dry completely, which usually takes about 24 hours.
Step 7: Apply Additional Coats of Mud
Once the first coat is dry, it will likely look rough and slightly shrunken. This is completely normal.
Switch to your wider 10-inch putty knife. Apply a second, wider coat of joint compound to feather the edges out onto the good wall.
Let it dry, then apply a third, even wider coat if necessary. Your goal is to create a smooth, gradual transition from the patch to the surrounding wall.
Step 8: Sand, Prime, and Paint
When the final coat is bone dry, take your fine-grit sanding sponge. Gently sand the joint compound until it feels perfectly smooth and blends into the wall.
Wipe away all the drywall dust with a slightly damp rag or tack cloth.
Apply a coat of stain-blocking primer to the patched area. Primer seals the porous mud so your paint will not look dull. Once the primer dries, paint the wall to match the rest of your room.
Important Safety Warnings
DIY projects are fun, but safety should always be your top priority. Keep these precautions in mind.
First, always assume there are live wires or pressurized pipes behind your walls. Never plunge a saw deep into a wall cavity blindly. Cut just deep enough to break through the half-inch drywall.
Second, be cautious of mold. If you open the wall and see large amounts of black or green fuzz, stop immediately. Breathing in mold spores is dangerous.
Finally, wear your protective gear. Drywall dust is very fine and can irritate your lungs and eyes. Always wear a well-fitting dust mask and safety goggles when cutting and sanding.
When to Call a Professional
Knowing your limits is a sign of a smart DIYer. While most small repairs are easy, some situations require a pro.
Call a professional plumber if the leak involves a cracked main drain pipe or complex supply lines. Do not try to weld copper pipes yourself unless you have specific experience.
Hire a mold remediation specialist if you find extensive mold growth covering more than ten square feet. They have the specialized chemicals and air scrubbers needed to keep your family safe.
Call a drywall contractor if the water damage spans across an entire ceiling. Hanging large, heavy sheets of drywall overhead is physically exhausting and often requires a professional crew.
Cost Estimate: DIY vs. Hiring a Pro
Fixing your own wall keeps a lot of cash in your wallet. Let’s look at the rough numbers.
If you buy all the materials yourself—including a small sheet of drywall, mud, tape, and a putty knife—expect to spend between $30 and $50. If you already have some tools, your cost drops significantly.
Hiring a professional drywall contractor or handyman paints a different picture. They typically charge a minimum call-out fee just to show up.
For a minor patch and paint job, a professional will likely charge between $150 and $400. That means doing it yourself saves you hundreds of dollars for just a few hours of easy labor.
Frequently Asked Questions
Can dried water damaged drywall be saved?
If the drywall simply got wet once, dried quickly, and remained firm, you might not need to replace it. Just apply a good stain-blocking primer and repaint it. However, if it feels soft or crumbles when pressed, it must be cut out and replaced.
How long does it take for wet drywall to grow mold?
Mold works surprisingly fast. If wet drywall remains damp in a dark, warm environment, mold spores can begin to grow within 24 to 48 hours. This is why you must fix leaks and dry out wet materials as quickly as possible.
Do I need special paint for water-damaged walls?
You need a special primer, not necessarily special paint. You must use an oil-based or pigmented shellac stain-blocking primer over water stains. If you skip this, the brown water stain will bleed right through your fresh topcoat of regular interior paint.
Can I just paint over water damaged drywall?
You can only paint over it if the drywall is structurally sound and completely dry. Painting over wet or spongy drywall will trap moisture inside your walls. The paint will eventually bubble, peel, and fail.
What is the fastest way to dry wet drywall?
First, fix the leak. Then, remove any baseboards or trim trapping the water. Set up high-powered box fans to blow directly on the wet spots. Use a commercial dehumidifier in the room to pull moisture out of the air and the wall cavity quickly.
Conclusion
Handling household repairs does not have to be intimidating. Now that you understand how to repair water damaged drywall, you can fix those ugly stains with confidence.
Remember that preparation is everything. Take the time to find the leak, let the area dry, and measure your patch carefully. Taking your time with thin, even coats of drywall mud will give you that perfect, invisible finish.
You have got the knowledge, and you have got the tools. It is time to roll up your sleeves and make your walls look beautiful again.
Grab your supplies today and conquer that DIY repair!