

Do you have a favorite pair of shoes sitting in the closet because the heel is worn down? You are not alone.
Many people face this common issue when their favorite footwear starts to show its age. Learning how to repair shoe heel damage is a fantastic skill that saves you time and money.
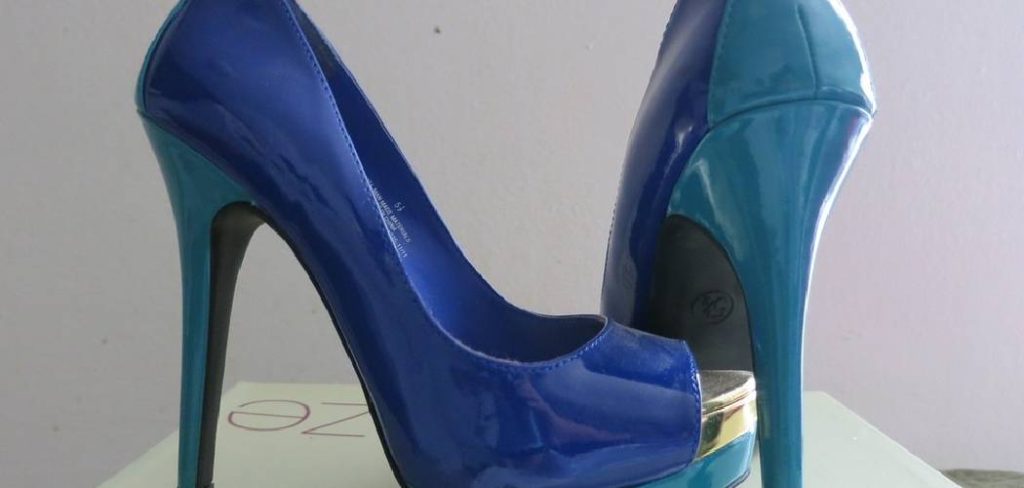
Taking your footwear to a cobbler is great, but those costs add up fast. Fixing it yourself means you can keep wearing the shoes you love without breaking the bank.
If you have a little patience and the right tools, you can easily tackle this project at home. We will walk through everything you need to know to get your shoes back on the street.
Why Do Shoe Heels Wear Out Faster Than the Soles?
It is frustrating when the rest of your shoe looks perfect, but the heel is destroyed. This happens to everyone, whether you wear rugged work boots or sleek dress shoes.
Before we dive into our repair guide, it helps to understand why this damage happens. Knowing the cause can help you prevent future wear and tear.
Common Causes of Heel Damage
Here are the most common reasons your shoe heels wear down:
- Walking habits: A heavy heel strike naturally grinds down the back edge of your footwear.
- Rough terrain: Walking constantly on concrete, gravel, or uneven pavement eats away at soft rubber.
- Poor quality materials: Cheaper footwear often uses hollow plastic or low-density rubber that degrades quickly.
- Moisture exposure: Stepping in puddles and rain can weaken the adhesive holding your heel block together.
- Driving: Resting your right heel on the floorboard while driving creates friction that destroys the heel’s edge.
Essential Tools and Materials Needed
You cannot fix a shoe with standard household tape and school glue. You need the right materials to ensure the repair actually lasts.
Gathering these items beforehand makes the entire process smooth and stress-free. Most of these tools are inexpensive and available at your local hardware or craft store.
Here is exactly what you need to get started:
- Replacement heel caps or rubber tips: Make sure they match the size of your current shoe.
- Heavy-duty shoe adhesive: Look for contact cement, Barge All-Purpose Cement, or Shoe Goo.
- Pliers: A sturdy set of needle-nose or standard pliers to pull off the old damaged pieces.
- Coarse sandpaper: You need 60-grit or 80-grit sandpaper to rough up the surfaces.
- A damp rag: Essential for cleaning off dirt and debris before applying adhesive.
- A utility knife: Needed for trimming excess rubber once the new heel is attached.
- Masking tape: Helpful for holding the pieces firmly together while the glue cures.
Step-by-Step Guide: How to Repair Shoe Heel Damage
Now that you have your supplies, it is time to get to work. This process works best on flat shoes, boots, and men’s dress shoes.
We will break this down into simple, manageable steps. Just take your time, and do not rush the drying process.
Step 1: Remove the Old Heel Material
First, you need to strip away the damaged rubber or plastic. Grab your pliers and get a firm grip on the worn heel cap.
Pull firmly to peel it away from the base of the shoe. If it is stubborn, use a flathead screwdriver to gently pry the edges up.
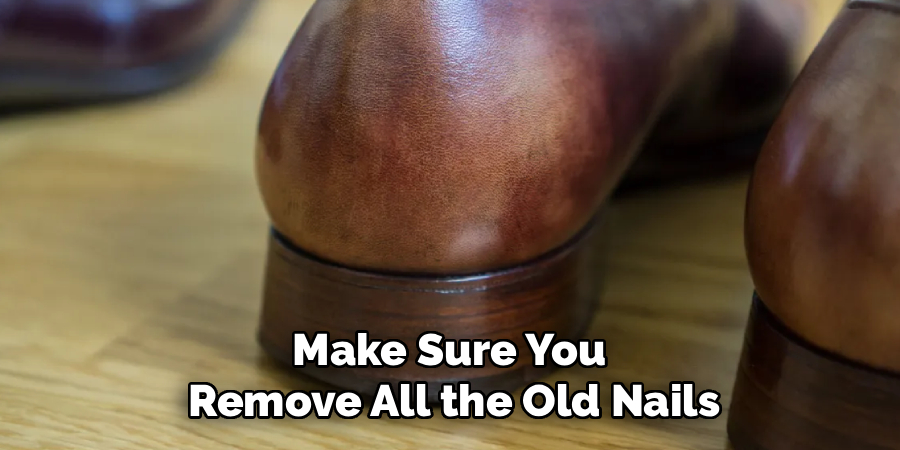
Make sure you remove all the old nails or staples left behind. You want a completely bare, flat base to work with.
Read More: How to Repair Silk.
Step 2: Clean the Surface Thoroughly
New glue will not stick to old dirt, street grime, or leftover adhesive. Take your damp rag and wipe down the base of the shoe.
If there is hardened glue left behind, scrape it off with your utility knife. Let the shoe air dry completely before moving forward.
Moisture trapped under the new heel will ruin the adhesive bond. A dry, clean surface is the secret to a long-lasting repair.
Step 3: Sand the Base and the New Heel
Shoe cement works best when it has a textured surface to grab onto. Take your coarse sandpaper and vigorously sand the bottom of the shoe.
You want the surface to feel rough to the touch. Next, lightly sand the back of your new rubber replacement heel.
Wipe away any rubber dust with a dry cloth. Do not skip this step, or your new heel might slide right off during your next walk.
Read More: How to Repair Etched Marble.
Step 4: Apply the Shoe Adhesive
Read the instructions on your specific shoe glue before starting. Most contact cements require you to apply a thin layer to both surfaces.
Spread an even layer of glue onto the shoe base and the new heel. Be careful not to use too much, or it will squish out the sides.
Wait a few minutes for the glue to get tacky. It should feel sticky, but not wet, before you press the pieces together.
Step 5: Press Firmly and Secure
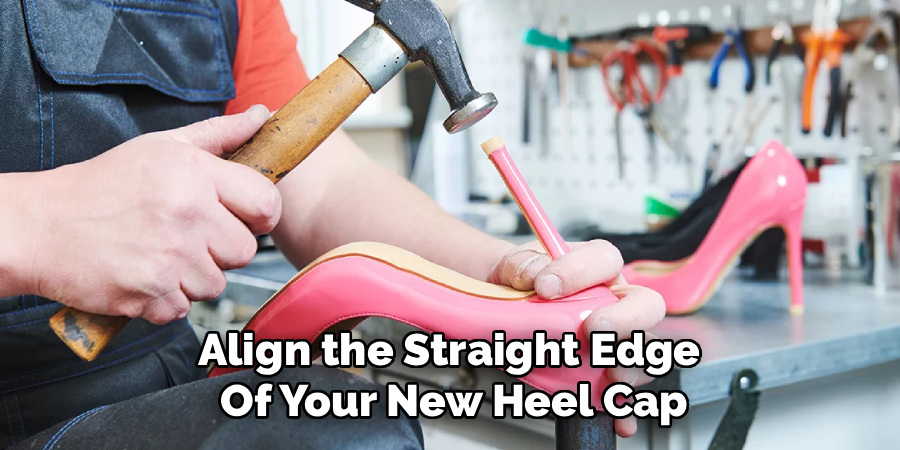
Align the straight edge of your new heel cap with the front of the heel block. Press it down firmly starting from the front and rolling to the back.
Push hard to squeeze out any trapped air bubbles. Take your masking tape and wrap it tightly around the shoe and the new heel.
This applies constant pressure while the glue sets. If you have a heavy book or a clamp, you can place that on top of the shoe for extra weight.
Read More: How to Use Thread Repair Kit.
Step 6: Let It Cure and Trim the Edges
Patience is your best friend right now. Let the shoe sit in a well-ventilated area for at least 24 hours.
Do not try to wear them too early, even if the glue feels dry on the outside. Once a full day has passed, remove the tape.
If there is any excess rubber hanging over the edge, carefully trim it with your utility knife. Sand the edges gently to blend the new rubber into the shoe.
Safety Warnings for DIY Shoe Repair
Fixing your own footwear is highly rewarding, but you need to stay safe. Shoe repair involves sharp tools and strong chemicals.
Always use heavy-duty shoe glue in a well-ventilated space, like a garage or near an open window. The fumes from contact cement can be overwhelming and dangerous to inhale.
Wear safety glasses when prying off old heels or pulling out nails. Pieces of dry, brittle plastic can easily snap and fly toward your face.
Keep your fingers clear of the blade when trimming the rubber. Always cut away from your body with a sharp utility knife.
Cost Estimate: DIY Repair vs. Professional Cobbler
Is it actually worth fixing your own footwear? In most cases, absolutely.
A DIY repair kit or a tube of good shoe glue and replacement heels costs between $10 and $15. Because a tube of glue lasts multiple uses, your cost per shoe drops even lower.
Taking your footwear to a professional cobbler for a simple heel replacement usually costs between $30 and $60. If you are fixing expensive designer shoes, the price can climb much higher.
Doing it yourself saves you around $20 to $50 per pair. It also saves you the hassle of making two trips to the shoe repair shop.
When to Call a Professional
While DIY fixes are great, they have their limits. Knowing when to hand your shoes over to a pro saves you from ruining them entirely.
If the wooden or stacked leather block beneath the heel is rotting or split, call a cobbler. Simply gluing a new rubber cap over structural damage will not hold.
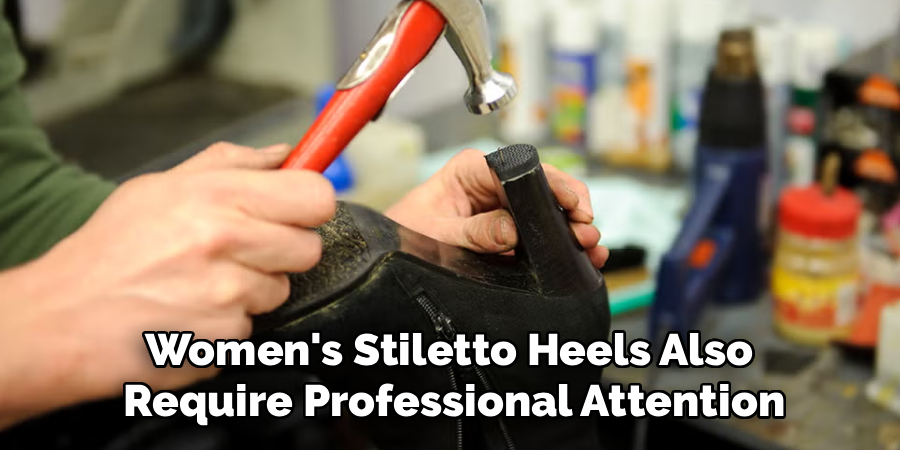
Women’s stiletto heels also require professional attention if the inner metal dowel is snapped. You generally cannot fix a snapped stiletto dowel safely at home.
Finally, if your shoes cost several hundred dollars, a professional repair protects your investment. Cobblers have specialized stitching machines and industrial presses that guarantee a flawless finish.
Frequently Asked Questions
What is the best glue to use for a shoe heel repair?
Barge All-Purpose Cement and Shoe Goo are the industry standards. They dry flexible, which prevents the heel from snapping off when you walk. Super glue dries too brittle and will crack under pressure.
How long does a DIY shoe heel repair last?
If you prep the surface correctly and use high-quality contact cement, the repair can last for months or even years. It all depends on how often you wear the shoes and your walking habits.
Can I repair high heels at home?
You can easily replace the small plastic caps on stiletto heels if you buy high heel replacement dowels. You just pull out the old metal pin with pliers and hammer the new one in.
Why does my shoe glue keep peeling off?
The most common reason glue fails is poor surface preparation. If you do not clean and rough up the surface with sandpaper, the adhesive has nothing to grip.
Conclusion
Taking care of your footwear does not have to be an expensive chore. Now that you know exactly how to repair shoe heel wear, you can bring your favorite pairs back to life.
By gathering the right tools, prepping the surface, and taking your time with the glue, you get professional-level results at home. It is a simple, satisfying project that keeps your footwear looking fresh.
Do not let a little bit of worn rubber keep you from stepping out in confidence. Grab some shoe glue, find a pair that needs love, and try this fix today!
Want more easy home fixes? Bookmark our blog for weekly DIY repair guides and maintenance tips!