

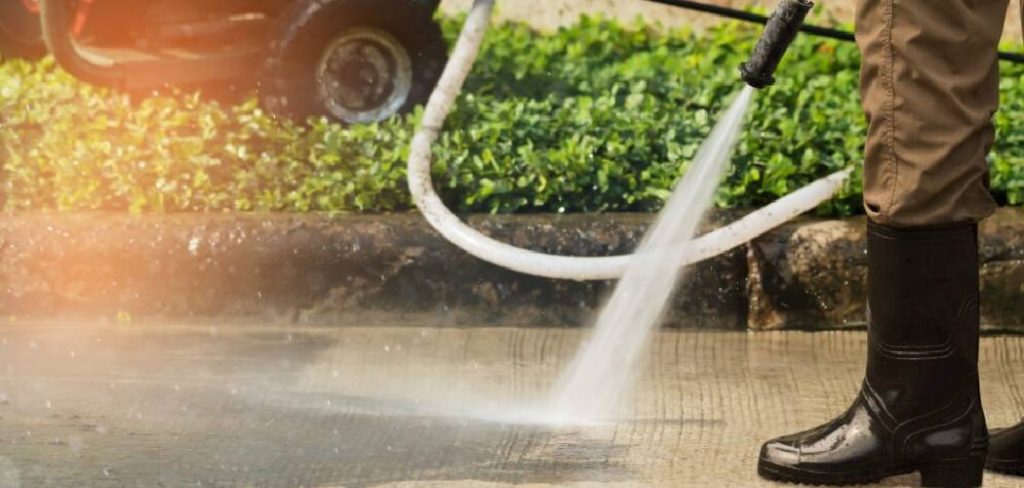
You are out in the driveway, blasting away years of stubborn dirt and grime. The job is going perfectly until you feel a sudden, unexpected spray of water hitting your leg.
You look down and see a nasty leak shooting out of your equipment. Now, you desperately need to know how to repair pressure washer hose damage before your weekend project is completely ruined. Do not panic, and definitely do not throw that expensive equipment in the trash just yet. Buying a brand-new replacement can drain your wallet fast.
Fixing it yourself saves a ton of money and a frustrating trip to the hardware store. It is also surprisingly simple once you know the proper steps to take. Any homeowner or renter can tackle this quick fix right in their own garage. Let us walk through the entire process together, step by step.
What Causes Your High-Pressure Hose to Fail?
Before we jump into the repair, it helps to understand why this happened. High pressure puts an incredible amount of stress on the inner rubber casing.
Even the toughest materials will eventually wear down under constant, extreme force. Knowing the root cause can actually help you prevent the next blowout.
Here are the most common reasons you ended up with a leak:
- Dragging over rough concrete: Pulling the line across sharp rocks or abrasive driveways slowly shaves away the outer protective rubber layer.
- Severe kinking: Twisting or knotting the line creates weak points where the internal braiding eventually snaps under pressure.
- Extreme temperatures: Leaving your equipment outside in freezing weather causes residual water to expand, bursting the lining from the inside.
- Sun and UV damage: Storing your gear in direct sunlight bakes the rubber, leading to dry rot, brittleness, and cracking.
- Accidental vehicle damage: Running over the line with your car or a heavy lawnmower crushes the internal steel braiding instantly.
- Pinching in doors: Shutting a heavy garage door or gate directly on the line creates an instant fracture point.
Tools and Materials Needed for the Job
You do not need a massive, expensive toolbox to get this job done right. You probably already have a few of these items sitting on your workbench.
Gathering everything beforehand keeps the repair moving smoothly. Here is exactly what you need to successfully mend your high-pressure line.
- Heavy-duty utility knife or pipe cutters: You need a blade sharp enough to slice through thick rubber and tough metal braiding cleanly.
- High-pressure hose mender (coupler): This is the specialized metal replacement joint. Make sure it matches the exact diameter of your line (usually 1/4″ or 3/8″).
- Two adjustable wrenches: You will need these to grip both sides of the coupler and tighten everything down securely.
- Teflon tape (Plumber’s tape): This creates a watertight seal on the metal threads to prevent tiny drip leaks.
- Safety goggles and thick work gloves: Always protect your eyes and hands when dealing with metal wire braiding and sharp blades.
- A clean rag: You need this to wipe away dirt, mud, and water from the repair site before you make your cuts.
Step-by-Step Guide on How to Repair Pressure Washer Hose
Now we get to the fun part. Put on your safety glasses, slide on your work gloves, and let us get your equipment running like new again.
Take your time with each of these steps. Rushing the process is the easiest way to end up with a sloppy joint that blows out the second you turn the water back on.
Step 1: Depressurize the System Completely
Safety must always come first when dealing with highly pressurized water. You must never attempt to slice into a line that is still holding pressure.
First, turn off the engine or unplug the electric motor completely. Then, turn off the water supply at the main spigot.
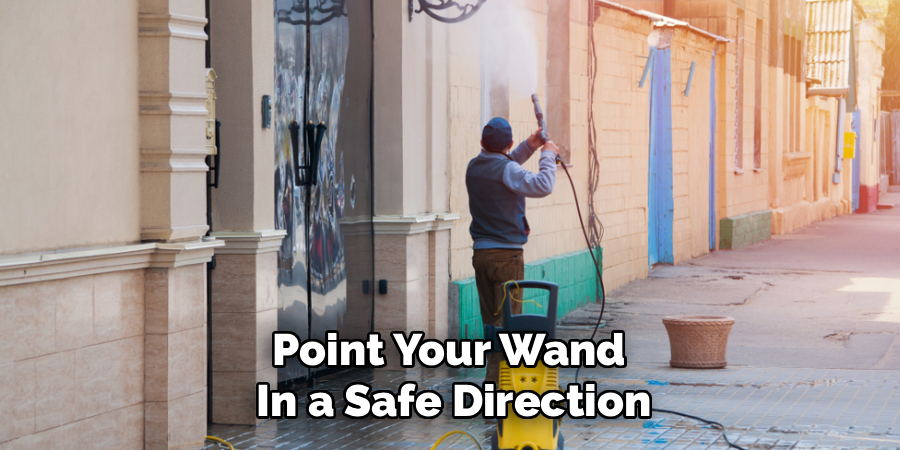
Finally, point your wand in a safe direction and squeeze the trigger. Hold it down until all the trapped water and air hiss out completely.
Read More: How To Repair Electric Motor.
Step 2: Pinpoint the Exact Location of the Leak
Sometimes a blowout is massive and obvious. Other times, it is just a tiny pinhole leak that is incredibly hard to find when the machine is turned off.
Wipe down the entire length of the rubber with your clean rag. Look closely for frayed metal wire sticking out of the rubber casing.
If you still cannot find it, look for soft, spongy spots or deep gouges. Mark the damaged area clearly with a piece of chalk or a bright marker.
Step 3: Make a Clean, Straight Cut
Take your heavy-duty utility knife or your sharp pipe cutters. You need to completely remove the damaged section of the line.
Cut at least an inch away from either side of the puncture to ensure you reach completely healthy, undamaged rubber.
Press down firmly and make a perfectly straight, 90-degree cut. If your cut is jagged or angled, the new metal joint will not seal properly.
Read More: How to Repair a Water Pump.
Step 4: Prepare the Ends for the Coupler
Now you have two separate pieces of line. Look closely at the newly cut ends to make sure the internal steel braiding looks clean and uniform.
If you see stray metal wires sticking out, carefully trim them back with wire cutters. Stray wires can prevent the metal fittings from sliding on smoothly.
Wipe the inside and outside of both freshly cut ends with your rag. Dirt or grit trapped inside the joint will absolutely cause a leak later.
Step 5: Install the High-Pressure Hose Mender
Take the metal hose mender apart. You will usually have a central barbed fitting and two outer compression rings or threaded collars.
Slide one outer collar onto the first piece of the cut line. Push it down a few inches so it is out of your way for a moment.
Now, forcefully push the central barbed fitting into the open end of the rubber. You might need to twist it firmly to get it seated all the way down.
Step 6: Secure the Fittings Tightly
Once the barb is fully inserted, slide the outer collar back up toward the joint. Thread it onto the central fitting carefully.
Wrap a layer of Teflon tape around the threads to guarantee a tight, watertight seal. Hand-tighten the pieces together as much as you can.
Grab your two adjustable wrenches. Use one to hold the central piece steady, and use the other to crank the collar down tight.
Read More: How to Repair Low Water Pressure.
Step 7: Repeat the Process and Test
Repeat steps five and six for the other side of the severed line. Connect the second piece of rubber to the remaining side of your metal joint.
Once everything is tightened down firmly, it is time to test your handiwork. Reconnect the line to your machine and turn the main water spigot back on.
Start your engine, stand back, and gently squeeze the spray trigger. Inspect your new metal splice closely for any signs of dripping or spraying water.
Crucial Safety Warnings You Must Know
We need to talk about safety before you call this project officially finished. High-pressure water is not like a regular garden sprinkler.
Water exiting these machines can easily reach 3,000 to 4,000 PSI. That is enough force to cut through solid wood, concrete, and human skin.
Never try to fix a blowout with duct tape, electrical tape, or standard glue. No amount of tape in the world can hold back thousands of pounds of pressure.
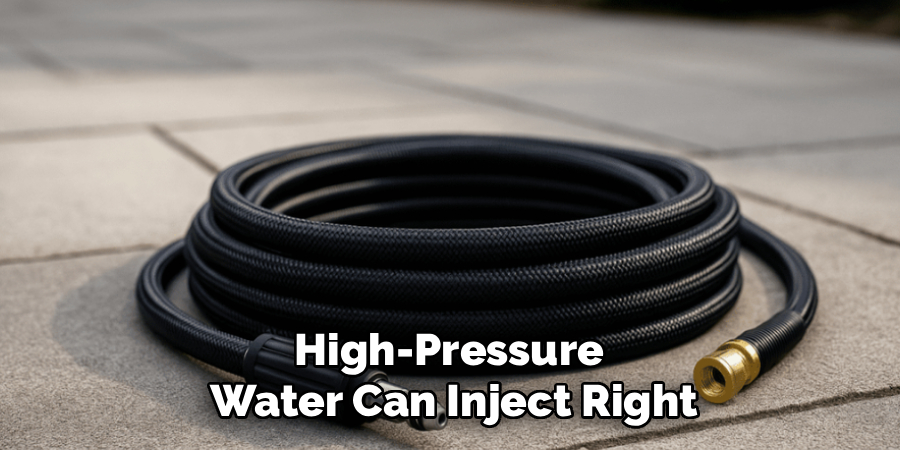
Never run your bare hands along the line to search for a hidden leak while the machine is running. High-pressure water can inject right into your bloodstream.
Fluid injection injuries are extreme medical emergencies that can lead to amputation. Always use cardboard or a piece of wood to sweep for invisible leaks instead of your fingers.
When to Call a Pro (Or Just Replace It)
As much as we love a good DIY project, we have to be honest about our limits. Sometimes, attempting a patch job is actually a bad idea.
If your equipment is over five years old and the rubber feels dry, stiff, and brittle everywhere, do not patch it. A new blowout will just happen somewhere else tomorrow.
If the rupture is located right next to the original factory end fittings, a patch will not work. The metal joint needs enough flexible rubber on both sides to bend safely.
If you splice the line, test it, and it immediately blows apart again, the internal braiding might be totally compromised. At that point, buying a replacement is the safest, smartest option.
Professional repair shops can sometimes crimp a brand-new factory end onto your line safely. However, standard replacement lines are easy to find online.
Cost Estimate: DIY Repair vs. Professional Replacement
Let us talk numbers. Why should you bother learning how to repair pressure washer hose damage yourself? The savings are undeniable.
Buying a solid, reliable metal mender joint at your local hardware store usually costs between $10 and $20. If you already own wrenches, that is your total out-of-pocket cost.
Taking your damaged equipment to a small engine repair shop will incur labor fees. They will likely charge a minimum of $50 just to look at it and crimp a new fitting.
If you decide to throw in the towel and buy a brand-new, heavy-duty replacement line, expect to pay anywhere from $40 to over $100 depending on the length and PSI rating.
Spending fifteen dollars and twenty minutes of your weekend is a massive win for your household budget. It keeps good equipment out of the landfill, too.
Frequently Asked Questions
People always have great questions when tackling this project for the first time. Here are the most common things folks ask when their equipment breaks down.
Can I use a standard garden hose repair kit?
Absolutely not. Standard garden fittings are made of cheap plastic or thin brass meant to hold back 60 PSI. A power washer produces thousands of PSI and will instantly shatter standard garden fittings, creating dangerous flying shrapnel.
Is it safe to splice a high-pressure line?
Yes, it is perfectly safe as long as you use a rated, heavy-duty metal coupler designed specifically for extreme PSI. You must ensure the joint is tightened properly and your cuts were straight to maintain the structural integrity of the line.
How long will this DIY fix actually last?
If installed correctly, a quality metal splice can easily outlast the rest of the rubber. Many homeowners report their patched lines lasting for years without a single drip, as long as they store the equipment properly during the winter months.
Does this method work for both gas and electric models?
Yes, the repair process is identical for both electric and gas-powered machines. The only difference you need to watch for is the internal diameter of the line, as electric models sometimes use slightly smaller, lower-PSI rated rubber.
Will adding a splice reduce my water pressure?
No, you will not notice any drop in cleaning power. The internal diameter of the metal barb is designed to allow maximum water flow, meaning your wand will still blast away grime just as effectively as it did before the rupture.
Simple Tips for Preventing Future Blowouts
You just put in the hard work to fix your gear. Now, let us make sure you never have to do this specific chore ever again.
Proper maintenance is the secret to making your outdoor power equipment last a lifetime. Treat your gear with respect, and it will serve you well.
Always drain the water completely from your system before putting it away. Trapped water expands when it freezes, destroying the inner casing.
Store your coiled loops on a large, rounded hook rather than a sharp nail. Sharp bends create permanent creases that will eventually fail under stress.
Keep your gear out of direct sunlight when not in active use. UV rays bake the flexible rubber, turning it into a stiff, brittle mess.
Avoid dragging the line over abrasive concrete whenever possible. Carry the slack in your off-hand while you spray to keep the rubber hovering safely above the ground.
Conclusion
Nobody likes having their weekend chores interrupted by broken gear. But now you know exactly how to handle the situation like a seasoned pro. Knowing how to repair pressure washer hose damage safely gives you ultimate control over your home maintenance budget. You do not have to rely on expensive technicians.
With just a utility knife, a couple of basic wrenches, and an inexpensive metal coupler, you saved yourself a very costly trip to the hardware store. Now that your equipment is sealed tight and running flawlessly, you can finally finish blasting that stubborn dirt off your driveway and enjoy your weekend.
If you loved saving money with this simple guide, be sure to bookmark our site for more straightforward, practical DIY repair tips. Share this guide with a neighbor who loves fixing things, and never let a simple leak slow you down again!