

Engineered hardwood floors bring a beautiful, warm feel to any home. They add undeniable value to your living space. But life happens, and suddenly you are staring at an ugly mark on your beautiful flooring.
Learning how to repair engineered hardwood floor scratches is a skill every homeowner needs. You do not need a fancy contractor to fix these common blemishes. Renters and DIY enthusiasts can easily tackle this project in a single weekend.
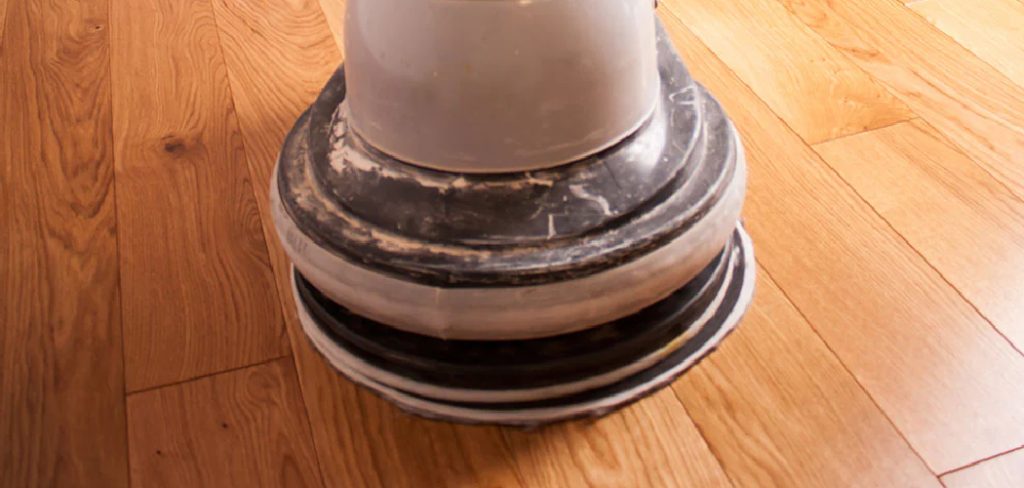
Fixing it yourself keeps more money in your pocket. Professional floor repairs quickly run into the hundreds of dollars. By grabbing a few simple tools, you can restore your floors for a fraction of the cost.
We will walk through the entire process together. You will see that making your floors look brand new is easier than you think. Let us dive right in and get those scratches sorted out.
What Causes Scratches on Engineered Hardwood?
Before we start fixing things, we need to know how the damage happened. Stopping the source prevents future headaches. Engineered wood has a real wood veneer, meaning it scratches just like solid hardwood.
Here are the most common culprits behind your floor damage:
- Pets with long nails: Dogs and cats running through the house leave tiny surface scratches.
- Moving heavy furniture: Dragging chairs or couches without felt pads creates deep gouges quickly.
- Tiny rocks and dirt: Shoes track in small pebbles that grind into the wood finish like sandpaper.
- Dropped heavy objects: Canned goods or heavy tools falling can dent and scratch the top veneer.
- Hard plastic wheels: Rolling office chairs without a protective mat easily scuff the floor.
- Improper cleaning tools: Using stiff-bristled brooms or harsh vacuums wears down the protective layer.
Tools & Materials Needed for the Job
You cannot do a good job without the right supplies. Gathering everything beforehand saves you trips to the hardware store. The tools you need depend on how deep the scratch goes.
Basic Cleaning Supplies
You need to prep the area before doing any real repair work.
- Soft microfiber cloths
- Hardwood floor cleaner
- A vacuum with a soft brush attachment
For Light Surface Scratches
These are for tiny scuffs that only affect the clear coat.
- Hardwood blending pencils or markers
- Walnut meat (yes, the actual nut!)
- Floor polish or liquid scratch concealer
For Medium to Deep Gouges
These tools handle damage that cuts through the color layer.
- Color-matched wood putty or wax filler sticks
- A plastic putty knife (never use metal)
- Fine-grit sandpaper (220-grit or higher)
- Painter’s tape
- Polyurethane finish (water-based or oil-based to match)
- Small artist paintbrushes
Step-by-Step Guide on How to Repair Engineered Hardwood Floor Scratches
We are going to break this down by the severity of the damage. Minor scuffs need a completely different approach than deep gouges. Follow the section that matches your specific floor problem.
Step 1: Clean the Damaged Area Thoroughly
You must start with a totally clean canvas. Dirt trapped inside a scratch will ruin your repair job. It creates a muddy look and stops fillers from sticking.
Spray your hardwood floor cleaner directly onto a microfiber cloth. Gently wipe down the scratched area and the surrounding floor.
Let the spot dry completely before moving on to the next step. If the scratch is deep, use a soft vacuum brush to pull out any hidden dust.
Step 2: Fixing Light Surface Scuffs
Light scratches only damage the clear protective finish. They look white or cloudy but do not penetrate the colored wood underneath.
You can often fix these with a simple blending marker. Pick a marker color that matches your floor perfectly. Carefully color inside the scratch line.
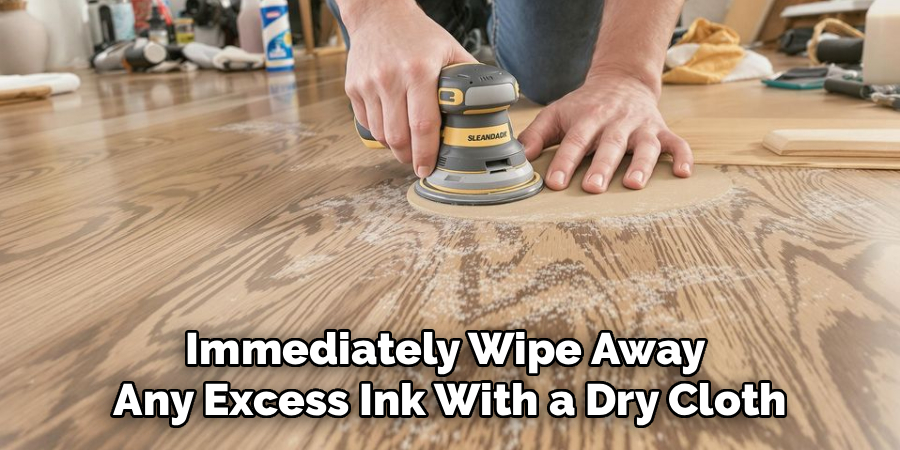
Immediately wipe away any excess ink with a dry cloth. You want the color in the crack, not on the surrounding floor.
Alternatively, rub a raw walnut over the scratch. The natural oils in the nut darken the scuff and blend it into the wood beautifully.
Step 3: Tackling Medium Depth Scratches
Medium scratches go past the clear coat and hit the actual wood veneer. Markers will not fill the physical indentation left behind. You need a wax filler stick for this job.
Find a wax stick that matches your floor color. Rub the wax stick back and forth across the scratch. Press down firmly so the wax fills the gap completely.
Take your plastic putty knife and gently scrape away the excess wax. Keep the blade flat so you do not create new scratches.
Buff the area gently with a clean cloth. The wax should sit perfectly flush with the rest of your flooring.
Read More: How to Repair Wood Veneer.
Step 4: Repairing Deep Gouges
Deep gouges are intimidating, but you can absolutely fix them. These scratches expose the core board beneath the wood veneer. Wood putty is your best friend here.
First, tape off the area around the gouge with painter’s tape. This protects the good floor from sanding and filler.
Take a small amount of color-matched wood putty on your plastic knife. Press it deeply into the gouge, leaving it slightly mounded on top. Wood putty shrinks slightly as it dries.
Let the putty dry completely according to the package directions. This usually takes a few hours.
Step 5: Sanding and Smoothing the Putty
Once the putty is rock hard, it is time to make it smooth. Grab your fine-grit sandpaper. Gently sand the mounded putty until it is flush with the tape.
Remove the painter’s tape carefully. Run your finger over the repair to ensure it feels level with the floor.
Wipe away any sanding dust with a slightly damp cloth. Let the area dry entirely.
Read More: How to Repair Water Damaged Hardwood Floors.
Step 6: Sealing the Repaired Area
The wood putty needs a protective seal, or it will wash away when you mop. You must apply a clear finish over the patched spot.
Dip your small artist brush into the polyurethane. Apply a very thin layer directly over the putty.
Do not let the finish pool or bubble. Smooth it out perfectly.
Let this clear coat cure for at least 24 hours. Do not walk on it or place furniture over it during this time.
Safety Warnings for DIY Floor Repair
Your safety is always the top priority. Working with floor finishes and wood dust requires a few simple precautions.
Always work in a well-ventilated room. Open your windows when using strong polyurethane finishes or chemical cleaners. Inhaling these fumes gives you a terrible headache.
Wear a simple dust mask when sanding wood putty. Breathing in fine dust particles irritates your lungs and throat.
Never use metal tools like screwdrivers or steel putty knives on your floor. One slip of the hand will cause massive damage to your engineered hardwood.
Keep pets and small children out of the room while finishes are drying. They might accidentally step in the wet chemicals or eat the wax sticks.
When to Call a Professional
I love fixing things myself, but sometimes you have to know your limits. DIY repairs are perfect for isolated scratches, scuffs, and minor gouges.
However, engineered hardwood has a very thin top layer of real wood. You cannot sand the entire floor down heavily like solid hardwood.
If your floor has severe, widespread water damage, call a pro. Cupping or buckling planks require complete replacement.
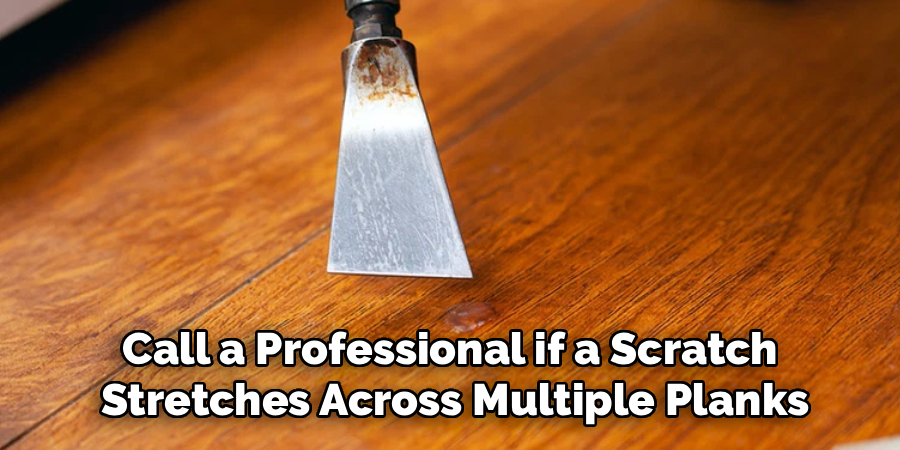
Call a professional if a scratch stretches across multiple planks and cuts deep into the core. Replacing individual engineered planks is tricky. A pro has the specialized tools to route out the damaged board without ruining the locking system.
Finally, call an expert if you are unsure about your floor’s finish. Applying oil-based polyurethane over a factory-cured aluminum oxide finish will look terrible.
Cost Estimate: DIY vs. Professional Repair
Money is a huge factor when deciding how to handle floor damage. Let us look at what you can expect to spend.
A complete DIY scratch repair kit costs between $15 and $40. This includes wax sticks, markers, and a plastic scraper.
If you need wood putty, sandpaper, and a small can of polyurethane, expect to spend around $30 to $50. All your supplies will easily fit into a $50 budget.
Hiring a professional tells a different story. The minimum call-out fee for a flooring specialist is usually $150 to $200.
If they need to replace a plank or do extensive patching, the bill jumps. Professional repairs generally run between $200 and $500 depending on the damage severity.
Doing this yourself clearly saves you hundreds of dollars. It only takes an hour or two of your actual weekend time.
Frequently Asked Questions
Can you use WD-40 on hardwood floor scratches?
No, you should never use WD-40 on engineered hardwood. It leaves a slippery, oily residue that creates a massive slipping hazard. It also prevents future clear coats or finishes from sticking properly to the wood.
Does olive oil and vinegar fix floor scratches?
This is a popular internet myth. Olive oil temporarily darkens the scratch, making it harder to see. However, the oil turns rancid over time, smells bad, and attracts dirt right into the scratch.
Can you completely sand engineered hardwood floors?
It depends on the thickness of the top veneer. Most engineered floors can only be lightly sanded once or twice in their lifetime. Always check the manufacturer specifications before attempting to rent a large floor sander.
How do I fix cloudy spots on my engineered wood?
Cloudy spots usually mean moisture is trapped under the finish or the wrong cleaner was used. You can lightly buff the area with a specialized hardwood floor restorer. If the finish is completely compromised, you must spot-sand and reseal it.
What is the best way to prevent future scratches?
Prevention is your best defense. Place high-quality felt pads under every piece of furniture in your house. Keep pet nails trimmed and use area rugs in high-traffic zones like hallways and entryways.
Conclusion
Seeing damage on your beautiful floors is frustrating, but it is rarely permanent. Learning how to repair engineered hardwood floor scratches is a straightforward process. You now have the exact blueprint to fix everything from minor scuffs to deep gouges.
Gather your simple materials and take it step by step. Cleaning the area, filling the gap, and protecting the finish is all it takes. You will save hundreds of dollars and gain a ton of confidence in your DIY skills.
Your floors handle a lot of daily traffic, so give them the care they deserve. Taking an hour this weekend to fix those annoying marks will completely refresh your room.
Are you ready to tackle more home fixes? Grab your repair kit, turn on some good music, and get those floors looking brand new today! Check out our other guides for more simple, money-saving home repair tips.