

You go to let some sunshine into your living room, and suddenly, your window treatment refuses to budge. Maybe the cord snaps, the slats refuse to turn, or the whole thing is hanging completely uneven. We have all experienced this frustrating moment at home.
Before you toss them in the trash, take a deep breath. Learning how to repair Levolor blinds is surprisingly simple. You do not need to be a professional contractor to get your window treatments working like new again.
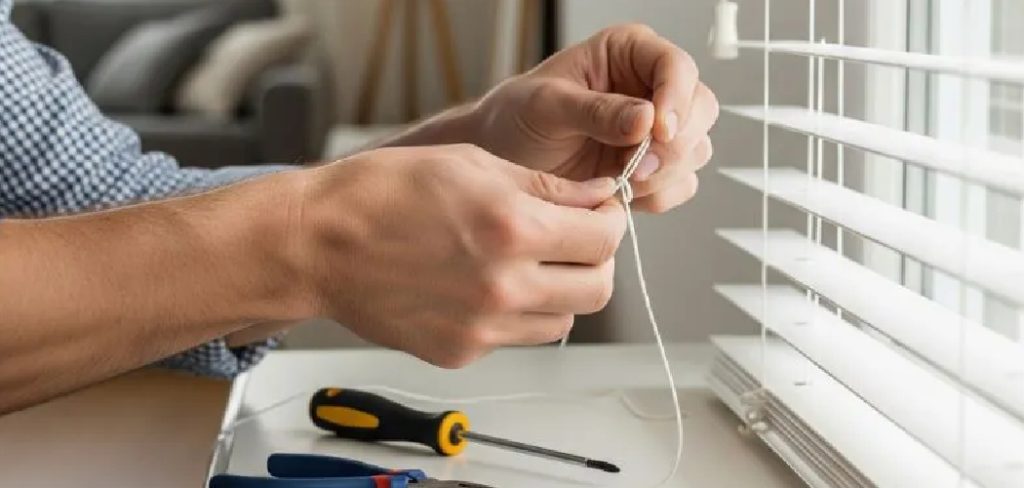
Fixing things yourself saves you a significant amount of money. Professional repairs or total replacements can drain your wallet fast. By spending just a few minutes tackling the issue, you can keep your hard-earned cash in your pocket.
Ready to roll up your sleeves and get to work? Let’s fix those blinds together.
What Causes Levolor Blind Issues?
Window treatments endure a lot of daily wear and tear. You pull, twist, and adjust them constantly, which naturally leads to mechanical fatigue over time. Understanding what goes wrong helps you prevent future headaches.
Here are the most common culprits behind broken window coverings:
- Friction and fraying: Daily pulling causes lift cords to rub against the internal hardware, eventually leading to a snapped string.
- Worn out internal gears: The internal tilt mechanism is made of small plastic or metal gears that can strip or jam over time.
- Aggressive handling: Yanking too hard on the cords can easily jam the cord lock or snap the delicate internal brackets.
- Sun damage: Years of direct sunlight bake the plastic components, making things like the wand brittle and prone to snapping.
- Pet and child damage: Cats, dogs, and curious kids often bend or break individual slats while trying to peek out the window.
- Dust buildup: Accumulated dirt and pet hair can clog the moving parts inside the headrail, causing them to stick.
Tools & Materials Needed for the Job
You cannot start a job without the right tools. Thankfully, you likely already have most of these items sitting in your garage or junk drawer. Gathering everything beforehand makes the process smooth and frustration-free.
Here is what you need to grab before we begin:
- A flathead and Phillips-head screwdriver
- Needle-nose pliers (great for grabbing tiny cords)
- Replacement lift cord (match the thickness to your current string)
- A lighter or a small match (for sealing cut cord ends)
- Replacement parts if needed (new cord lock, tilt mechanism, or extra slats)
- A tape measure
- Scissors
- A sturdy step ladder
How to Repair Levolor Blinds: Step-by-Step Fix Guide
Now we get to the fun part. Fixing window treatments is mostly about patience and paying attention to how things fit together. I will walk you through the most common fixes, step by step.
Find the section below that matches your specific problem. Take your time, and do not force any plastic parts.
Step 1: Removing the Blinds from the Window
Before fixing anything, you need a comfortable workspace. Trying to repair hardware while standing on a ladder is a recipe for a sore neck. Laying the unit flat on a large table or clean floor is the best approach.
First, pull the blinds all the way up so they are tightly gathered. This makes the entire unit much easier to handle and transport.
Next, grab your step ladder and locate the mounting brackets at the top corners of your window frame. Most Levolor brackets have a small hinged door on the front. Use your flathead screwdriver to gently pry these little doors open.
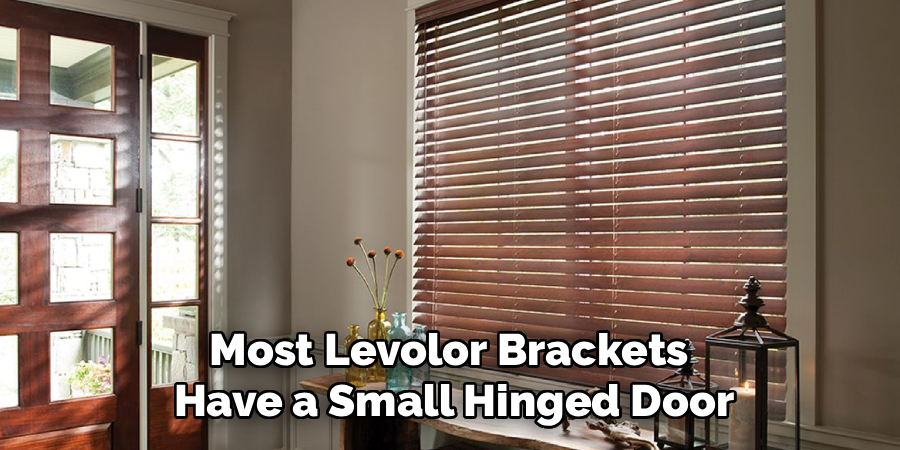
Once the bracket doors are open, carefully slide the headrail out toward you. Set the entire unit down on your flat, clean workspace.
Step 2: Fixing a Broken Cord Lock
If your blinds keep crashing down when you try to lock them in the “up” position, your cord lock is likely the culprit. This small mechanism pinches the strings to hold the heavy slats in place. Over time, the internal brass roller gets grooved or jammed.
Start by looking inside the headrail (the long metal box at the top). Follow the lift strings to the side where they exit the rail. The small plastic and metal block holding these strings is the lock.
Use your screwdriver to push down the small metal tabs holding the lock in place. Gently slide the old lock out of the headrail. Pay close attention to how the strings thread through the small wheels.
Take your new lock and thread the strings through the exact same way. Snap the new mechanism back into the headrail until you hear a firm click. Test the pull to ensure the small roller moves freely.
Read More: How to Repair Roller Blinds.
Step 3: Restringing a Snapped Lift Cord
A broken lift string is the most common repair job you will face. While it looks intimidating, it is just a simple threading exercise.
Start by removing the small plastic caps (tassels) at the end of your pull cords. Untie the knots and set the tassels aside. Next, pop out the small plastic plugs on the very bottom rail of the unit.
Pull the broken string entirely out of the blind. Take your new replacement cord and melt the very tip with your lighter. This stops the end from fraying while you push it through small holes.
Thread the new string down through the locking mechanism at the top. Push it down through every single slat hole, weaving it alternatingly through the ladders if your model requires it. Once it reaches the bottom rail, tie a sturdy double knot and replace the bottom plug.
Step 4: Mastering Slat Repair
A cracked or bent slat ruins the look of your whole room. If you have extra slats (often hidden down at the bottom rail), performing a slat repair is a breeze.
Pop the plugs out of the bottom rail and untie the heavy lift strings. Pull the string up just far enough to clear the broken slat. You do not need to pull it all the way out of the headrail.
Slide the damaged slat out of the woven ladder strings. Slide your crisp, new slat right into that same empty slot. Make sure it sits evenly on the ladder rungs.
Thread your lift string right back down through the new slat. Continue threading it through the remaining lower slats until you hit the bottom rail again. Tie your sturdy knot, push the plug back in, and you are done.
Read More: How to Repair Shower Drain Issues Fast.
Step 5: Tackling a Wand Replacement
If you twisted your wand a little too hard and it snapped off, do not worry. A wand replacement takes about thirty seconds and requires almost no tools.
Look at the very top of the wand where it connects to the headrail. You will usually see a small metal hook covered by a plastic sleeve. Slide that plastic sleeve up to expose the metal hook.
Unhook the broken wand piece and throw it away. Take your new wand and slip the metal hook through the small eyelet hanging from the headrail. Slide the plastic sleeve back down over the connection to secure it.
Give it a quick twist to make sure the slats open and close smoothly. That is it!
Step 6: Fixing a Jammed Tilt Mechanism
When you turn the wand and hear a horrible grinding sound—or nothing happens at all—your tilt mechanism is broken. The internal gears have likely stripped.
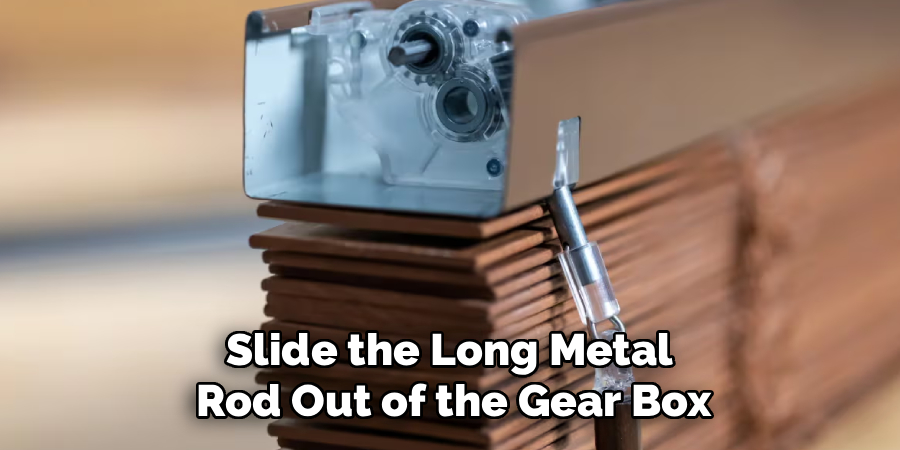
Look inside the headrail on the side where the wand hangs. You will see a small gear box sitting on a long metal rod (the tilt rod). Pop off the end cap of the headrail to give yourself some working room.
Slide the long metal rod out of the gear box. Pushing it to the right usually gives you enough clearance. Once the rod is out, use your flathead screwdriver to pry the old gear box out of the rail.
Snap your brand-new gear box into the headrail. Slide the long metal rod back through the center of the new gears. Replace the headrail end cap and reattach your wand.
Crucial Safety Warnings Before You Start
Even though fixing things around the house is rewarding, safety must always come first. Working with window treatments involves cords, ladders, and sometimes sharp metal edges.
Always ensure your step ladder is fully locked and on a completely flat surface. Never stand on the very top step or lean too far over while taking the unit down.
When working inside the metal headrail, watch out for sharp edges. The stamped metal parts can easily slice your finger if you slip with a screwdriver. Consider wearing light work gloves while prying out old parts.
Finally, always keep long lift cords away from small children and pets. When testing your newly strung cords, make sure they do not create loops that could become a strangulation hazard. Install safety cleats on your wall to wrap up excess string.
When to Call a Professional
I firmly believe most folks can handle basic household repairs. However, there is no shame in knowing your limits. Sometimes, a DIY job just isn’t the right move.
If you have massive, custom-built wooden window treatments that span an entire sliding glass door, call a pro. The sheer weight of these units makes them dangerous to take down by yourself.
Motorized or smart blinds are another area where professional help is best. If the internal motor burns out, or the electronic sensors fail, standard hand tools will not fix it. You risk voiding the warranty if you crack open the motor casing.
Lastly, if your window coverings are over 15 years old, consider replacement. The plastic parts become incredibly brittle over time. Fixing one part often leads to snapping another, trapping you in a never-ending cycle of repairs.
Cost Estimate: DIY vs. Pro Repair
One of the best reasons to do this yourself is the massive cost difference. Let us look at the numbers so you can see just how much money you are saving.
If you hire a professional technician, expect a minimum service call fee of $75 to $150 just for them to show up. Adding in parts and hourly labor, a simple string replacement often costs upward of $150 to $200.
If you tackle the job yourself, the savings are incredible. A spool of high-quality replacement string usually costs less than $15.
Replacement gear boxes, locks, and wands generally run between $5 and $20 on average. Even if you have to buy a screwdriver, your total DIY cost rarely exceeds $30.
That means spending an hour of your Saturday fixing the issue keeps over $100 in your pocket. That is money you can spend on something far more exciting than window hardware.
FAQs on How to Repair Levolor Blinds
You probably still have a few lingering questions. That is completely normal! Here are the most common questions I hear from neighbors when they are fixing their window treatments.
Can I buy replacement parts at a local hardware store?
Sometimes, but not always. Big box stores carry generic string and wands, but specific internal mechanisms are usually easier to find online through specialized blind repair websites.
Why won’t my blind go down when I pull the string?
Your locking mechanism is likely stuck. Try pulling the strings toward the center of the window to release the internal catch. If it stays stuck, the locking roller needs to be replaced.
How do I know what size lift cord to buy?
Standard treatments use a 1.4mm or 1.8mm cord. Take a small clipping of your broken string and compare it to a sizing chart online, or bring it to the hardware store for comparison.
Can I fix a creased aluminum slat?
Unfortunately, once aluminum creases, it is permanently damaged. You cannot bend it back perfectly flat. Your best option is performing a slat repair by swapping it with a spare from the bottom.
Conclusion
Taking care of household maintenance does not have to be a miserable chore. As you can see, learning how to repair Levolor blinds is a totally manageable weekend project. By replacing a simple wand or swapping out an internal gear, you breathe new life into your home decor.
You save a ton of money, keep perfectly good materials out of the landfill, and gain a great sense of accomplishment. The next time a string snaps, you will know exactly what to do. You have the tools, you have the knowledge, and you are ready to get it done.
If you found this guide helpful, check out our other easy DIY home repair tutorials on the blog. Grab your screwdriver, put on a good playlist, and get those windows looking great again!