

You grab your wrench, give the bolt a turn, and instead of that solid bite you feel it spin uselessly with no grip at all. Stripped threads are one of the most frustrating snags in any repair job, and they always seem to show up when you’re halfway through fixing something else.
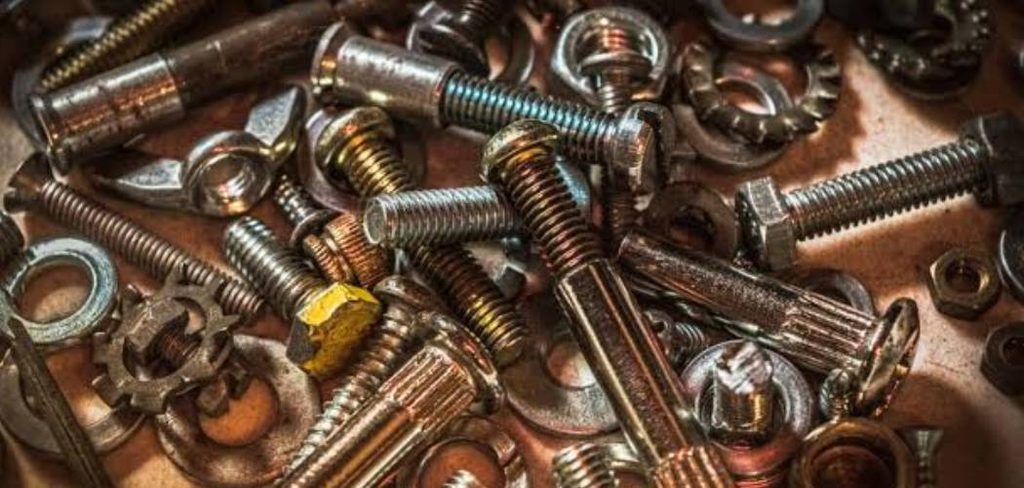
Don’t reach for a hacksaw or call in a pro just yet. Most thread damage is fixable at home with a few basic hand tools and a little patience. Whether the threads sit inside a hole or run along the bolt itself, you have several proven ways to bring them back to life.
Learning how to fix a stripped bolt thread saves you time, money, and a whole lot of headaches. This guide walks you through every step to diagnose the damage and restore a clean, strong hold.
Why Fixing a Stripped Bolt Thread Matters
Threaded fasteners hold our world together, from furniture legs to engine covers. When the threads strip, that strong connection turns into a wobbly, unreliable mess.
For homeowners and renters, this skill rescues appliances, fixtures, and furniture without the cost of replacements or a service call. DIY enthusiasts gain a core mechanical repair ability that carries over to cars, bikes, and countless household projects.
Campers and outdoor beginners benefit in a big way. Gear racks, tent poles, trailer hitches, and camp stoves all rely on bolts that loosen and strip over rough miles. A stripped thread in the backcountry can leave you stranded, so knowing a quick field fix keeps your trip on track. Mastering bolt repair builds real confidence, turning a stressful breakdown into a five-minute job you can handle anywhere with the right tools on hand.
Tools and Materials You’ll Need
Round up your gear before you start, so you’re not searching for parts mid-job. Most of these items are affordable and live in any basic toolkit.
- A tap and die set for recutting damaged threads cleanly
- A thread chaser to clean up minor thread damage fast
- A thread insert kit (such as a helicoil) for badly worn holes
- Adjustable wrenches and a socket set to grip and turn fasteners
- Penetrating lubricant to free a seized bolt and ease rethreading
- A wire brush to clear grit and old metal shavings
- Safety glasses and gloves to protect against sharp edges
- A bench vise (optional, but it holds parts rock-steady while you work)
That vise is a small luxury that frees up both hands, making delicate rethreading far easier and far more accurate.
Step-by-Step Guide on How to Fix a Stripped Bolt Thread
Work through these eight steps in order, and take your time on the inspection. Knowing exactly where the threads failed turns guesswork into a fix that holds.
Step 1 – Inspect the Damaged Threads
Set the part on a steady surface under good light and look closely at the bolt and the hole. Run your fingertip gently along the threads and feel for flattened ridges, burrs, or smooth patches where the grooves should bite.
Knowing how to fix a stripped bolt thread starts with telling external from internal damage. A bolt with worn threads is easy to swap, while a stripped hole needs more work.
Watch for tell-tale metal shavings clinging to the fastener, a sure sign of cross-threading. Try threading the bolt in by hand. If it spins freely or grinds with no grip, you’ve confirmed the damage. Pinpoint the exact spot now, since it shapes which repair method you’ll choose next.
Step 2 – Clean the Threads and Surrounding Area
Before any repair, clear away the gunk. Dirt, rust, and old thread-locker hide the real damage and clog your tools mid-cut.
Brush the bolt and hole with a wire brush, working into the grooves until the metal looks clean and bright. Wipe away loose grit with a rag.
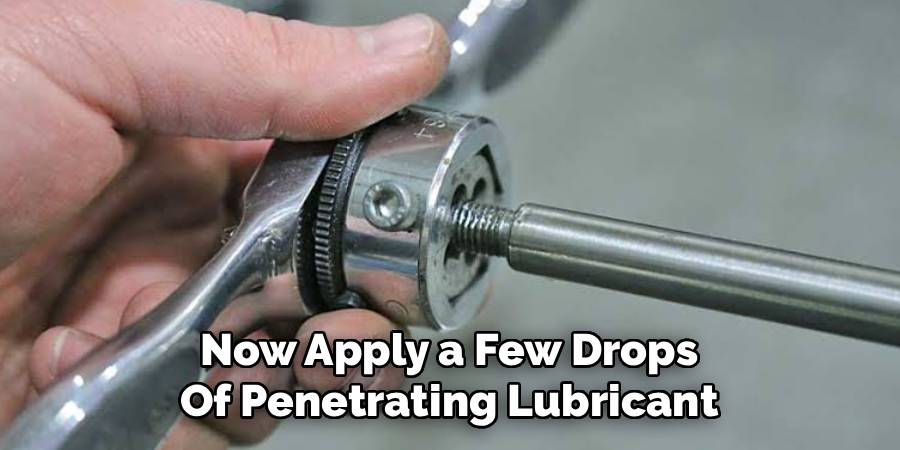
Now apply a few drops of penetrating lubricant, especially if you’re dealing with a seized bolt. Let it soak for several minutes while it creeps into the threads and loosens stubborn corrosion. You’ll often hear a faint crack as the bolt frees up. A clean, lubricated surface lets your thread chaser or tap glide smoothly, so you cut new grooves instead of fighting through debris that ruins the finish.
Step 3 – Try a Thread Chaser First
Start with the gentlest fix. A thread chaser cleans and reshapes lightly damaged threads without removing much metal, which makes it perfect for minor fastener damage.
Match the chaser to your bolt’s size and thread pitch, then thread it on slowly by hand. You’ll feel it grab the good threads and smooth the bent ones as you turn.
Go a quarter turn forward, then a little back, easing through the rough spots. Resist the urge to force it. If the chaser clears the damage and the bolt threads in snugly afterward, you’re done. This simple tool fixes a surprising number of problems in minutes, saving you from heavier methods when the damage is only skin deep.
Step 4 – Recut Threads with a Tap or Die
When a chaser isn’t enough, step up to your tap and die set. Use a die to recut threads on a bolt, and a tap to restore threads inside a hole.
Pick the exact size and pitch to match the original fastener. Clamp the part in your vise if you have one, then start the tool square and straight to avoid fresh cross-threading.
Turn slowly, backing off every half turn to break and clear the metal shavings. Add a drop of lubricant as you go to keep the cut clean and cool. You’ll feel steady resistance as fresh grooves form. When the bolt or nut threads on smoothly with a firm bite, your rethreading is complete.
Step 5 – Install a Thread Insert for Bad Damage
Sometimes the threads are too far gone for a tap alone. That’s when a thread insert, often called a helicoil, saves the day by creating brand-new threads inside a worn hole.
Drill the hole to the size listed in your kit, then use the supplied tap to cut threads for the insert. Wind the coil onto the installation tool and thread it into the hole until it sits just below the surface.
Snap off the small tang at the bottom with a punch. You now have fresh, strong threads ready for the original bolt size. This method restores full holding strength, often making the repaired hole tougher than the factory threads were.
Step 6 – Test the Fit and Alignment
Before you trust the repair, check the fit carefully. Thread the bolt in by hand and feel for smooth, even resistance with no grinding or wobble.
Good nut and bolt alignment matters here. Start every fastener straight, since even a slight angle invites cross-threading all over again. If it feels gritty, back it out and inspect for leftover shavings or a high spot you missed.
Spin the bolt all the way in and out a few times. It should run clean from start to finish, biting firmly without slipping. Knowing how to fix a stripped bolt thread means trusting your hands to judge the fit. A snug, square thread now means a connection that holds under real load later.
Step 7 – Apply Proper Torque
Now tighten with care. Fresh threads, especially in soft metal or a new insert, can strip again if you crank too hard.
Reach for a torque wrench if the job has a recommended spec, like an engine part or a bike component. Tighten in smooth, steady pulls rather than sudden jerks.
If you don’t have a torque value, snug the bolt firmly, then give it just a touch more until it seats solidly. You’ll feel the resistance climb sharply once it’s home. Stop there. Over-tightening is one of the fastest ways to undo your hard work. Proper torque locks the parts together securely while protecting those new threads for the long haul.
Step 8 – Add Thread-Locker and Final Check
For bolts that face vibration or movement, finish with a dab of thread-locker. A small drop on the threads keeps the fastener from backing out over time, which matters for camp gear, vehicles, and moving parts.
Apply it sparingly, then thread the bolt in and torque it to spec. Wipe away any excess that squeezes out.
Give the whole joint one last look. Wiggle the part gently and confirm there’s no play or slip. Run your finger over the seam to feel for a tight, flush fit. When everything sits solid and clean, your bolt repair is complete and ready for real use. Take a moment to enjoy a fix done right.
Critical Mistakes to Avoid When Fixing a Stripped Bolt Thread
Even careful beginners trip over a few common errors, so let’s clear them up before you turn a single tool.
The biggest mistake is forcing the bolt or tap when it resists. Cranking through grinding resistance only deepens the damage and snaps tools off inside the hole. Back off, clear the shavings, add lubricant, and ease forward slowly instead.
Another frequent slip is choosing the wrong thread size or pitch. A mismatched tap or die cuts fresh damage rather than fixing the old, leaving you worse off than you started. Always match the original fastener exactly, and test the pitch with a thread gauge if you’re unsure.
Many people also skip the cleaning step. Dirt, rust, and old thread-locker clog the grooves and throw off your cut, so the repair never seats right. A quick wire-brush pass and a soak in penetrating lubricant fixes that fast.
Starting a tap or bolt crooked is another classic trap. Even a slight angle causes cross-threading that ruins your fresh work. Take a beat to align everything square before you turn.
Finally, over-tightening at the end strips soft new threads in seconds. Respect proper torque, snug firmly without going overboard, and your repair will hold strong.
Expert Tips
A few smart habits turn a decent fix into one that lasts for years.
First, keep a quality tap and die set and a thread insert kit on hand. Having the right size ready means you fix problems on the spot instead of waiting on a parts run mid-project.
Second, always go bigger only as a last resort. Recutting the original size or adding a helicoil keeps your hardware standard, so future repairs and replacements stay simple.
Third, lubricate generously while cutting threads. A little oil cools the cut, clears metal shavings, and leaves a far smoother finish that grips better.
Finally, work slowly and back off often. The rhythm of a half turn forward, a quarter turn back lets the tool clear debris and prevents binding. Patience here protects both your threads and your tools, and it’s the single biggest difference between a clean fix and a fresh mess.
Frequently Asked Questions
Can I fix a stripped thread without special tools?
Sometimes, depending on the damage. Your quick options include:
- Minor damage: a slightly larger bolt or a self-tapping screw may grab fresh metal
- Soft materials: wood filler or epoxy putty can rebuild threads in plastic or wood
- Light burrs: a sharp utility knife can clean up a few bent ridges
For metal parts under real load, though, a proper tap, die, or thread insert gives the only reliable, lasting hold.
How do I know if the bolt or the hole is stripped?
Thread the bolt in by hand and pay attention. If it spins freely in the hole with no grip, the internal threads are stripped. If the bolt won’t catch in a known-good hole or nut, the bolt’s external threads are the problem. Inspect both under good light for flattened or smooth spots. Swapping a cheap bolt is far easier than repairing a hole, so always check the fastener first.
What’s the difference between a thread chaser and a tap?
A thread chaser cleans and reshapes existing threads without removing much metal, making it ideal for minor damage and quick maintenance. A tap actually cuts new threads, removing material to restore badly damaged or fresh holes. Reach for the chaser first since it’s gentler and faster. If the threads are too worn for the chaser to grab, step up to the tap to recut them properly.
Will a helicoil repair hold as strong as the original?
Yes, and often stronger. A helicoil insert creates fresh stainless threads that frequently hold tighter than the original soft metal, especially in aluminum. The key is drilling and tapping to the correct size, seating the coil just below the surface, and using proper torque on final assembly. Done right, the repaired hole handles full load and stands up to repeated use for years.
How do I stop threads from stripping in the future?
Prevention comes down to a few simple habits:
- Start straight: always begin fasteners square to avoid cross-threading
- Don’t over-tighten: use proper torque rather than brute force
- Use thread-locker: it prevents loosening from vibration
- Keep threads clean: clear dirt and rust before assembly
A drop of lubricant on the threads also reduces friction, so the bolt seats smoothly without galling or grabbing.
Conclusion
A stripped bolt feels like a dead end until you break the repair into clear steps. You’ve seen that success comes down to spotting the real damage, cleaning the threads, and choosing the right fix for the job, whether that’s a quick chase, a fresh recut, or a sturdy insert.
Start by inspecting and cleaning the threads, then try a thread chaser before stepping up to a tap and die. For badly worn holes, install a helicoil for full strength. Test the fit, apply proper torque, and finish with thread-locker where vibration is a concern. Respect those steps, sidestep the common mistakes, and your repair will hold strong job after job.
A little care, like clearing shavings and lubricating as you cut, keeps small problems from snowballing into bigger ones. Once you’ve mastered how to fix a stripped bolt thread, you’ve gained a skill that rescues gear, saves money, and gets you back to the real work fast.
So grab your tools, clear a steady space, and dig in. Solid threads are closer than you think.