

Your wood floor took a beating. Scratches, dull patches, water marks, and worn spots near doorways tell the story of daily life. The good news? You can fix most of it yourself. Learning how to repair finish on wood floor saves you the cost of a pro and brings back that warm, glossy shine you fell in love with.
This job isn’t reserved for experts. With basic tools, a little patience, and the right steps, any homeowner or renter can tackle surface damage in an afternoon. You don’t need to refinish the entire room either—often, just the worn areas need attention.
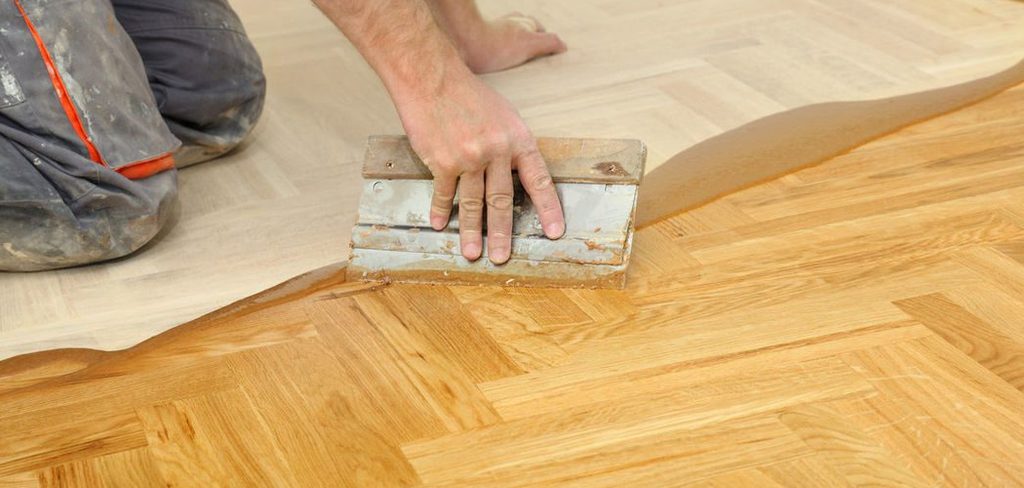
This guide walks you through every step, from cleaning and assessment to applying a fresh topcoat that protects your floor for years.
Why Repairing Wood Floor Finish Matters
A damaged finish does more than look bad. It exposes raw wood to moisture, dirt, and foot traffic. Once that protective layer wears thin, water seeps in, stains set deep, and small surface scratches turn into permanent gouges.
Fix the finish early and you protect your investment. Hardwood floors add real value to a home, and a well-maintained surface keeps that value high. A fresh topcoat also makes cleaning easier—spills wipe up instead of soaking in.
There’s a financial win too. Professional floor refinishing costs hundreds, sometimes thousands. A simple finish repair runs a fraction of that. You gain the skill, save the money, and keep your floors looking sharp. That’s a solid return for one weekend of work.
Tools and Materials You’ll Need
Gather everything before you start. Stopping mid-project to run to the store wastes time and breaks your rhythm.
- Restore the shine — water-based or oil-based polyurethane topcoat
- Smooth the surface — fine-grit sandpaper (120 to 220 grit) or a sanding screen
- Match the color — wood stain that matches your existing floor
- Clean deep — pH-neutral wood floor cleaner
- Apply evenly — lambswool applicator or high-quality synthetic brush
- Lift debris — tack cloth and a microfiber mop
- Protect yourself — gloves, a respirator mask, and knee pads
- Test first — a clean white rag for spot-checking your existing finish type
Optional but worth it: a buffer or orbital sander for larger areas. It cuts your sanding time in half and gives a more even result.
Step-by-Step Guide – How to Repair Finish on Wood Floor
Step 1 – Identify Your Existing Finish
Start by figuring out what’s already on your floor. This decides which products will bond correctly.
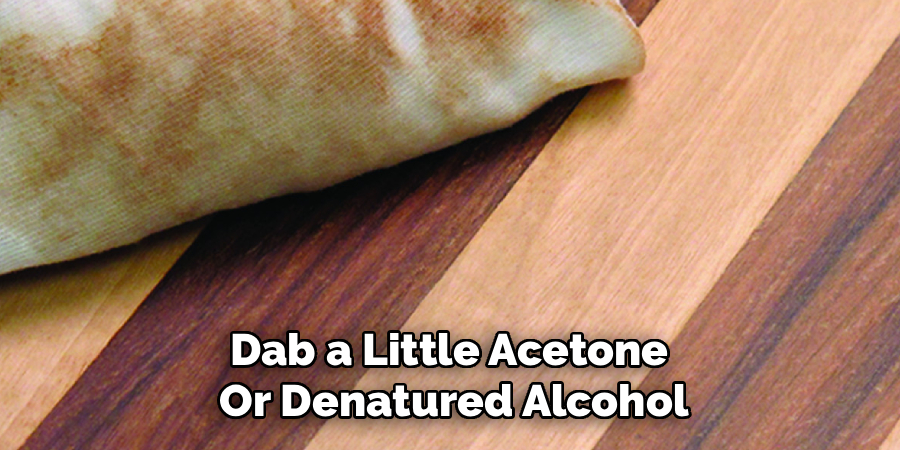
Dab a little acetone or denatured alcohol on a cotton ball and rub a hidden corner. If the finish gets sticky or softens, you likely have a shellac or varnish. If it beads up and resists, you’re dealing with polyurethane or urethane.
This test takes two minutes and saves hours of frustration. Mixing incompatible products leads to peeling, cloudiness, and a finish that never fully cures.
Knowing your finish also tells you whether to choose water-based or oil-based products for your repair. Match the chemistry, and the new layer locks in tight.
Step 2 – Clear and Clean the Room
Empty the workspace completely. Move furniture, rugs, and anything that could trap dust or get in your way.
Now clean the floor like you mean it. Use a pH-neutral wood floor cleaner and a microfiber mop. Skip household soaps and vinegar—they leave residue that blocks adhesion.
Pay close attention to greasy spots near kitchens and oily buildup in high-traffic lanes. Run your hand across the surface. It should feel clean and dry, not slick or gritty.
Let the floor dry fully before moving on. Any trapped moisture under your new finish creates cloudy spots. A clean, dry base is the foundation of a flawless result.
Step 3 – Assess the Damage
Look closely at every problem area. Surface scratches that catch your fingernail are deeper than light scuffs that only affect the topcoat.
Light damage needs only a fresh coat. Deeper scratches that reach bare wood require spot sanding and stain. Gray or black water stains mean moisture has penetrated past the finish—those need extra attention.
Mark trouble spots with painter’s tape so you don’t miss them later. Good lighting helps here. Shine a lamp at a low angle across the floor and the scratches jump out.
Knowing exactly what you’re fixing keeps your effort focused and your hardwood floor results consistent across the whole room.
Step 4 – Sand the Surface
Sanding gives your new finish something to grip. For full-room work, use a buffer with a 120-grit sanding screen. For small spots, hand-sand with fine-grit paper.
Work with the grain, never against it. Going crosswise leaves visible scratches that show through the topcoat. Apply steady, even pressure and let the abrasive do the work.
You’re not removing the wood—just scuffing the old finish to a dull, even haze. The floor should lose its shine and feel slightly rough, like fine paper.
The room will fill with fine dust, so wear your respirator. This is the messiest part of how to repair finish on wood floor, but it’s also the step that guarantees a strong bond.
Step 5 – Vacuum and Tack the Dust
Dust is the enemy of a smooth finish. Even tiny particles create a bumpy, gritty surface once the topcoat dries.
Vacuum the entire floor first, including baseboards and corners where dust hides. Use a brush attachment to avoid scratching the freshly sanded wood.
Next, wipe everything down with a tack cloth. This sticky material grabs the fine dust a vacuum leaves behind. Drag it slowly across the surface in long, overlapping passes.
Run your palm over the floor one last time. It should feel perfectly clean and smooth. Close windows to keep airborne dust from settling. A spotless surface now means a glassy, professional finish later.
Step 6 – Spot-Treat Deep Scratches with Stain
Now handle the deep scratches that reached bare wood. These need color before you seal them, or they’ll show as pale lines.
Apply matching wood stain with a small brush or cotton swab. Work it directly into the scratch, following the grain. Wipe away excess immediately with a clean rag so it doesn’t pool or darken too much.
Take it slow and build color gradually. You can always add more, but removing stain is far harder. Step back and check the match under natural light.
Let the stain dry completely—usually two to four hours, longer in humid weather. The repaired spots should blend seamlessly into the surrounding hardwood floor.
Step 7 – Apply the First Topcoat
Time to seal it all in. Choose your polyurethane to match the original sheen—satin, semi-gloss, or gloss.
Pour the finish into a paint tray and load your lambswool applicator. Start in the corner farthest from the door so you don’t paint yourself into a trap. Work in the direction of the grain using long, smooth strokes.
Keep a wet edge to avoid lap marks where one section meets another. Apply a thin, even coat—thick layers bubble, drip, and dry unevenly.
The fresh polyurethane will smell sharp and look milky at first, then clear as it dries. Resist the urge to overwork it. One smooth pass is enough.
Step 8 – Sand Lightly and Apply the Final Coat
Let the first coat dry fully, following the can’s timing. Water-based finishes dry in hours; oil-based ones may need overnight.
Once dry, scuff the surface gently with 220-grit paper or a fine screen. This knocks down any raised grain or dust nibs and helps the next coat bond. Tack the dust away again.
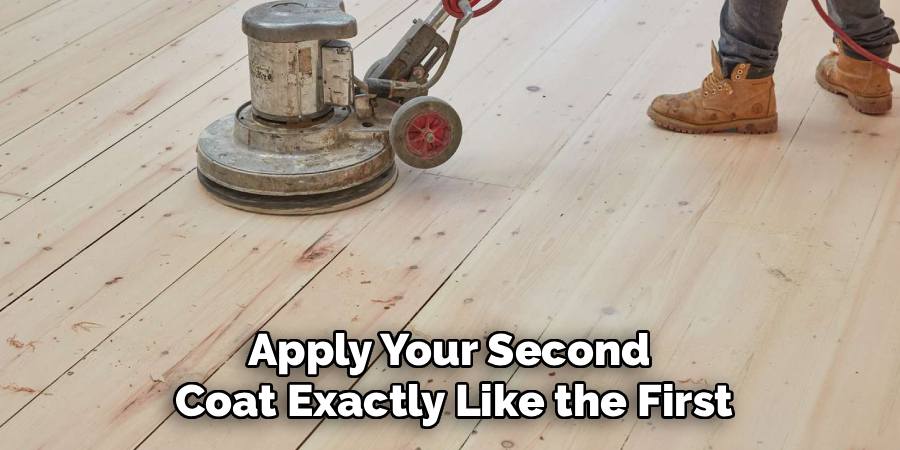
Apply your second coat exactly like the first—thin, even, with the grain. This final layer builds durability and brings out that deep, rich shine.
For high-traffic floors, a third coat adds extra protection. Each layer makes your floor refinishing tougher and longer-lasting. Stand back and admire that fresh, mirror-like surface coming to life.
Critical Mistakes When Repairing Wood Floor Finish
The biggest mistake is skipping the cleaning and sanding prep. People want to jump straight to the topcoat, but a dirty or glossy surface won’t hold new finish. The result peels within weeks. Always clean thoroughly and scuff the old finish first—this single step separates a lasting repair from a failed one.
Another common error is mixing incompatible finishes. Applying oil-based polyurethane over a water-based finish, or vice versa, causes cloudiness, poor adhesion, and a tacky surface that never fully cures. Test your existing finish before you buy products, and match the chemistry every time.
Applying coats too thick is a frequent trap. A heavy layer looks faster, but it traps bubbles, runs into drips, and dries unevenly. Thin coats cure better and look cleaner. Patience wins here.
Rushing dry times ruins good work. Recoating before the previous layer cures creates a soft, gummy mess. Respect the can’s timing, especially in humid conditions.
Finally, sanding against the grain leaves visible scratches that the finish magnifies. Always follow the wood grain, both when sanding and applying your topcoat.
Expert Tips
Test everything in a hidden spot first. Try your stain match under a closet door or behind furniture before committing to the open floor. This catches color mismatches early.
Control your environment. Aim for a temperature between 65 and 75°F with low humidity. Finishes cure best in stable conditions, and dust settles less when the air is calm.
Buy quality applicators. A cheap brush sheds bristles into your finish and leaves streaks. A good lambswool applicator pays for itself in a smoother result.
Work in natural daylight when you can. It reveals missed spots, thin areas, and color differences that artificial light hides. And ventilate well—open a window across the room, but keep direct drafts off the wet finish to prevent dust contamination.
Frequently Asked Questions
Can I repair just one section instead of the whole floor?
Yes. Spot repairs work well for isolated scratches or worn areas. Clean, lightly sand, and recoat only the damaged zone. The tricky part is blending—feather the edges of your new topcoat into the surrounding finish so the transition stays invisible. Match your sheen carefully. For large or heavily worn areas, a full-room recoat usually gives a more uniform, professional look.
How long before I can walk on the floor?
It depends on your finish. Here’s a general guide:
- Light foot traffic (socks): 24 hours after the final coat
- Furniture replacement: 48 to 72 hours
- Rugs and full use: 7 to 14 days for a complete cure
Water-based polyurethane cures faster than oil-based. Always follow your product’s specific timing and stay off the floor longer in humid weather.
Do I need to sand down to bare wood?
No, not for a finish repair. You only sand to bare wood when the existing finish is failing across the whole floor or when you want to change the color completely. For most surface scratches and dullness, a light scuff-sanding to rough up the old finish is enough. Full sanding is a bigger floor refinishing job best reserved for serious damage.
What’s the difference between polyurethane and urethane finishes?
Both protect your floor, but they differ in durability and feel. Oil-based polyurethane adds a warm amber tone and lasts longer, though it smells strong and dries slowly. Water-based versions dry fast, stay clear, and have lower odor. Urethane is the broader chemical family these finishes belong to. Choose based on your sheen preference, dry time, and how much traffic the floor sees.
How often should I recoat my wood floor?
Most hardwood floors benefit from a fresh topcoat every three to five years, depending on wear. High-traffic homes with kids or pets may need it sooner. Watch for early warning signs: dullness, light scratches, and water no longer beading on the surface. Recoating before the finish wears through to bare wood is far easier and cheaper than a full sand-and-refinish.
Conclusion
You now have everything you need to bring your floors back to life. Repairing the finish isn’t complicated—it’s a methodical process of cleaning, assessing, sanding, and sealing. Follow each step in order, respect the dry times, and you’ll get results that rival a professional job.
Remember the essentials: identify your existing finish first, prep the surface properly, apply thin and even coats, and always work with the grain. These habits make the difference between a repair that lasts years and one that peels in weeks.
The best part? You did it yourself. You saved hundreds on professional floor refinishing, learned a valuable skill, and protected one of your home’s biggest assets. That fresh, glossy surface is proof of your effort.
Don’t wait until small scratches turn into deep damage. The sooner you act, the easier the fix. When you’re ready to repair finish on wood floor again, you’ll know exactly what to do. Grab your tools, set aside an afternoon, and give your floors the care they deserve.