

That tacky, gummy feeling on your favorite tools, electronics, or gear? It happens when the rubber coating breaks down. Heat, sunlight, age, and oils all push rubber past its prime, leaving behind a sticky mess that grabs dust and ruins your grip. The good news: you don’t need to toss the item or call a pro. You can fix sticky rubber at home with supplies you probably already own.
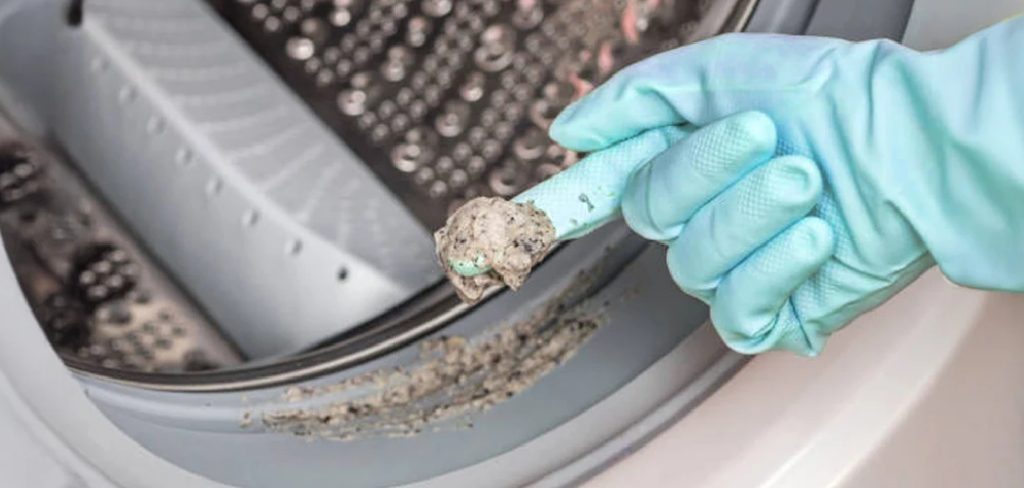
This guide walks you through the exact steps how to fix sticky rubber, treat, and restore degraded rubber surfaces. You’ll learn what causes the stickiness, which products work, and how to avoid making things worse. By the end, you’ll know how to bring your gear back to a clean, dry, usable finish.
Why Fixing Sticky Rubber Matters
Sticky rubber spreads. Touch it once, and the residue transfers to your hands, your other tools, and every surface you set the item on. Left alone, the breakdown only gets worse, and the grip you relied on becomes useless.
Repairing it yourself saves money. Replacing a camera body, a kitchen appliance, or a power tool because of a gummy coating wastes cash you don’t need to spend. A simple cleanup restores function and looks for a fraction of the cost.
You also gain a transferable skill. The same method works on remote controls, flashlights, headphones, and gym equipment. Master it once, and you protect every rubberized item you own. That’s real value for any homeowner, renter, or weekend fixer who’d rather solve a problem than buy a new one.
Tools and Materials You’ll Need
Gather your supplies before you start. Having everything ready keeps the job fast and clean.
- Isopropyl alcohol (90% or higher) — dissolves the sticky residue
- Baking soda — neutralizes and scrubs stubborn tack
- Microfiber cloths — wipe surfaces without scratching
- Soft-bristle toothbrush — reaches grooves and textured areas
- Cotton swabs — clean tight corners and seams
- Dish soap and warm water — handles light cleanup
- Disposable gloves — keep residue off your hands
- Plastic scraper or old credit card — lift loose coating safely
- Mineral oil or talcum powder (optional) — restores a smooth, dry finish after cleaning
That optional finishing product makes a real difference on items you handle daily. It seals the surface and stops the tackiness from returning as quickly.
Step-by-Step Guide on How to Fix Sticky Rubber
Follow these steps in order. Work in a ventilated space and give each stage the time it needs.
Step 1 – Unplug and Disassemble the Item
Safety comes first. If the item runs on power, unplug it or remove the batteries before you touch a single surface. Electronics and liquids don’t mix.
Next, take off any removable parts. Pop out battery covers, unscrew grips, and detach panels you can reach without forcing them. This gives you full access to the gummy areas and protects the components you don’t want wet.
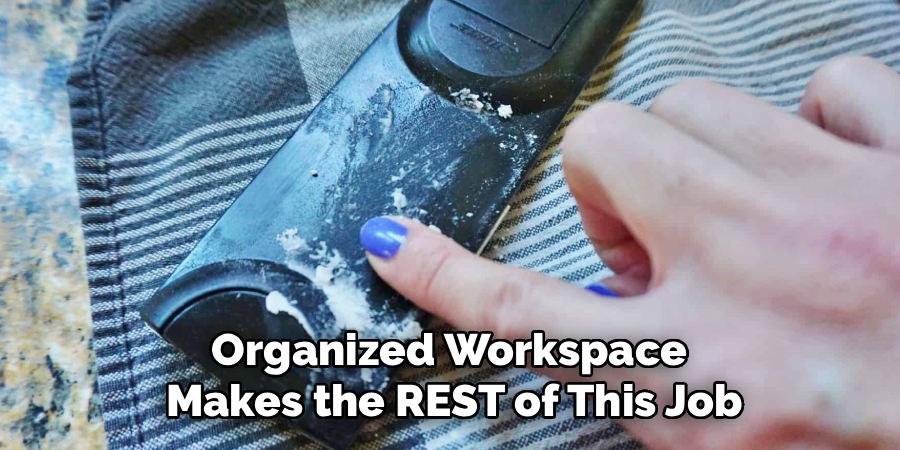
Set the small pieces in a bowl so nothing rolls away. Lay the main item on a towel to catch drips. You’ll feel the sticky surface drag against your fingers as you handle it — that’s the breakdown you’re about to remove. A clear, organized workspace makes the rest of this job smooth.
Step 2 – Test a Hidden Spot First
Never treat the whole surface blind. Pick a small, hidden area — the underside, an edge, or a spot near a seam — and apply a dab of isopropyl alcohol with a cotton swab.
Wait thirty seconds. Watch how the rubber reacts. If the residue lifts and the surface underneath stays firm, you’re clear to continue. If the rubber smears, discolors, or softens too much, switch to the gentler soap-and-water method instead.
This test takes two minutes and saves you from ruining a visible surface. Different coatings respond differently, and what works on a flashlight grip might react badly on a camera body. Trust the test result before you commit to the full cleanup.
Read More: How to Repair Crumbling Concrete Statues.
Step 3 – Wipe Away Loose Residue
Start with the easy stuff. Dampen a microfiber cloth with warm water and a drop of dish soap, then wipe the sticky surface in slow, firm strokes.
You’ll feel the cloth drag at first as it picks up the gummy film. Rinse the cloth often so you’re moving residue off the item, not smearing it around. Some coatings give up a surprising amount of grime at this stage alone.
This first pass removes surface oils and loose breakdown before you bring in stronger solvents. Skipping it just clogs your alcohol and slows the job. Once the cloth glides instead of catches, you’ve cleared the loose layer and you’re ready for deeper cleaning.
Step 4 – Apply Isopropyl Alcohol
Now hit the tack directly. Soak a microfiber cloth with 90% isopropyl alcohol and rub the sticky areas using steady pressure and small circles.
The alcohol dissolves the degraded coating fast. You’ll smell the sharp, clean scent and watch the residue transfer onto the cloth as a dark smear. Keep folding to a fresh section so you always work with clean fabric.
For textured grips and grooves, dip a cotton swab or the soft toothbrush in alcohol and scrub gently. This is the core move when you fix sticky rubber, because the solvent breaks the bond holding that gummy layer in place. Repeat across the whole surface until the cloth comes away clean and the drag disappears.
Step 5 – Scrub Stubborn Spots with Baking Soda
Some patches refuse to let go. For those, mix baking soda with a little water until you get a thick paste, then dab it onto the remaining sticky zones.
Work the paste in with the toothbrush using light, circular strokes. The fine grit lifts residue that alcohol alone left behind, and it neutralizes the tack instead of just spreading it. You’ll feel the surface shift from gummy to rough to smooth as you go.
Don’t press too hard. Let the baking soda do the work so you don’t scratch the material underneath. This combination of solvent and gentle abrasive is how you fix sticky rubber that’s badly degraded without damaging the part below.
Step 6 – Rinse and Dry Thoroughly
Clear away every trace of cleaner. Wipe the surface with a fresh cloth dampened in plain water to remove leftover baking soda and alcohol residue.
Baking soda dries to a white film if you leave it, so go over textured areas twice and use a swab to chase grit out of seams. The surface should look clean and even, with no chalky streaks.
Then dry the item completely with a dry microfiber cloth. Pay attention to crevices where water hides. Let the piece air-dry for fifteen to twenty minutes before you move on. A fully dry surface is the only kind that takes a finishing treatment well, so don’t rush this stage.
Read More: How to Repair a Touch Lamp.
Step 7 – Apply a Protective Finish
Lock in your results. Once the surface is bone-dry, you can add a finishing layer to keep it smooth and stop the stickiness from creeping back.
For a matte, dry feel, dust a thin layer of talcum powder over the surface and buff it in with a clean cloth. For a slightly conditioned look, rub a tiny amount of mineral oil across the rubber and wipe off the excess.
Use a light hand either way. Too much product leaves its own slick or greasy film. You want the surface to feel clean and dry, not coated. This final touch extends the repair and makes the item pleasant to hold again.
Step 8 – Reassemble and Test
Bring it all back together. Reattach the panels, grips, and covers you removed, and snap or screw each piece into place.
Restore power or reinsert the batteries, then run the item to confirm everything works. Press the buttons, check the grip, and run your fingers across the rubber. It should feel clean, dry, and firm — no drag, no residue.
Give the surface one last wipe with a dry cloth to catch any leftover powder or oil. If a spot still feels tacky, repeat the alcohol step on that area alone. Your gear is now back in service, and you know exactly how to handle it the next time the coating starts to break down.
Critical Mistakes When Fixing Sticky Rubber
A few common errors turn a quick fix into a bigger problem. Avoid these and you’ll get clean results the first time.
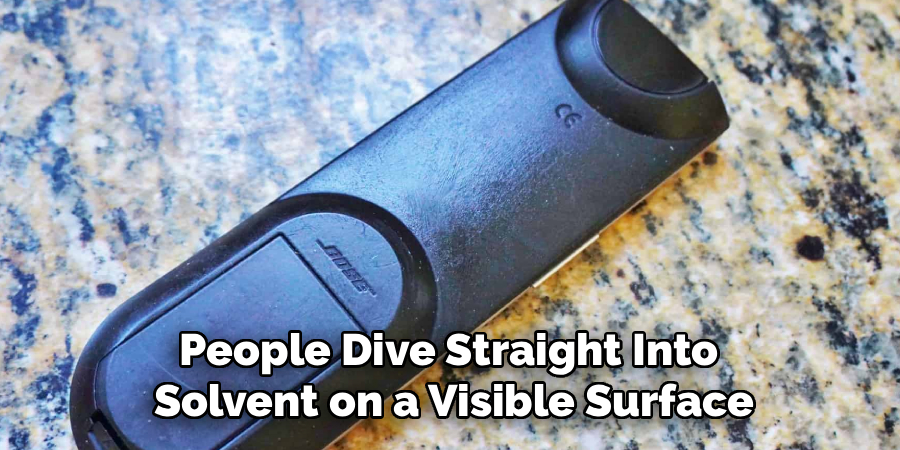
The biggest mistake is skipping the spot test. People dive straight into solvent on a visible surface, then watch the rubber discolor or melt. Always test a hidden area first and confirm the coating reacts the way you expect before you commit.
Another frequent error is using harsh chemicals like acetone, bleach, or paint thinner. These strip far more than the sticky layer. They eat into the material underneath, leave permanent marks, and release fumes you shouldn’t breathe. Stick to isopropyl alcohol and baking soda, which clean effectively without destroying the surface.
Many people also rush the drying stage. They apply a finish or reassemble while the item is still damp, which traps moisture, ruins the protective layer, and invites the stickiness right back. Let every surface dry completely before the next step.
Finally, scrubbing too hard does real damage. Aggressive pressure scratches the material and wears through thin coatings. Let the alcohol and baking soda do the work, and keep your strokes light and patient. Speed comes from technique, not force.
Expert Tips
Work in good light. Sticky residue hides in textured grips and seams, and bright, angled light shows you exactly where the tack still lives. You’ll clean faster when you can see the smears.
Change your cloth often. A dirty cloth just redistributes residue across the surface. Switch to a fresh section the moment it stops lifting grime, and you’ll cut your cleaning time in half.
For badly degraded coatings, accept that you may be removing the layer entirely rather than restoring it. A clean hard-plastic surface underneath beats a permanently gummy one, and it still looks and feels far better than the sticky mess you started with.
Store the item out of direct sunlight and heat afterward. Both speed up rubber breakdown. A cool, dry spot keeps your repair looking good for far longer.
Frequently Asked Questions
Why does rubber get sticky over time?
Rubber turns sticky when its surface coating breaks down. Heat, sunlight, humidity, and skin oils all degrade the polymers over months or years. The material reverts to a gummy state and grabs onto dust and dirt. This is normal aging, common on electronics, tools, and gear that sit in warm or sunny spots, and it’s exactly what cleaning and treatment can reverse.
Will isopropyl alcohol damage my item?
Not usually, but always test first. Isopropyl alcohol safely dissolves most sticky coatings without harming the hard surfaces underneath. The risk comes from painted finishes, printed labels, or certain soft plastics that alcohol can fade. Dab a hidden spot, wait thirty seconds, and check the reaction before treating any visible area. If it reacts badly, switch to soap and water.
Can I save the rubber, or will I remove it completely?
It depends on how degraded the coating is. Light tackiness usually cleans up while leaving the rubber intact. Severe breakdown often means removing the soft layer entirely, exposing the hard plastic beneath. Both outcomes beat a sticky mess:
- Light cases: clean, treat, and keep the original feel
- Severe cases: remove the coating for a smooth, dry surface
How do I stop the stickiness from coming back?
Control heat and sunlight. Both accelerate the breakdown that causes tackiness. After cleaning, apply a light finish of talcum powder or mineral oil to seal the surface, then store the item somewhere cool, dry, and shaded. Wipe it down occasionally to remove oils. These habits won’t stop aging completely, but they slow it dramatically and extend your repair.
Is baking soda safe on all rubber surfaces?
Baking soda is gentle enough for most rubber and plastic, which is why it works well on stubborn tack. Its fine grit lifts residue without harsh chemicals. Still, use a light touch and a soft brush to avoid scratching glossy or delicate finishes. Test a small area first, and rinse thoroughly afterward so no white film dries on the surface.
Conclusion
Sticky rubber doesn’t mean the end of your gear. With a bottle of isopropyl alcohol, some baking soda, and a little patience, you can restore tools, electronics, and gadgets that felt destined for the trash. The process is simple: disassemble, test, clean, dry, and protect.
Remember the key points. Always test a hidden spot before you treat a visible one. Skip the harsh chemicals and let the alcohol and baking soda do the heavy lifting. Give every surface time to dry fully, and finish with a light protective layer to keep the tackiness from returning.
You now have a repeatable method you can use on remote controls, cameras, flashlights, and any other rubberized item that’s gone gummy. Each repair saves you money and keeps a perfectly good item in service. So next time something turns tacky, you’ll know exactly how to fix sticky rubber and get it back to a clean, dry, ready-to-use finish. Grab your supplies and bring your gear back to life.