

That ugly scrape on your bumper bugs you every time you walk to your car. A tight parking spot, a curb you misjudged, a shopping cart with a mind of its own — and suddenly your paint looks rough. The good news? You don’t need a body shop. With a few supplies and an afternoon, you can repair bumper scuffs right in your driveway and save real money.
Most scuffs are surface-level. The plastic underneath is fine. You’re really just removing transferred material and refinishing the paint. That’s well within reach for a beginner.
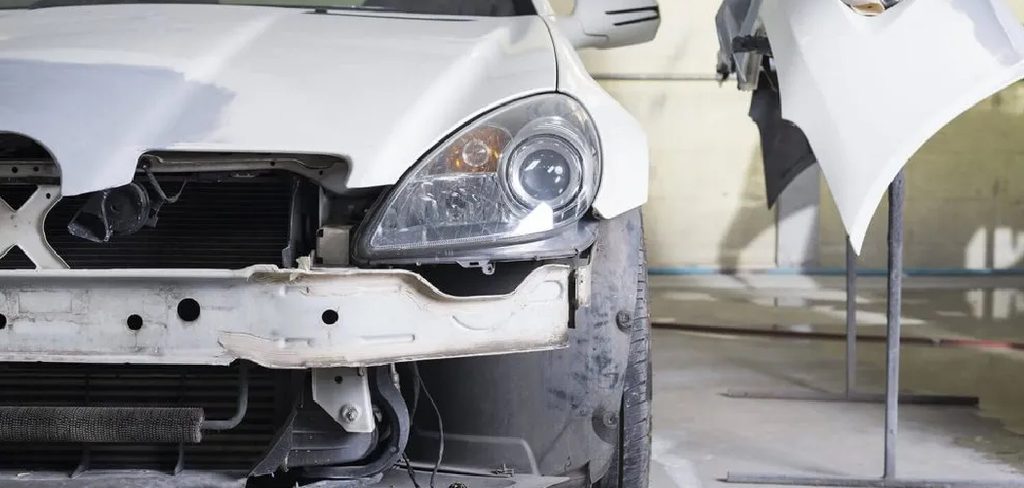
This guide walks you through every step how to repair bumper scuffs, from cleaning the damage to blending fresh paint, so your bumper looks sharp again.
Why Fixing Bumper Scuffs Yourself Saves You Time and Money
A body shop charges $150 to $600 for a single scuffed bumper. You’ll pay a fraction of that doing it yourself — often under $50 in materials. The math is simple.
Time matters too. Booking a shop means dropping off your car, arranging a ride, and waiting days for it back. A DIY fix takes one afternoon, and the curing happens overnight while you sleep.
You also gain control. You choose the paint match, the level of detail, and when the work happens. No upselling, no surprise fees.
And the skill sticks. Once you learn this, every future scrape becomes a quick weekend job instead of an expensive appointment. You fix it, you own it, and your car looks the part.
Tools and Materials You’ll Need
Gather everything before you start. Stopping mid-job to buy a missing item slows the whole process and lets dust settle on wet paint.
- Car wash soap and a clean microfiber cloth — for removing dirt and grease
- Wet/dry sandpaper in 600, 1500, and 2000 grit — to smooth the scuffed area
- Rubbing compound — to lift surface marks and transferred paint
- Automotive primer matched for plastic bumpers
- Touch-up or spray paint in your car’s exact color code
- Clear coat — to seal and protect the finish
- Painter’s tape and newspaper — to mask surrounding panels
- Plastic adhesion promoter — for bare plastic spots
- Polishing compound and applicator pads — for the final shine
- Nitrile gloves and a dust mask — for clean, safe handling
- A heat gun or hair dryer (optional) — speeds drying between coats
Find your paint code on a sticker inside the driver’s door jamb.
Step-by-Step Guide to Repairing Bumper Scuffs
Step 1 – Wash and degrease the damaged area
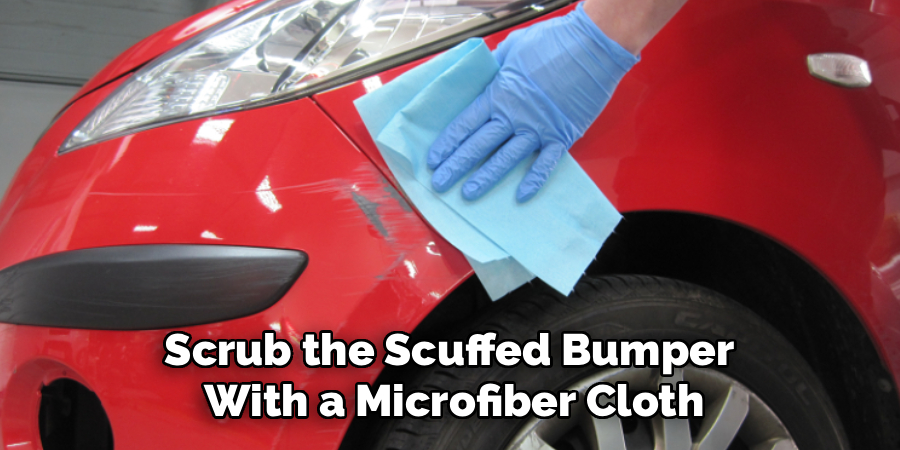
Start clean. Any dirt, wax, or road grime trapped under your repair will ruin the finish. Mix car wash soap with warm water and scrub the scuffed bumper with a microfiber cloth.
Pay close attention to the scuff itself. Grime hides in the rough edges. Rinse thoroughly, then dry with a fresh cloth until the surface squeaks when you run a finger across it.
Run your fingertip over the damage. If it feels smooth and the scuff is just color transfer, a light buff may fix it. If you feel a ridge or gouge, you’ll need the full process. This first step decides everything that follows, so don’t rush it.
Step 2 – Assess the depth of the scuff
Look closely under good light. Tilt the bumper toward the sun or shine a flashlight across it at an angle. Shallow scuffs sit on top of the clear coat. Deeper ones cut through the paint to gray or black plastic.
Press your nail gently into the mark. If it catches, the damage is deep and needs primer and paint. If your nail glides over it, you’re dealing with a surface scuff that polishing alone can erase.
Knowing the depth saves you effort. There’s no point priming a mark that a quick buff would remove. This quick check tells you exactly how far down the rabbit hole you need to go before you touch any sandpaper.
Step 3 – Mask off surrounding panels
Protect everything you don’t want painted. Overspray drifts further than you expect and settles on headlights, trim, and clean paint nearby.
Lay painter’s tape along the edges of your work zone. Press it down firmly so paint can’t seep underneath. Then tape newspaper over wider areas like wheel wells and adjacent panels.
Take your time here. A crisp tape line gives you a clean border between old and new paint, and that border is what makes a repair invisible. Sloppy masking leaves jagged edges and stray spray spots that scream “DIY job.” Cover more than you think you need to. It’s far easier to add tape now than to scrub overspray off your fender later.
Step 4 – Sand the scuffed surface
Wet your 600-grit sandpaper and sand the scuff with light, even pressure. The water keeps dust down and stops the paper from clogging. You’ll hear a smooth, slurry-like sound as the surface levels out.
Work in one direction, then check your progress often. You want to remove the raised scuff and feather the edges so the repair blends. Wipe the area with a damp cloth and look — the surface should feel flat, with no sharp ridge under your fingertip.
If you’re dealing with deep damage and need to repair bumper scuffs that reach bare plastic, sand until the area is uniform and slightly dull. Switch to finer grit later. Stop when the transition feels seamless to the touch.
Step 5 – Apply primer to bare spots
If sanding exposed bare plastic, prime it. Bare bumper plastic won’t hold color paint on its own, and skipping primer means your fresh coat peels within months.
Wipe the area one last time to remove sanding dust. Spray a plastic adhesion promoter first, then a thin coat of automotive primer. Hold the can about eight inches away and sweep across the spot in light passes.
Don’t drown it. Two thin coats beat one thick one every time. Thick primer runs and sags, leaving drips you’ll have to sand off. Let each coat flash dry for ten minutes before the next. The primer should look even and matte, with no shiny patches showing through where bare plastic still peeks out.
Step 6 – Spray the color coat
Shake your color paint hard for at least two minutes. The mixing ball inside should rattle freely. Test it on cardboard first to check the spray pattern and confirm the match.
Spray light, overlapping passes across the primed area. Start your motion before the bumper and release after — this avoids heavy buildup at the edges. Each pass should barely tint the surface.
Build the color in three or four thin coats, waiting ten minutes between each. The fresh paint will look slightly different when wet, so judge the match only after it dries. Keep your distance steady and your hand moving. Patience here pays off, because rushed, thick color coats blotch and never blend smoothly into the surrounding factory paint.
Step 7 – Seal with clear coat
Clear coat protects your color and gives it that glossy factory shine. Without it, the repair stays dull and fades fast under sunlight.
Apply two to three thin coats of clear, using the same overlapping technique. Hold the can steady and keep moving. The surface should turn wet and glossy, reflecting light like the rest of your bumper.
Watch for runs. Clear coat is thin and drips easily if you linger in one spot. If you see a sag forming, stop and let it dry rather than trying to fix it wet. Let the final coat cure overnight in a dust-free spot. Resist the urge to touch it — clear coat stays soft for hours before it fully hardens.
Step 8 – Polish and blend the finish
Once the clear coat cures fully, usually after 24 hours, it’s time to blend. Wet your 2000-grit sandpaper and lightly smooth any rough texture or dust nibs in the clear coat. Go gentle — you’re refining, not removing.
Then apply polishing compound to a foam pad and work it over the repair in small circles. You’ll watch the surface go from hazy to mirror-bright. Wipe away the residue with a clean microfiber cloth.
Step back and check the blend under sunlight. The repaired patch should disappear into the surrounding paint, matching its gloss and depth. A final coat of wax seals everything and adds protection. This last polish is what turns a decent fix into one nobody notices.
Critical Mistakes When Repairing Bumper Scuffs
The biggest mistake is skipping the cleaning step. People dive straight into sanding while grease and grime still cling to the surface. That trapped dirt grinds into the paint and contaminates every coat after it. The result is a rough, patchy finish that peels. Always wash and degrease first. No exceptions.
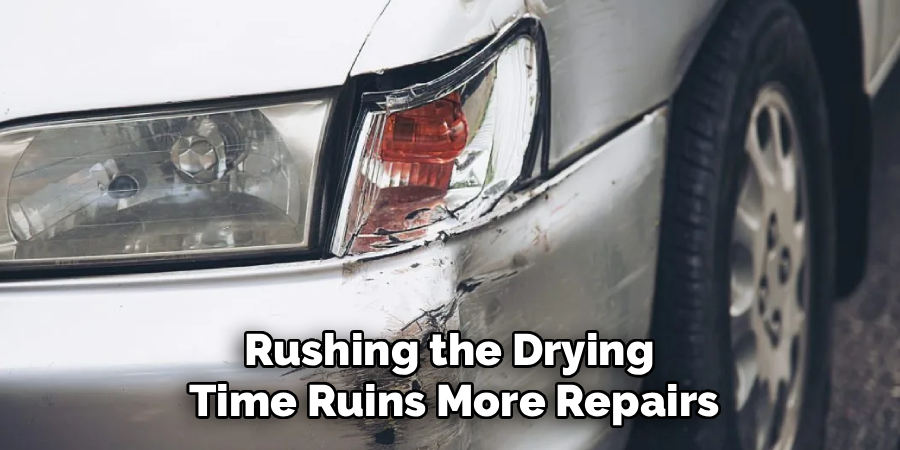
Rushing the drying time ruins more repairs than anything else. Fresh primer, color, and clear coat each need time to flash off before the next layer. Pile on coats too fast and the paint traps solvents underneath, causing wrinkles, bubbles, and sags. Wait the full ten minutes between coats, and let the final clear cure overnight.
Using the wrong paint code is a costly miss. A shade that’s even slightly off stands out worse than the original scuff. Find your exact code in the door jamb and match it precisely.
Spraying too heavily is another trap. Thick coats run and drip, and once they sag, you’re sanding everything back down. Light, overlapping passes always win.
Finally, many people forget to mask properly. Overspray lands on trim and clean panels, creating new problems while fixing the old one. Cover everything nearby before you spray.
Expert Tips
Work on a warm, dry, windless day. Paint cures best between 60 and 80°F. Cold air slows drying and humidity traps moisture under your clear coat, leaving a cloudy haze.
Keep the can the same distance from the bumper through every pass — about eight inches. Consistent distance creates consistent coverage. Your hand should move at a steady walking pace.
Always test your spray on cardboard first. You’ll catch clogs, spitting nozzles, and color mismatches before they hit your car.
For small scuffs, a touch-up pen often beats spray paint and gives you tighter control. And when in doubt, build up thin layers slowly. You can always add more paint, but removing a thick, drippy coat means starting over. Patience is your most valuable tool.
Frequently Asked Questions
How long does it take to repair a bumper scuff?
The hands-on work takes two to four hours, depending on the damage depth. Surface scuffs that only need buffing go faster. Deeper scrapes needing primer, paint, and clear coat take longer. Then you’ll wait overnight — at least 24 hours — for the clear coat to cure fully before polishing. Plan for one afternoon of work plus a day of drying time.
Can I fix deep bumper scuffs myself?
Yes, as long as the plastic isn’t cracked or gouged through. Deep scuffs that reach bare plastic need sanding, primer, color, and clear coat — all doable at home. If the bumper is split, punctured, or hanging loose, that’s structural damage. Those repairs need plastic welding or replacement, and a professional handles them better.
What’s the best paint to use on a plastic bumper?
Use automotive paint matched to your car’s exact color code, paired with a primer made for flexible plastic. Standard primer cracks on bumpers because plastic flexes. Look for:
- A plastic adhesion promoter
- Flexible automotive primer
- Color-matched base coat
- Automotive clear coat
This combination bonds properly and resists chipping over time.
Do I really need primer and clear coat?
Yes, if you’ve sanded down to bare plastic. Primer helps paint bond to the slick plastic surface, and without it your color peels within months. Clear coat protects the color from UV fading and gives that glossy factory shine. For shallow scuffs you simply buff out, you can skip both — but any exposed plastic needs the full system.
How do I find my car’s paint color code?
Check the sticker inside the driver’s door jamb. It lists a paint code, often labeled “C/TR” or “Color.” You can also find it in your owner’s manual or by searching your VIN online. Bring this exact code when buying touch-up paint. Guessing the shade leads to a mismatch that stands out more than the original scuff.
Conclusion
A scuffed bumper doesn’t have to mean an expensive trip to the body shop. With basic supplies, a free afternoon, and a little patience, you can repair bumper scuffs yourself and get factory-quality results.
Remember the core steps. Clean first. Check the depth. Mask carefully. Sand smooth, prime bare plastic, then build your color and clear coat in thin, even layers. Finish with a polish that blends the repair into your surrounding paint. Each step matters, and skipping one shows in the final result.
The mistakes to avoid are just as important — dirty surfaces, rushed drying, wrong paint codes, and heavy coats. Sidestep those, and your repair will hold up for years.
Best of all, you’ve learned a skill that pays off again and again. The next curb scrape or parking-lot mishap becomes a quick weekend fix instead of a costly appointment. Grab your supplies, pick a dry day, and give it a go. Your bumper — and your wallet — will thank you.