

Cracks in your basement wall don’t fix themselves. Left alone, they spread, let in water, and weaken the entire structure. The good news? You can handle most of this yourself. Learning how to repair cinder block walls saves you hundreds in contractor fees and gives you full control over the result.
Whether you’re a homeowner staring at a hairline crack or a renter patching a scuffed garage wall, the process is more approachable than it looks. You need patience, the right materials, and a clear plan. Small cracks take an afternoon. Bigger gaps take a weekend.
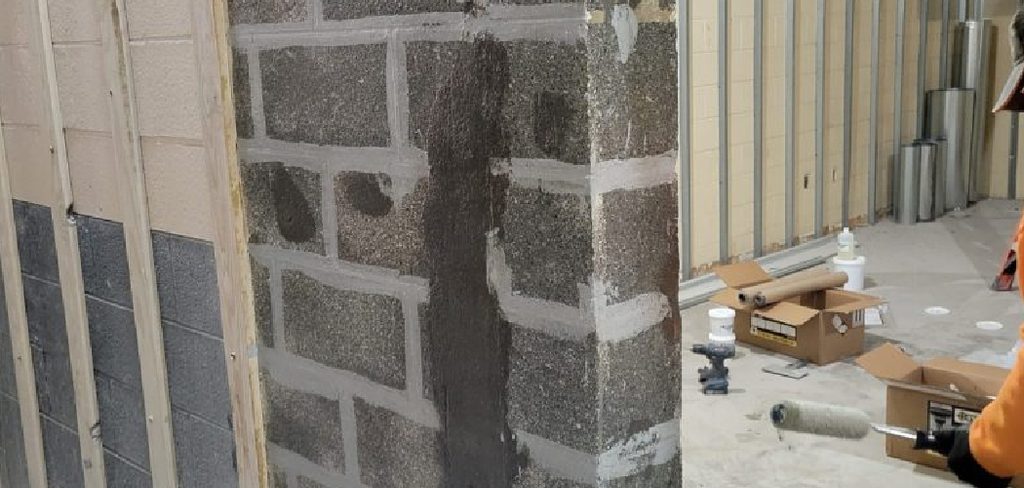
This guide walks you through every step, from prepping the surface to sealing the finished patch, so you can fix your wall with confidence and lasting results.
Why Repairing Cinder Block Walls Matters
A damaged block wall is more than an eyesore. It’s a warning sign. Cracks invite moisture, and moisture brings mold, rot, and rising repair costs. Catch the problem early and you protect your home’s value, safety, and structure.
Fixing it yourself pays off fast. A professional charges $40 to $100 per hour. A DIY patch costs you the price of mortar and a few tools. You learn a skill you’ll use again, and you stop small problems before they become foundation failures.
There’s also peace of mind. A solid wall keeps water out of your basement and pests out of your garage. You sleep better knowing the job is done right. The bottom line: timely repairs cost less, last longer, and prevent the kind of damage that drains your wallet.
Tools and Materials You’ll Need
Gather everything before you start. Stopping mid-job to find a tool wastes time and weakens your results.
- Wire brush – removes loose debris and old mortar
- Cold chisel and hammer – widens cracks for better adhesion
- Hydraulic or masonry cement – seals cracks and fills gaps
- Mortar mix – bonds replacement blocks and tuckpoints joints
- Pointing trowel – packs material into tight spaces
- Caulking gun with masonry sealant – finishes hairline cracks
- Bucket and mixing paddle – blends mortar to the right texture
- Spray bottle – keeps surfaces damp for proper curing
- Safety glasses and work gloves – protect your eyes and hands
- Stiff scrub brush – cleans the surface before patching
- Concrete bonding adhesive(optional) – improves grip on smooth or aged blocks
Buy a little extra cement. Running short halfway through forces an awkward seam.
Step-by-Step Guide on How to Repair Cinder Block Walls
Step 1 – Inspect the Damage
Start with a close look. Run your hand along the wall and feel for hairline cracks, crumbling joints, and soft spots. Tap the surface with a hammer. A hollow sound means the block underneath has weakened.
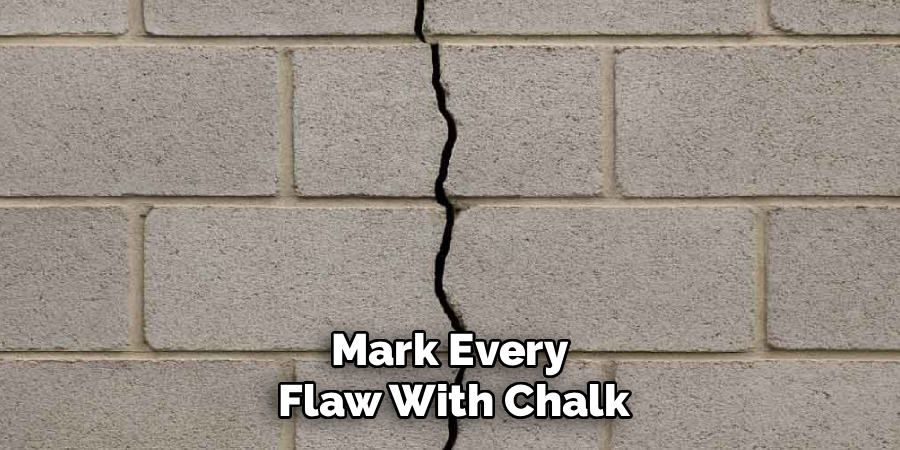
Mark every flaw with chalk so you don’t miss one. Pay attention to cracks wider than a quarter inch or any that run in a stair-step pattern. These signal structural movement and need extra care.
Note where moisture has stained the block. Dark patches and white powdery deposits point to water intrusion you’ll want to seal later. A thorough inspection now saves you from patching the same spot twice. Know exactly what you’re dealing with before you mix a single batch of cement.
Step 2 – Clean the Surface
A clean surface is the difference between a patch that holds and one that pops loose. Grab your wire brush and scrub away loose mortar, dirt, and flaking paint. Work the bristles into every crack until the edges feel firm and gritty.
Sweep out the debris, then go over the area with a stiff scrub brush and water. Knock down any dust that would block the cement from bonding. If you spot mold or mildew, treat it with a bleach solution and let it dry fully.
The block should look bare and feel rough to the touch. That texture gives your repair material something to grip. Skip this step and even the best cement will fail within months.
Step 3 – Widen and Prep the Cracks
This part feels backward, but trust it. Take your cold chisel and hammer, then carve out the crack into a slight V-shape, wider at the base than the surface. This “keying” technique locks the new cement in place.
Chip away any crumbling material until you reach solid block. You’ll hear the sound change from a dull thud to a sharp, clean ring when you hit firm masonry. Brush out the loose bits one more time.
For smooth or older surfaces, wipe on a concrete bonding adhesive now. It helps your patch grab tight. Dampen the crack lightly with your spray bottle. A moist surface stops the dry block from sucking water out of the cement too fast.
Step 4 – Mix Your Cement or Mortar
Pour your cement powder into a clean bucket. Add water slowly while mixing with your paddle. You’re aiming for a texture like thick peanut butter. It should cling to your trowel without dripping off.
Mix only what you can use in 20 to 30 minutes. Hydraulic cement sets fast, sometimes in as little as three minutes, so work in small batches for larger jobs. Read your product label for exact ratios.
The mixture should feel smooth and uniform, with no dry lumps. Scrape the sides of the bucket to blend everything evenly. Too wet and it slumps out of the crack. Too dry and it won’t bond. Nail this consistency and the rest of the job goes smoothly.
Step 5 – Apply the Repair Material
Load your pointing trowel and press the cement firmly into the crack. Push it deep so no air pockets remain. You’ll feel resistance as the material packs into the V-groove you carved earlier.
Work from the bottom up for vertical cracks. Fill in layers if the gap is deep, letting each pass firm up slightly before adding more. Overfill just a touch above the surface.
This is the heart of how to repair cinder block walls, so take your time. Smooth the cement flush with the wall using the flat edge of your trowel. Wipe away excess before it hardens. A clean application now means less sanding and patching later. Steady pressure beats speed every time.
Step 6 – Replace Damaged Blocks
Sometimes a patch isn’t enough. If a block is cracked clean through or crumbling, you’ll need to swap it out. Chisel away the mortar around the damaged block and gently work it free. Wear your safety glasses, since chips fly fast.
Clean the cavity and remove old mortar from the surrounding blocks. Spread a fresh layer of mortar on the bottom and sides of the opening. Butter the edges of your replacement block too.
Slide the new block into place and tap it level with your trowel handle. Press until mortar squeezes out the joints, then scrape the excess. Check it with a level. This is the toughest part of how to repair cinder block walls, but the payoff is a wall as strong as new.
Step 7 – Tuckpoint the Joints
Crumbling mortar between blocks weakens the whole wall. Tuckpointing fixes it. Rake out the old, loose mortar to about half an inch deep using your chisel. Brush the joints clean and dampen them.
Pack fresh mortar into the gaps with your pointing trowel. Press firmly so the joint fills completely with no voids. Work in long, smooth strokes along each line.
Once the mortar starts to stiffen, tool the joints with a jointer or the rounded edge of your trowel. This compresses the surface and sheds water better. The finished line should look crisp and slightly recessed. Neat joints aren’t just for looks. They lock out moisture and add years to your wall.
Step 8 – Seal and Cure the Repair
Curing makes or breaks your work. Cement needs moisture to harden properly. If it dries too fast, it cracks. Mist the repaired area with your spray bottle two or three times a day for the first three days.
For exposed walls, cover the patch with plastic sheeting to trap humidity. Keep the area out of direct sun and away from drying wind.
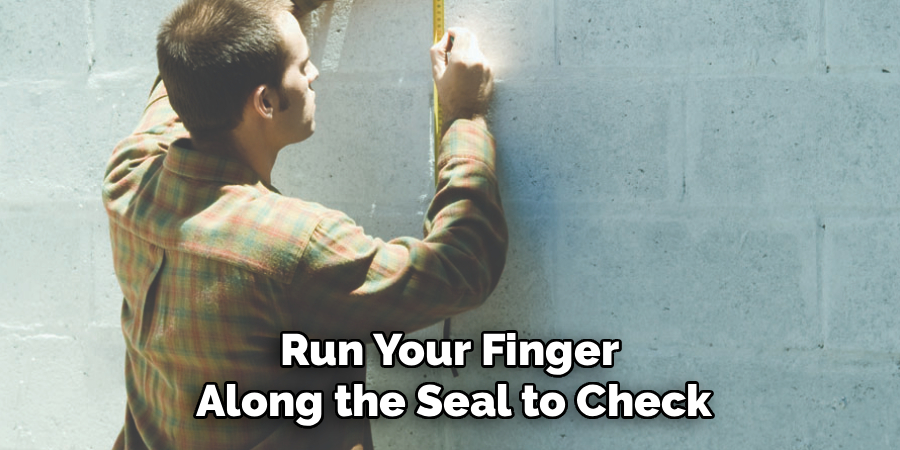
Once fully cured, apply a masonry sealant over the surface and into any hairline cracks. This waterproof barrier blocks future moisture damage. Run your finger along the seal to check for full coverage. A smooth, even layer means lasting protection. Give it the full cure time the label recommends before you paint or finish. Patience here pays you back for years.
Critical Mistakes to Avoid When Repairing Cinder Block Walls
Rushing the prep work tops the list. Many people slap cement over a dusty, dirty crack and wonder why it crumbles a month later. Skipping the cleaning and widening steps means your patch never bonds to the block. It sits on top instead of locking in. Always clean, chisel, and dampen first.
Mixing too much cement at once is another costly error. Hydraulic cement can set in minutes. If you blend a full bucket and work slowly, half of it hardens before you use it. You waste material and money. Mix small, work fast, repeat.
Ignoring the root cause hurts you most. If water keeps seeping in from poor drainage or a leaking gutter, your repair fails again and again. Fix the source before you patch the symptom. Check your grading, downspouts, and waterproofing.
Getting the cement consistency wrong ruins otherwise solid work. Too watery and it sags out of the crack. Too thick and it won’t fill properly. Aim for that peanut butter texture every time.
Finally, skipping the curing process undoes everything. Cement that dries too fast develops fresh cracks. Mist it, cover it, and wait.
Expert Tips
Work in mild weather. Cement cures best between 50°F and 80°F. Cold slows the set and heat dries it too fast, so pick a calm, moderate day.
Keep a damp sponge nearby. Wiping fresh cement smudges off the block as you go saves hours of scraping later. Clean lines look professional and seal better.
For structural cracks wider than half an inch or any stair-step pattern, call a pro to assess first. These often signal foundation movement that a surface patch won’t solve.
Buy quality masonry sealant. The cheap stuff breaks down in two seasons. A premium sealant protects your wall for years and costs only a few dollars more.
Finally, label your leftover cement bags with the open date. Old powder loses strength and won’t bond reliably.
Frequently Asked Questions
How long does a cinder block wall repair last?
A properly done repair lasts 10 to 20 years or more. The key factors are surface prep, cement quality, and curing. Address the underlying moisture issue and your patch holds far longer. Skip those steps and you may be back at it within a year. Quality work and good drainage are what make repairs last.
Can I repair cracks myself or do I need a professional?
You can handle most cracks yourself. Hairline and minor cracks need only basic tools and an afternoon. Call a professional when you see:
- Cracks wider than half an inch
- Stair-step patterns across the blocks
- Walls that bow or lean
These signal structural problems that need expert evaluation before any patching.
What’s the best material for filling cinder block cracks?
Hydraulic cement is the top choice for most cracks. It expands as it sets, sealing gaps tight and blocking water. For hairline cracks, a masonry caulk works well. For replacing whole blocks or fixing joints, use a standard mortar mix. Match the material to the size and type of damage you’re facing.
How do I stop water from coming through the wall?
Seal the source first, then the surface. Fix gutters, improve grading, and direct water away from the wall. Next, patch all cracks with hydraulic cement. Finally, apply a waterproof masonry sealant across the entire wall. This three-layer approach blocks moisture far better than patching cracks alone.
How soon can I paint after repairing the wall?
Wait until the cement fully cures, usually 28 days for mortar and at least 24 to 48 hours for hydraulic cement. Painting too early traps moisture and causes peeling. Check the product label for exact times. Once cured, use a masonry primer before your topcoat for the best, longest-lasting finish.
Conclusion
Fixing a damaged wall isn’t as daunting as it first looks. With the right tools, a clear plan, and a little patience, you can tackle the job in a weekend and save yourself a hefty contractor bill. The process comes down to a few core steps: inspect carefully, clean thoroughly, prep your cracks, mix your cement right, apply with steady pressure, and cure it properly.
Remember the things that trip people up. Don’t rush the prep. Don’t ignore the water source. Don’t let your patch dry too fast. Get those right and your repair will hold for years.
You now know how to repair cinder block walls from start to finish. Start with a small crack to build your confidence, then take on bigger projects as your skills grow. Every patch you complete protects your home, sharpens your DIY abilities, and keeps more money in your pocket.
Grab your tools and get started. Your wall is waiting, and you’ve got everything you need to fix it right.