

Water stains on your ceiling. Soft spots underfoot. A musty smell after rain. These are the warning signs of a failing roof, and they cost you more the longer you wait. Learning how to repair a RV roof saves you thousands in shop fees and protects everything inside your rig.
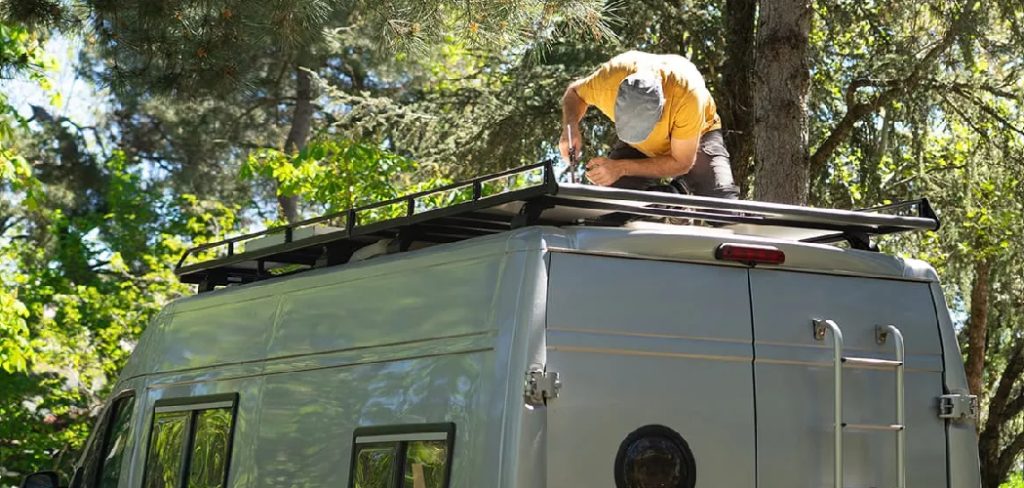
The good news? Most roof fixes are well within reach for a confident DIYer. You don’t need specialized training. You need the right materials, a free afternoon, and a clear plan.
This guide walks you through every step, from inspection to final sealant, so you can stop a roof leak before it spreads and keep your RV road-ready for years to come.
Why Repairing Your RV Roof Matters
Your roof is the single largest barrier between your living space and the weather. When it fails, the damage spreads fast. A small roof leak rots the decking, ruins insulation, and breeds mold inside walls you can’t see.
Fixing it yourself pays off in three ways. You save the $300 to $1,000 a shop charges for the same job. You catch problems early, before they turn into full roof replacements that run into the thousands. And you take control of your RV maintenance schedule instead of waiting weeks for an appointment.
There’s also peace of mind. A sealed, solid roof means you sleep through storms without listening for drips. Master this skill once, and you protect your investment every season after.
Tools and Materials You’ll Need
Gather everything before you climb up. Stopping mid-job to run to the store leaves your roof exposed.
- RV roof sealant — match it to your roof type (EPDM, TPO, or fiberglass)
- Lap sealant — for sealing edges, vents, and seams
- Roof patch material or repair tape — for cracks and punctures
- Acetone or RV roof cleaner — strips dirt and old residue
- Putty knife or plastic scraper — removes failed sealant
- Soft-bristle brush — scrubs the surface clean
- Clean rags and a bucket of water — for rinsing
- Caulk gun — applies lap sealant smoothly
- Utility knife and scissors — trims patches and tape
- Work gloves and safety glasses — protect hands and eyes
- Sturdy ladder — rated for your weight plus tools
- Roof coating (optional) — adds a UV-resistant top layer for long-term protection
One tip: buy more sealant than you think you need. Running short halfway across a seam ruins the bond.
Step-by-Step Guide on How to Repair a RV Roof
Step 1 – Identify Your Roof Type
Know what you’re working with before you buy a single tube of sealant. RV roofs come in a few materials, and each needs a matching product. The two most common are rubber roofs: EPDM, which feels chalky and dull, and TPO, which looks shinier and slightly textured.
Run your hand across the surface. If white residue rubs off on your palm, you likely have EPDM. A smoother, cleaner feel points to TPO. Fiberglass and aluminum roofs feel hard and rigid.
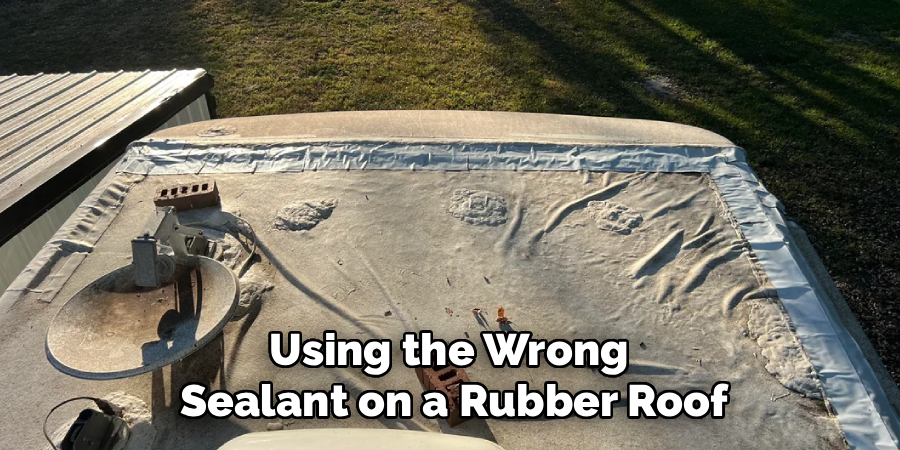
Check your owner’s manual if you’re unsure. Using the wrong sealant on a rubber roof causes it to peel or fail within months. Get this right, and everything after goes smoothly.
Step 2 – Inspect the Entire Surface
Climb up on a dry, calm day and walk the roof carefully, keeping your weight near the strongest points. Look closely at every seam, vent, skylight, and antenna base. These edges fail first.
Press gently with your fingers. Soft or spongy spots mean water has already gotten through. Note any cracked sealant, lifted edges, bubbles, or visible roof leak points. Mark each one with painter’s tape so you don’t lose track.
Pay attention to smell, too. A damp, musty odor signals moisture trapped under the membrane. Take photos as you go. This inspection is the foundation of how to repair a RV roof correctly, because you can’t seal what you haven’t found.
Read More: How to Repair Hole in Garden Hose.
Step 3 – Clean the Roof Thoroughly
A sealant only bonds to a clean surface. Skip this step and your repair peels off within weeks.
Start by sweeping away leaves, dirt, and debris. Then scrub the roof with an RV roof cleaner and a soft-bristle brush, working in sections. Rinse each section with clean water and let it sheet off the edges.
For areas around old, failing sealant, wipe with acetone to cut grease and residue. You’ll feel the surface change from slick to slightly tacky when it’s truly clean.
Let everything dry completely. Trapped moisture under new sealant guarantees failure. On a warm day, give it at least an hour of full sun before moving on.
Step 4 – Remove Old, Failed Sealant
Old lap sealant that’s cracked, peeling, or chalky has to go. New sealant won’t bond over damaged material.
Use a plastic scraper or putty knife to lift away the failed sections. Work slowly around vents and seams so you don’t gouge the membrane underneath. You want to remove the loose, brittle pieces while leaving any sound, well-bonded sealant in place.
Wipe the cleared area with acetone one more time. This removes the last bit of residue and gives you a fresh surface.
Run your finger along the edge. It should feel smooth and stable, with no flaking. A clean base here means your new seal grips tight and lasts for years.
Step 5 – Patch Cracks and Punctures
Now tackle any holes, tears, or wide cracks you found. For these, a roof patch or self-leveling repair tape does the heavy lifting.
Cut your patch material so it extends at least two inches past the damage on all sides. For tape, peel the backing and press it down firmly, smoothing from the center outward to push out air bubbles. You’ll hear the tape grip as it seats.
For larger holes, apply a layer of sealant first, lay the patch into it, then coat the top edges with more sealant. This sandwich method locks out water from every angle.
Press hard along the borders. Firm contact creates the watertight bond that stops leaks cold.
Read More: How to Repair Water Spots on Ceiling.
Step 6 – Apply Fresh Lap Sealant
With patches in place, reseal every seam, vent flange, screw head, and roof fixture. This is where most leaks start, so don’t rush.
Load your caulk gun and run a steady bead of lap sealant along each edge. Move at an even pace to keep the line consistent. Self-leveling sealant spreads on its own across flat surfaces, smoothing into a clean, watertight layer.
For vertical edges, use a non-leveling formula so it stays put. Smooth any thick spots with a gloved finger or plastic tool.
The smell is sharp, so work with good airflow. When you’re done, every penetration through the roof should be fully encased. No gaps. No thin spots.
Step 7 – Add a Protective Roof Coating
This step is optional but smart for long-term protection. A roof coating shields the membrane from UV damage, the slow killer of rubber roofs.
Once your sealant has cured, apply the coating across the entire roof with a roller or brush. Work in thin, even coats, overlapping each pass slightly. The surface should look uniform with no streaks or puddles.
A good coating reflects heat, lowers your interior temperature, and extends the life of your repair by years. It also creates one continuous waterproof layer over the whole roof.
Plan for two coats, letting the first dry fully before adding the second. This finish turns a basic fix into lasting RV maintenance.
Step 8 – Inspect and Test Your Work
Don’t pack up until you’ve checked everything twice. Walk the roof one more time and look at each seam, patch, and sealed edge under good light.
Confirm there are no missed spots, thin coverage, or air bubbles. Press along the patches to make sure they’re firmly bonded with no lifting corners.
If you can, wait for the sealant to cure fully, then run a garden hose over the roof. Have someone inside watch the ceiling for any sign of a roof leak. Dry inside means you’ve sealed it right.
Let everything cure for the time listed on your product label before driving or exposing it to rain. Patience here protects all your hard work.
Critical Mistakes to Avoid When Repairing Your RV Roof
The biggest mistake is skipping the cleaning step. Sealant simply won’t bond to a dirty or greasy surface, and a rushed cleaning job is the number one reason repairs fail within a season. Spend the extra thirty minutes scrubbing. It’s the difference between a fix that lasts five years and one that peels in five weeks.
The second mistake is using the wrong sealant for your roof type. EPDM and TPO membranes react differently to chemicals, and a mismatched product can dissolve or reject the bond entirely. Always confirm your material first, then match your RV roof sealant to it.
Third, many DIYers apply sealant too thin to save product. A skimpy bead leaves micro-gaps that water finds within months. Lay it on generously, especially around seams and fixtures.
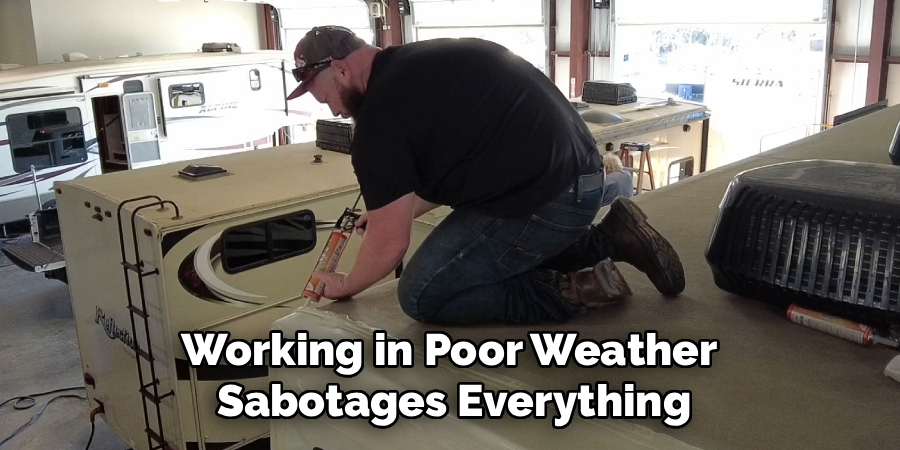
Fourth, working in poor weather sabotages everything. Moisture, cold, or humidity stops sealant from curing properly. Wait for a warm, dry day with no rain in the forecast.
Finally, ignoring the roof until a leak appears costs you the most. By then, water has already damaged the decking. Inspect twice a year and seal small issues before they spread.
Expert Tips
Inspect your roof every spring and fall, plus after any major storm. Catching a cracked seam early takes minutes. Ignoring it costs hundreds.
Keep a tube of lap sealant in your RV at all times. Spot-sealing a small gap on the road prevents a full repair later.
Buy sealant in colors that match your roof so touch-ups blend in and stay easy to spot when you reseal.
Work in the morning when the roof is cool and dry. Afternoon heat speeds curing too fast and makes self-leveling sealant harder to control.
Always distribute your weight across the roof’s support points to avoid creating new soft spots. Move slowly, kneel often, and never step on a vent or skylight.
Document every repair with photos and dates. A simple log makes your next RV maintenance round faster and tells you exactly where to check first.
Frequently Asked Questions
How often should I reseal my RV roof?
Reseal your RV roof every 12 months as a baseline. Inspect the lap sealant around vents, seams, and fixtures twice a year, and touch up any cracked or lifted areas immediately. Full roof coating applications typically last 3 to 5 years. Climate matters too. Harsh sun, snow, and frequent travel wear sealant faster, so check more often if you live in extreme conditions.
Can I repair a RV roof leak myself?
Yes. Most roof leaks come from failed sealant around seams, vents, and skylights, and these are straightforward to fix with cleaning, fresh lap sealant, and a roof patch where needed. The job takes one afternoon and basic tools. Call a professional only when you find widespread soft spots or rotted decking, which signal structural damage beyond a surface repair.
What sealant works best for a rubber roof?
Match the sealant to your membrane:
- EPDM roofs need EPDM-compatible sealant and adhesives
- TPO roofs require TPO-specific products
- All roofs benefit from self-leveling lap sealant on flat seams and non-leveling sealant on vertical edges
Using the wrong product on a rubber roof causes peeling or chemical damage. Always confirm your roof type before buying, and check the label for compatibility.
How do I know if my RV roof is EPDM or TPO?
Run your hand across the surface. EPDM feels chalky and leaves white residue on your palm, while TPO feels smoother, shinier, and slightly textured. EPDM is usually dull black or gray underneath its coating; TPO is typically bright white. When in doubt, check your owner’s manual or contact your manufacturer with your model number for a definitive answer before buying any sealant.
How long does a DIY RV roof repair last?
A properly done repair lasts 3 to 5 years, sometimes longer with a quality roof coating on top. Longevity depends on three things: thorough surface prep, the correct sealant for your roof type, and consistent RV maintenance. Reseal high-stress areas yearly and reapply coating as needed. Skip the prep or use mismatched products, and the repair may fail within months.
Conclusion
A solid roof keeps water out, protects your investment, and saves you from costly shop bills. You now have everything you need to handle the job yourself.
Start with the right material match, inspect carefully, and clean until the surface is spotless. Remove old sealant, patch any damage, and lay fresh lap sealant across every seam and fixture. Add a roof coating for years of extra protection, then test your work before the next rain.
The process rewards patience over speed. Take your time on prep, use the correct RV roof sealant for your membrane, and don’t cut corners on coverage. Do it right once, and you won’t think about your roof again for years.
Knowing how to repair a RV roof puts you in control of your rig’s biggest defense against the weather. Inspect it twice a year, fix small issues before they grow, and keep that tube of sealant handy. Your roof, your rules. Climb up with confidence and get it sealed.