

A cracked or slipped slate tile lets water in fast. Left alone, it rots your decking, stains your ceilings, and turns a small fix into a major bill. The good news? You can repair a slate roof yourself with the right tools and a careful approach.
Slate is tough. Many roofs last over a century. But individual tiles still crack from frost, falling branches, or foot traffic. When one fails, you don’t need to replace the whole roof. You just need to swap or secure the damaged piece.
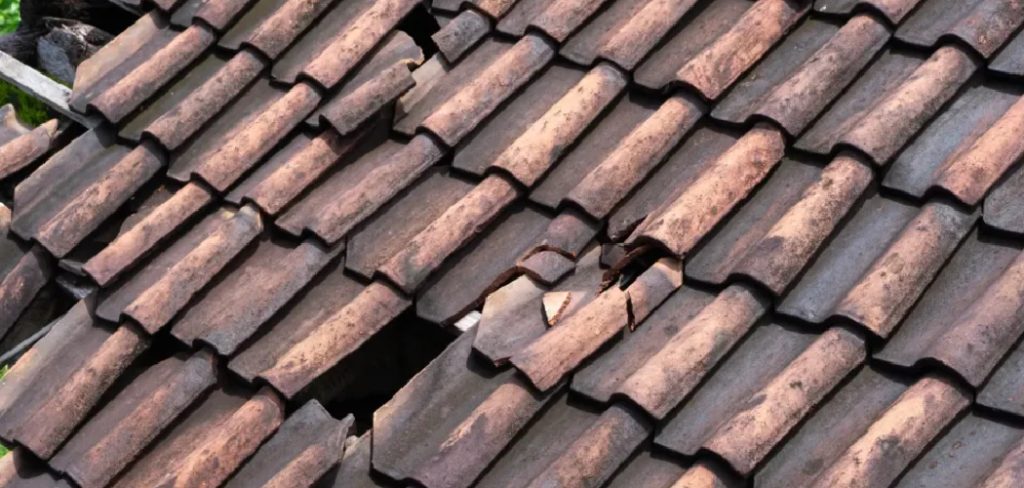
This guide walks you through how to repair a slate roof, from spotting the damage to locking in a new tile, so you can protect your home with confidence and skip the contractor’s invoice.
Why Repairing a Slate Roof Yourself Saves You Time and Money
Hiring a roofer for one or two tiles often costs more than the materials by a wide margin. Call-out fees, labor minimums, and scheduling delays add up fast. Fix it yourself and you pay for slate, a few tools, and an afternoon.
Speed matters too. A leak doesn’t wait for an available contractor. When you know how to handle the repair, you act the moment you spot trouble. That stops water damage before it spreads to insulation, drywall, and framing.
You also gain control. You inspect your own roof on your schedule, catch small issues early, and keep your home weather-tight year-round. The skill pays you back every storm season. And once you’ve done it once, the next fix takes half the time.
Tools and Materials You’ll Need
Gather everything before you climb. Stopping mid-job to find a tool wastes time and adds risk.
- Slate ripper — slides under tiles to cut old fixing nails cleanly
- Slate hook or copper tingle — secures the replacement tile in place
- Replacement slate — matched to your roof’s size, thickness, and color
- Hammer — for tapping the ripper and setting hooks
- Pry bar — lifts surrounding tiles gently
- Tin snips — trim copper tingles to length
- Safety harness and rope — keeps you anchored on the slope
- Sturdy ladder with stabilizer — provides safe access to the roof
- Work gloves and safety glasses — protect hands and eyes from sharp edges
- Roofing ladder or crawl board(optional) — spreads your weight and protects tiles underfoot
Match your replacement slate carefully. The wrong size or thickness won’t seat right and will fail again.
Step-by-Step Guide on How to Repair a Slate Roof
Step 1 – Inspect and Locate the Damage
Start from the ground with binoculars. Scan for cracked, slipped, or missing tiles. You’ll spot dark patches where water sits and bright gaps where slate has fallen away.
Then check inside your attic on a sunny day. Pinpricks of light reveal hidden holes. Run your hand along the underside of the decking and feel for damp, soft spots.
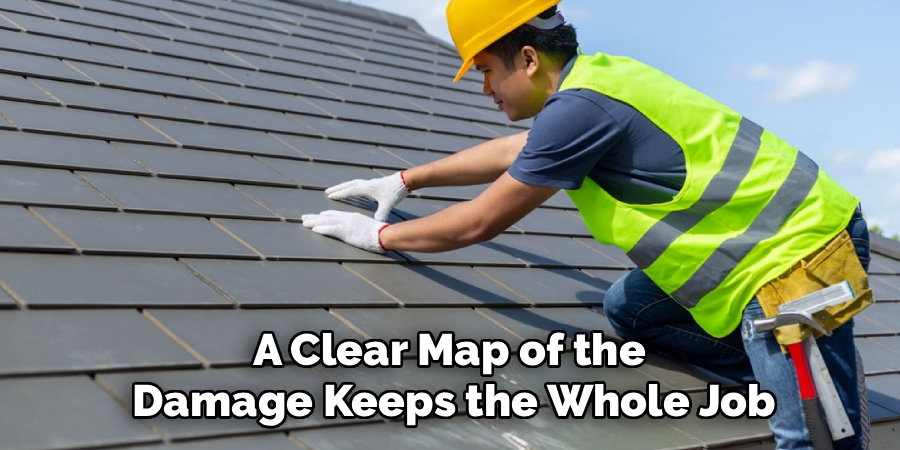
Mark every problem tile with chalk once you’re up top. Note which ones are cracked versus fully missing, since each needs a slightly different fix. Knowing exactly what you face before you start means fewer trips up and down the ladder. A clear map of the damage keeps the whole job moving and prevents you from missing a second tile hiding nearby.
Step 2 – Set Up Safe Access
Slate gets slick, especially in morning dew or light rain. Wait for a dry, calm day with good light. Wind on a roof is no joke.
Plant your ladder on firm, level ground and lock the stabilizer against the wall. Clip into a safety harness anchored to a solid point. This single step prevents the most serious accidents.
Lay a roofing ladder or crawl board across the slope so your weight spreads evenly. Stepping directly on slate cracks more tiles and undoes your work before you begin. Move slowly and keep three points of contact at all times. Take your tools up in a bucket on a rope rather than carrying them by hand, so both hands stay free for climbing.
Step 3 – Remove the Broken Slate
Slide your slate ripper up under the damaged tile until you feel it catch the fixing nails. Each slate is usually held by two nails hidden beneath the tile above.
Hook the ripper’s blade around a nail and give the handle a sharp downward tap with your hammer. You’ll hear a clean snap as the nail shears. Repeat for the second nail.
Once both nails are cut, the broken slate slides free in your hand. Work gently so you don’t disturb the surrounding tiles. Pull out any nail stubs left behind, since they’ll block the new tile from sitting flat. This is the trickiest part of learning to repair a slate roof, so take your time and let the ripper do the work.
Read More: How to Repair Clay Roof Tiles.
Step 4 – Clean and Prepare the Gap
With the broken tile gone, clear the empty slot. Brush out grit, moss, and old mortar crumbs with a stiff hand brush. Debris left behind stops the new slate from lying flush.
Check the felt or underlay beneath. If it’s torn, patch it with a strip of roofing membrane and sealant before going further. A sound underlay is your second line of defense against leaks.
Look at the battens too. Press them with your fingers to test for rot. Soft, spongy wood needs replacing, and ignoring it now means the new tile won’t hold. A clean, solid gap gives your replacement slate a stable, weatherproof bed to rest in.
Step 5 – Fit a Copper Tingle
Since you cut the original nails, you can’t nail the new slate from above without lifting more tiles. A copper tingle solves this neatly.
Cut a strip of copper about an inch wide and several inches long with tin snips. Nail one end into the batten or gap between the slates below, exactly where the new tile’s lower edge will sit.
Copper resists rust and lasts for decades, matching the lifespan of the slate itself. Avoid lead or steel strips, which corrode or stain. Bend the strip slightly so the loose end stands ready. This small metal clip will fold over the new slate and lock it firmly in position once it’s slid home.
Step 6 – Slide in the New Slate
Take your matched replacement tile and slide it up into the empty slot, smooth side facing out. Push gently until its top edge tucks under the row above and its lower edge lines up with the neighboring slates.
You’ll feel it click into place when the alignment is right. Run your eye across the row. The new tile should sit perfectly level with its neighbors, with no lip standing proud.
If it sticks, pull it back out and check for leftover debris or a nail stub. Forcing it risks cracking your fresh slate. A properly seated tile looks invisible from the ground, blending into the existing roof as if it had always been there.
Read More: How to Repair Cracked Tile.
Step 7 – Secure with the Tingle
Now fold the copper tingle up and over the bottom edge of the new slate. Bend it tight against the tile’s surface with your fingers, then crimp it firmly with pliers.
This fold holds the slate against wind lift and sliding. Tug the tile gently to test it. It shouldn’t budge. If there’s any movement, tighten the fold further.
Keep the tingle low and flush so it stays nearly hidden and sheds water cleanly downward. A well-set tingle is the secret to a lasting fix. Done right, your repair will hold through storms and frosts for years, and you’ll have learned how to repair a slate roof properly with no shortcuts.
Step 8 – Final Inspection and Cleanup
Step back and check your work from a few angles. The new slate should line up flush, the tingle should grip tight, and the surrounding tiles should sit undisturbed.
Spray the area with a hose, or wait for rain, then check the attic for any drips. A dry deck means a successful seal.
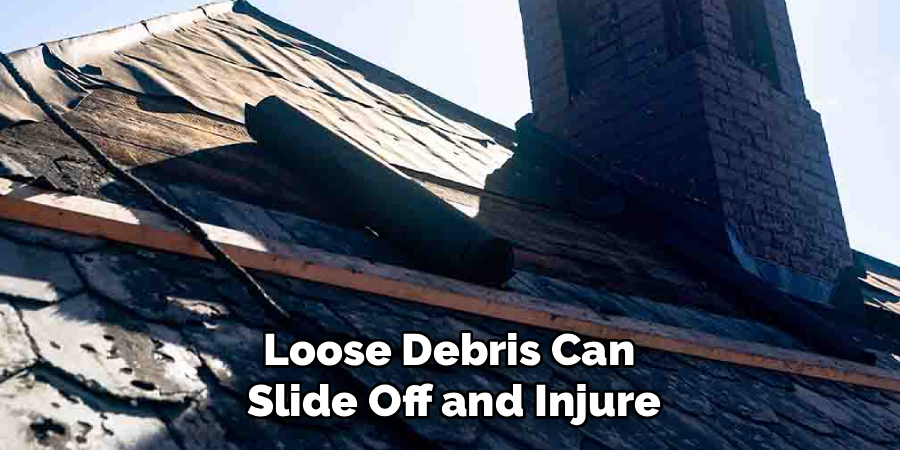
Collect every tool, nail stub, and slate fragment before you descend. Loose debris can slide off and injure someone below or clog your gutters. Carry your gear down in the bucket the same way it went up. A clean finish protects your home and proves the job is truly complete, not just patched and forgotten.
Critical Mistakes When Repairing a Slate Roof
The most common mistake is walking directly on the slate. Slate cracks under concentrated weight, so stepping on tiles to reach the damage often creates three new problems while fixing one. Always use a crawl board or roofing ladder to spread your load.
Another frequent error is using the wrong fixings. Steel nails and ordinary metal strips rust within a few seasons, then fail and stain the slate with ugly brown streaks. Copper tingles and copper or stainless nails are the only fixings that match slate’s century-long lifespan. Cheap metal is a false economy that guarantees a repeat repair.
Mismatched replacement slates cause trouble too. A tile that’s too thick stands proud and catches wind. One that’s too thin sits low and lets water pool. Measure your existing slates and match size, thickness, and color before you buy.
Finally, many people ignore the underlay and battens beneath the broken tile. They drop in a new slate over rotten wood or torn felt, then wonder why the leak returns. The hidden layers matter as much as the visible tile. Inspect and repair them, or your fresh slate sits on a failing foundation.
Expert Tips
Buy a few spare slates whenever you order replacements. Matching color and thickness gets harder as roofs age, so a small stock saves you hunting later.
Work in pairs when you can. A second person steadies the ladder, passes tools, and calls out hazards you can’t see from above. Safety doubles with two sets of eyes.
Take photos before you start. A clear before-shot helps you rebuild the layout correctly and gives you a record if you ever file an insurance claim. Photograph the finished repair too.
Check the whole roof while you’re up there. Tighten loose tiles, clear blocked valleys, and note any slate showing wear. Fixing small issues now prevents emergency climbs in bad weather later. Prevention always beats repair.
Frequently Asked Questions
How much does it cost to repair a slate roof yourself?
A single-tile DIY repair usually costs between $20 and $60 in materials. That covers a matched slate, a copper tingle, and fixing nails. A slate ripper, your main specialty tool, runs $30 to $80 and lasts for years. Compare that to contractor call-out fees that often start at $200 to $400 for the same small job, and the savings are clear.
Can I walk on a slate roof to make repairs?
Not directly. Slate cracks under point loads, so stepping on tiles damages them. Instead:
- Use a roofing ladder or crawl board to spread your weight
- Step only where battens support the slate underneath
- Wear soft-soled shoes for better grip and less impact
When possible, work from the ladder itself rather than the roof surface to protect both the tiles and yourself.
What causes slate tiles to crack or slip?
Several things wear slate down over time:
- Frost damage — water freezes inside the slate and splits it
- Nail fatigue — old iron nails rust and snap, letting tiles slide
- Impact — falling branches or hail crack the surface
- Foot traffic — walking on slate during past work weakens it
Nail failure is the most common reason for slipped, otherwise-intact tiles.
How long does a slate roof repair last?
A proper repair with copper fixings and a matched slate lasts decades, often the remaining life of the roof itself. Copper resists corrosion and moves with the slate through temperature swings. The key is using the right materials. Steel nails or lead strips fail within a few years, so quality fixings make the difference between a permanent fix and a yearly chore.
When should I call a professional instead?
Call a pro when the damage is widespread, the roof is steep or very high, or you find rotten decking across a large area. Multiple slipped tiles often signal failing nails throughout the roof, which needs full re-nailing. Also call if you’re not comfortable working at height. One or two tiles are a fair DIY job. Structural problems are not.
Conclusion
A damaged tile doesn’t have to mean a damaged home. With the right tools, a dry day, and a careful hand, you can repair a slate roof yourself and stop a leak before it spreads. You’ve now got the full process: inspect the damage, set up safe access, rip out the broken slate, prep the gap, fit a copper tingle, slide in a matched tile, and lock it down tight.
The biggest wins come from doing it right. Use copper fixings, match your slates carefully, and never step directly on the tiles. Check the hidden layers beneath, and your repair will hold for years.
Beyond the money you save, you gain something better: the confidence to protect your own home on your own schedule. No waiting for contractors, no surprise invoices, no spreading water damage. Just a solid, weather-tight roof over your head.
Grab your gear, pick a clear day, and tackle that tile. Your roof, and your wallet, will thank you.