

Nothing ruins the look of a beautiful floor or bathroom wall quite like an ugly, jagged fracture staring back at you. If you are wondering how to repair cracked tile, you are in the right place.
Homeowners and renters deal with this frustrating issue all the time. It happens when someone drops a heavy pot in the kitchen or a heavy tool in the bathroom.
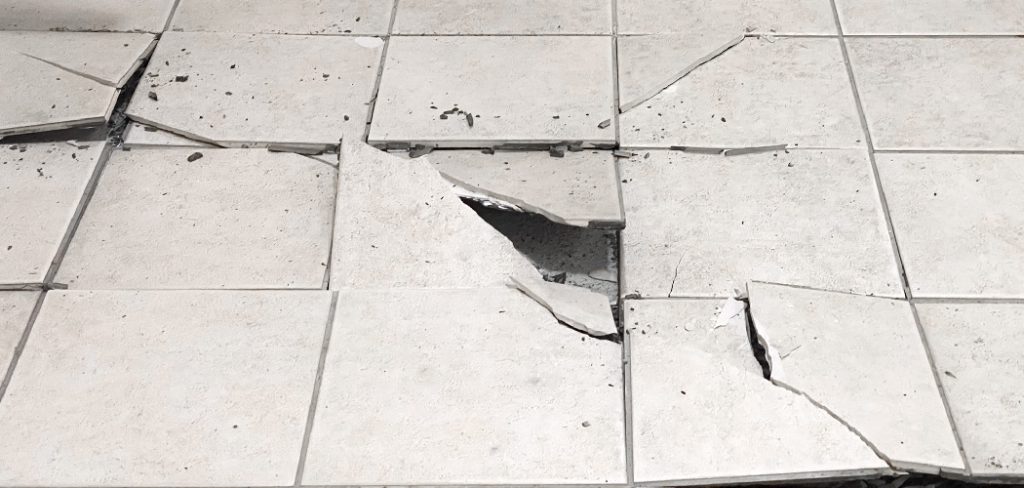
The good news? You do not need to rip up your entire floor. Fixing it yourself is easier than you think.
Learning this simple DIY skill saves you a ton of money. You can skip the expensive contractor fees and fix the problem in a single afternoon. Let us grab our tools and get to work!
What Causes Floor and Wall Tiles to Crack?
Before we fix the damage, it helps to understand why it happened. Tiles are tough, but they are not invincible.
Here are the most common culprits behind damaged floors and walls:
- Heavy Impact: Dropping a cast-iron skillet or heavy object is the most common cause of sudden fractures.
- Poor Installation: If the installer left air pockets underneath, the hollow spaces make the surface highly fragile.
- Natural Settling: Houses shift and settle over time. This movement places immense pressure on rigid materials, causing them to snap.
- Extreme Temperature Changes: Rapid heating and cooling can force materials to expand and contract too quickly.
- Subpar Materials: Cheap or defective materials simply break down faster under normal foot traffic.
- Subfloor Issues: Rotted wood or uneven concrete beneath the surface provides zero support, leading to inevitable damage.
Tools & Materials Needed for the Fix
Every successful repair project starts with the right gear. Gather these items before you begin your work.
You can find all of these supplies at your local hardware store.
- Mild dish soap or tile cleaner
- A stiff scrub brush and an old toothbrush
- Clear, two-part epoxy or a specialized tile repair kit
- A wooden toothpick or a small craft stick
- A plastic putty knife
- Cardboard or a paper plate (for mixing epoxy)
- Oil-based paint that matches your surface color
- A fine-tipped artist’s paintbrush
- Clear, water-based polyurethane sealer
- Safety goggles and nitrile gloves
How to Repair Cracked Tile: Step-by-Step Fix Guide
Now we get to the fun part. This beginner-friendly process will walk you through exactly how to repair cracked tile.
Take your time with each phase. Patience is the secret to a seamless, invisible finish.
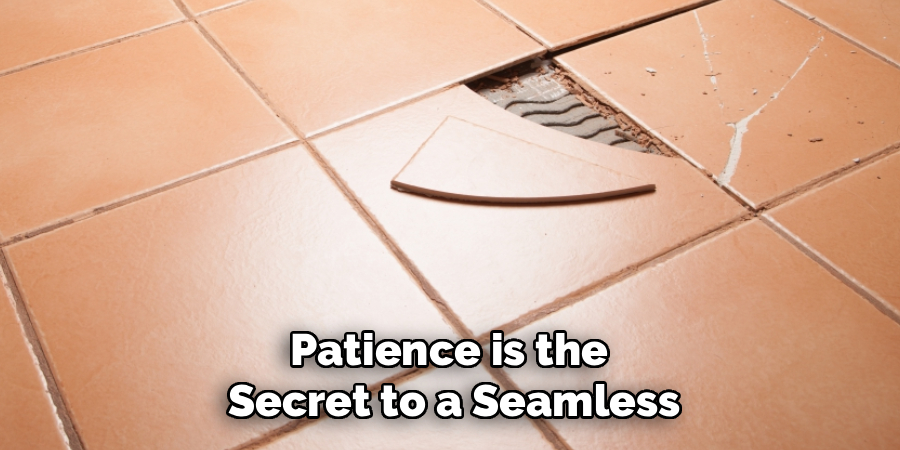
Step 1: Clean and Prep the Damaged Area
You must start with a completely clean surface. Any dirt, grease, or dust trapped inside the fracture will ruin the epoxy’s bond.
Scrub the area with warm water and mild dish soap. Use an old toothbrush to get deep into the crevice.
Wipe away the suds with a damp cloth. Make sure the area is completely dry before moving forward. You can use a hair dryer to speed up the drying time.
Step 2: Mix Your Epoxy or Tile Filler
Put on your safety gloves and open up a window for ventilation. We are going to use a two-part clear epoxy for this fix.
Squeeze equal amounts of the epoxy resin and hardener onto a scrap piece of cardboard.
Use a wooden craft stick or toothpick to mix them together thoroughly. You usually have about five to ten minutes before the epoxy starts to harden, so work efficiently.
Step 3: Apply the Filler to the Crack
Scoop up a small amount of the mixed epoxy with your toothpick. Carefully dab it directly into the center of the fracture.
Press the epoxy deep into the crevice. You want it to fill the entire gap from the bottom up.
Do not worry if a little bit spills over the edges. We will clean that up in the next step. Just ensure the gap is completely packed with filler.
Step 4: Level and Smooth the Surface
Grab your plastic putty knife. Drag the edge flat across the surface of the repair.
This action scrapes away any excess epoxy. It also forces the remaining filler to sit perfectly flush with the rest of the floor.
Wipe away the excess epoxy from the surrounding area using a clean rag with a tiny bit of rubbing alcohol. Let the epoxy cure completely according to the package directions (usually 24 hours).
Step 5: Paint to Match Your Tile Design
Once the epoxy is rock hard, the gap will be filled but visibly clear. Now, we need to camouflage the repair.
Dip your fine-tipped artist’s brush into your matching oil-based paint. Carefully dab the paint over the cured epoxy line.
If your floor has a speckled or marbled pattern, try mixing two paint colors. Dab a slightly darker shade over the base color with a sponge to mimic the natural texture. Let the paint dry completely.
Step 6: Seal the Repair for Long-Lasting Results
The final step protects your hard work from future foot traffic and moisture. You need to seal the painted section.
Apply a thin layer of clear, water-based polyurethane over the dried paint. Keep the layer as light as possible.
Allow the sealer to cure for at least 48 hours before walking on it or getting it wet. Congratulations, your floor looks as good as new!
Crucial Safety Warnings Before You Start
DIY repairs are incredibly rewarding, but safety always comes first. Protect yourself and your home by following these rules.
Always wear safety goggles when cleaning or working near broken ceramics. Tiny, razor-sharp shards can easily fly up into your eyes.
Wear nitrile gloves when handling epoxy and sealers. These chemicals can cause severe skin irritation if you make direct contact.
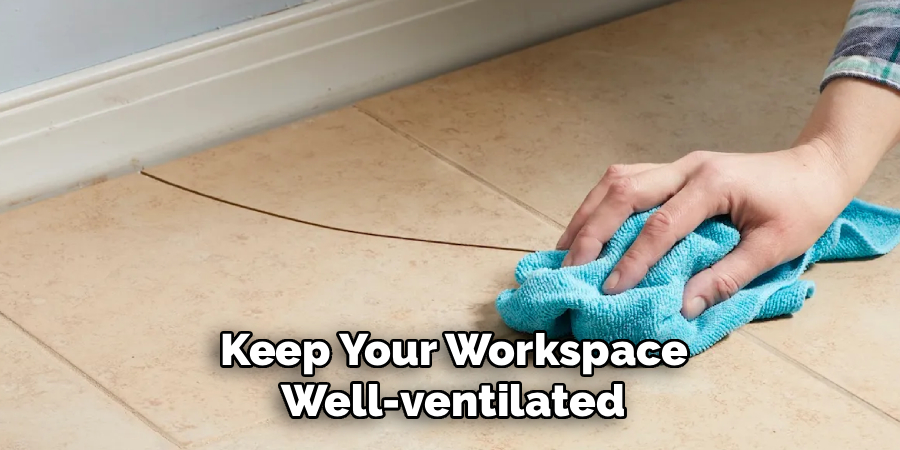
Finally, keep your workspace well-ventilated. Open windows and turn on a fan to disperse strong fumes from the adhesives and paint.
When to Call a Professional Tile Contractor
While learning how to repair cracked tile is a great skill, some jobs are too big for a quick DIY fix. You need to know your limits.
If an entire row of flooring is buckling or shattered, you likely have structural subfloor issues. Epoxy cannot fix a rotting foundation.
If the damage is in a highly wet area, like a shower floor, DIY patching might fail. A leaking shower pan can cause thousands of dollars in water damage behind your walls.
When you notice widespread, spreading fractures, it is time to call a professional contractor. They will diagnose the root cause and prevent further destruction.
Cost Estimate: DIY Tile Repair vs. Hiring a Pro
Fixing things yourself is all about keeping money in your pocket. Let us break down the financial benefits of this project.
A DIY repair kit, or basic two-part epoxy and paint, will cost you between $15 and $30. If you already have some tools, the cost drops even lower.
Hiring a professional contractor paints a different picture. They usually charge a minimum call-out fee just to show up.
Replacing a single piece of ceramic or porcelain professionally can easily cost between $150 and $300. By doing it yourself, you keep hundreds of dollars in your bank account!
Frequently Asked Questions (FAQs)
Can you fix a hairline crack without replacing the tile?
Yes, absolutely! Hairline fractures are the easiest to fix. You can simply press clear epoxy into the thin gap, wipe it flush, and paint over it once dry.
Does toothpaste work for cracked tile?
No, toothpaste is a terrible filler. It will wash away the second you mop your floors. Always use a proper two-part epoxy or a dedicated ceramic repair compound.
How long does epoxy take to dry?
While epoxy might feel dry to the touch in a few hours, it needs time to reach maximum strength. Always allow it to cure for a full 24 hours before walking on it or painting it.
Can I paint over a repaired floor tile?
Yes, you can and should paint over the repair to hide the epoxy. Use an oil-based paint or an enamel designed for hard surfaces so it withstands daily foot traffic.
Conclusion: Your Next Steps
Dealing with broken floors does not have to be a stressful, expensive ordeal. You now know exactly how to repair cracked tile like a seasoned pro.
By cleaning the area, applying strong epoxy, and blending the paint, you can make ugly blemishes vanish. This simple afternoon project instantly restores the beauty of your home.
You will save money, gain confidence, and keep your floors looking pristine for years to come.
Ready to tackle more home projects? Check out our other DIY repair guides and start checking off that weekend to-do list today!