

Have you recently knocked your favorite family portrait off the wall? Or maybe you found a beautiful vintage frame at a thrift store that needs a little love.
Learning how to repair a picture frame is a fantastic skill that every homeowner should know. It saves you the hassle of hunting down a replacement.
Plus, custom framing and professional repairs can cost a small fortune. Fixing it yourself keeps that money right in your pocket.
If you are wondering how to repair a picture frame without any prior woodworking experience, you are in the right place. We will walk through this process together, step by step.
Grab your tools, clear off your workbench, and let us get that frame ready for the wall again.
What Causes Picture Frame Damage?
Before we dive into the fix, it helps to understand why frames break in the first place. Frames seem sturdy, but they are surprisingly fragile under certain conditions.
Here are the most common culprits behind a busted frame:
- Accidental drops: The number one reason frames break is falling off the wall due to weak nails or failing adhesive hooks.
- Temperature changes: Wood expands and contracts with heat and cold. This natural movement slowly pulls corner joints apart.
- Excess humidity: Moisture in the air warps wooden frames and degrades the glue holding the corners together.
- Moving damage: Tossing frames into moving boxes without proper bubble wrap easily crushes delicate corners or shatters glass.
- Age and wear: Vintage frames simply dry out over the decades. Old glue turns brittle and crumbles away over time.
- Heavy artwork: Hanging a heavy piece of glass or canvas in a lightweight frame strains the bottom joints until they fail.
Tools & Materials Needed for the Job
You do not need a massive woodworking shop to handle this project. A few basic items from your local hardware store will do the trick.
Gather these supplies before you begin:
- Wood glue (a high-quality PVA glue works best)
- A strap clamp or corner clamps (crucial for holding the frame square)
- A damp rag or paper towels (for wiping up glue squeeze-out)
- Fine-grit sandpaper (220-grit is perfect)
- A small hammer or mallet
- V-nails or small brad nails
- Needle-nose pliers
- Wood filler or a wax touch-up stick (to match the frame finish)
- Safety glasses and work gloves
How to Repair a Picture Frame with Separated Corners
The most common issue you will face is a frame with corners that have pulled apart. This usually happens when the original glue dries out.
Here is the exact process for how to repair a picture frame with loose joints.
Step 1: Remove the Artwork and Glass
Never attempt to glue or nail a frame with the glass still inside. You risk shattering the glass and ruining your artwork.
Flip the frame over and carefully bend back the flexible points holding the backing board.
Remove the backing, the picture, and the glass. Set them far away from your work area in a safe spot.
Read More: How to Repair Wood Floor Damaged by Dog Urine.
Step 2: Clean the Old Joints
New glue will not stick to old, dried-up glue. You need to expose the raw wood for a strong bond.
Gently pull the loose corners entirely apart.
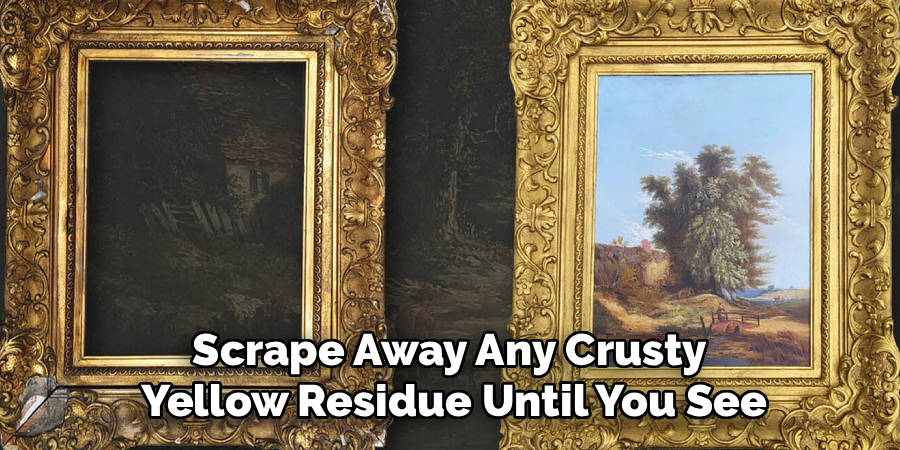
Take your 220-grit sandpaper and lightly sand the inside edges of the joint. Scrape away any crusty yellow residue until you see fresh wood.
Step 3: Apply Wood Glue
Apply a thin, even layer of wood glue to both sides of the exposed joint.
Do not go overboard. Too much glue will create a massive mess when you push the pieces together.
Use your finger or a small brush to spread the glue so it covers the entire surface of the mitered cut.
Read More: How to Repair Broken Metal Eyeglass Frames.
Step 4: Clamp the Frame
This is the most critical step. You cannot just hold the frame together with your hands while the glue dries.
Place the frame on a flat surface. Fit the glued corners perfectly together.
Wrap a strap clamp around the entire perimeter of the frame and tighten it. If you have corner clamps, apply one to each corner to ensure the frame stays perfectly square.
Step 5: Wipe Away Excess Glue
As you tighten the clamps, some glue will squeeze out of the joints. This is a good thing! It means you have a solid connection.
Take your damp rag and immediately wipe away the excess glue from the front and sides of the frame.
If you let the glue dry on the surface, it will ruin the finish and block stain or paint from adhering later.
Read More: How to Repair Dent in Wood Floor.
Step 6: Reinforce the Corners
Leave the frame clamped for at least 24 hours to let the glue fully cure.
Once dry, remove the clamps. To make sure the frame never breaks again, we need to add mechanical support.
Flip the frame face down. Tap a V-nail across the seam of each corner using a small hammer. This locks the wood pieces together permanently.
How to Repair a Picture Frame with Scratches and Dents
Sometimes the structure is fine, but the finish looks terrible. Scuffs and chips happen, especially during a big move.
Fixing cosmetic damage is incredibly easy and highly rewarding.
Fixing Shallow Scratches
If the scratch only affects the clear coat or the very top layer of stain, you have an easy fix.
Grab a wood touch-up marker that matches your frame’s color. Lightly color over the scratch.
Immediately wipe the area with a clean cloth to blend the color into the surrounding wood.
Filling Deep Gouges
Deep dents require a little more elbow grease. You will need wood filler for this task.
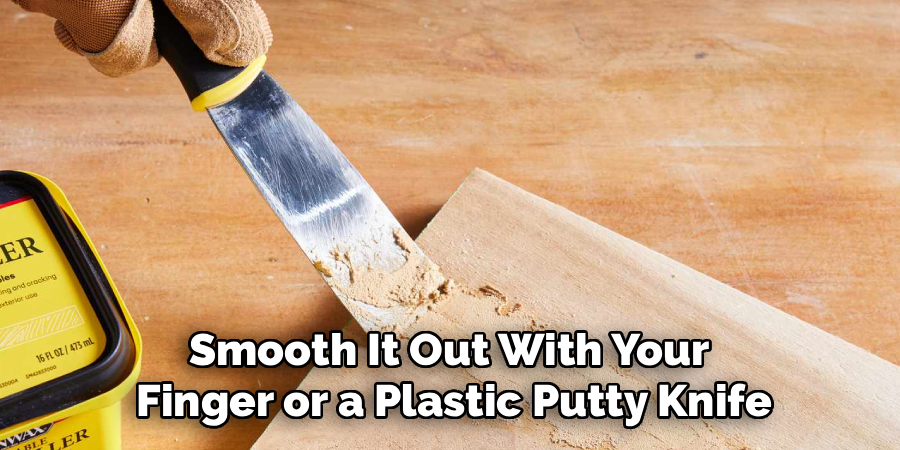
Squeeze a small amount of wood filler into the gouge. Smooth it out with your finger or a plastic putty knife.
Leave the filler sitting slightly higher than the surrounding wood, as it will shrink slightly as it dries.
Sanding and Refinishing
Once the wood filler is completely hard, take your fine-grit sandpaper and gently sand the patch flush with the frame.
Wipe away the dust. You can now paint or stain the patched area to match the rest of the wood.
If you have an ornate gold or silver frame, use metallic Rub ‘n Buff wax to easily camouflage the repair.
Safety Warnings for Frame Repair
DIY projects are fun, but safety should always be your top priority. Picture frames involve sharp edges and tools that require your respect.
Keep these cautions in mind:
- Handle glass with care: Frame glass is extremely thin and breaks into sharp shards. Always wear protective gloves when removing or inserting glass.
- Protect your eyes: Wear safety glasses when hammering V-nails or brad nails. Sometimes these tiny metal pieces can snap and fly upward.
- Ventilate your space: If you are using harsh adhesives, stains, or spray paints, work outside or open a window to avoid inhaling fumes.
- Watch the hammer: Be gentle when tapping joints together or setting nails. Striking too hard will dent the wood or split the frame completely.
When to Call a Professional Framer
Learning how to repair a picture frame yourself is highly empowering. However, there are times when you should step back and hire an expert.
Be honest with yourself about your DIY limits.
If you are dealing with a museum-quality antique frame, do not attempt to fix it with hardware store wood glue. Antique frames often use specialized plaster and gold leaf that require a master restorer.
Additionally, if your frame houses highly valuable or irreplaceable artwork, leave it to the pros. Professional framers use acid-free archival materials that protect art from fading and decay.
Finally, if the frame is completely shattered into a dozen splintered pieces, it might be beyond a simple glue job. A professional can assess whether it is worth saving or if you just need a replica.
Cost Estimate: DIY vs. Professional Repair
Is fixing it yourself really worth the effort? Let us look at the numbers.
A DIY repair is incredibly budget-friendly. A bottle of high-quality wood glue costs around $5. A basic strap clamp runs about $15. Touch-up markers and V-nails will set you back another $10.
For roughly $30, you get all the supplies you need. Plus, you keep these tools forever to fix future frames.
Taking a damaged frame to a professional custom framing shop tells a different story.
Basic joint repairs start around $50 just for the labor. If they need to replace the glass or touch up the finish, the bill can easily climb to $100 or $150.
If the frame requires full restoration, you might pay upwards of $300. Fixing it on your workbench makes clear financial sense for most standard frames.
Frequently Asked Questions
What is the best glue to use for picture frames?
Standard polyvinyl acetate (PVA) wood glue is the absolute best choice for wooden frames. It creates a bond that is actually stronger than the wood itself. Avoid super glue, as it dries too brittle and easily snaps under pressure.
How do you fix a frame without clamps?
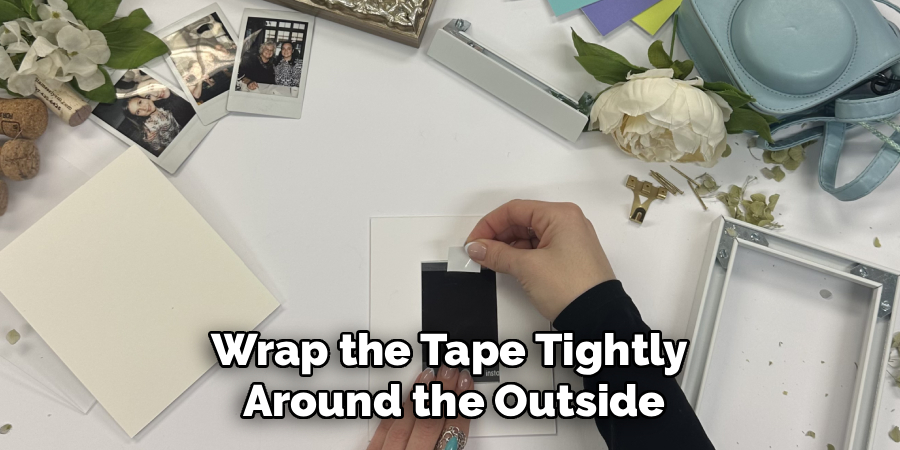
If you do not own a strap clamp, you can create a makeshift one using a long piece of masking tape. Lay the frame pieces flat, pull them tightly together, and wrap the tape tightly around the outside of the corners to hold tension while the glue dries.
Can I repair a plastic or resin frame?
Yes, but you cannot use wood glue. For plastic or resin frames, you need a two-part epoxy or a specialized plastic adhesive. Sand the broken edges slightly to give the epoxy a rough surface to grip onto.
How do I replace the backing of a picture frame?
If the cardboard backing is damaged, you can easily cut a new one. Buy a sheet of acid-free foam core board from a craft store. Trace the old backing onto the new board, cut it out with a utility knife, and secure it into the frame with glazier points.
How do I fix a loose picture hanging wire?
Simply loosen the screws on the D-rings attached to the back of the frame. Pull the braided picture wire tight, twist the excess wire securely around itself, and retighten the screws.
Conclusion
A broken frame does not have to mean a trip to the trash can. As you can see, breathing new life into damaged wood is an incredibly straightforward weekend project.
Knowing how to repair a picture frame saves you money and preserves the character of your favorite home decor. All it takes is a little glue, some patience, and the right clamps.
Take your time with the corners, always wipe away your excess glue, and remember to secure those joints with nails once everything is dry.
Ready to tackle more projects around the house? Grab your tools and start fixing! Check out our other DIY repair guides to keep your home looking its absolute best.