

Seeing a fresh blemish on your beautiful hardwood floors can make your heart sink. We put a lot of love into our homes, and floor damage is frustrating.
But do not panic just yet. Learning how to repair dent in wood floor surfaces is easier than you might think. You do not need expensive power tools or years of carpentry experience.
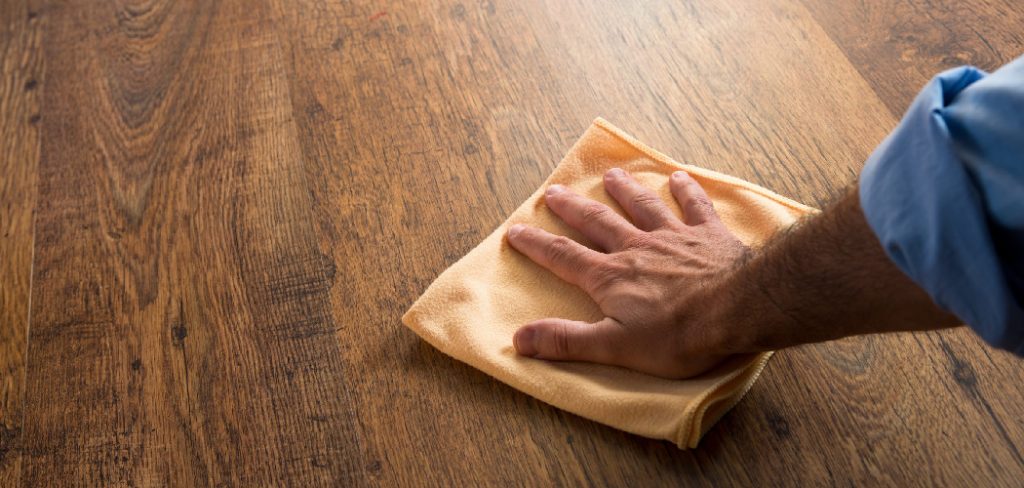
Most homeowners and DIYers can handle this project on a Saturday afternoon. Doing it yourself saves a lot of money compared to hiring a flooring contractor.
You will protect your investment and learn a valuable home maintenance skill. Let us walk through the process together, step by step.
What Causes Dents in Wood Floors?
Before we fix the problem, it helps to know how it happened. Wood is durable, but it is still a natural material that yields to pressure.
Here are the most common culprits behind floor dents:
- Dropped Heavy Objects: Canned goods, heavy tools, or cast iron pans slipping from your hands.
- High Heels: The concentrated pressure of a stiletto heel acts like a tiny hammer on your wood.
- Unprotected Furniture Legs: Heavy couches or dining chairs without felt pads press deeply into the wood.
- Pet Claws: Large, active dogs running across the room can sometimes leave small indentations.
- Moving Appliances: Sliding a refrigerator or stove without laying down a protective board.
- Children’s Toys: Hard wooden blocks or metal cars dropped during playtime.
Tools & Materials Needed for the Job
Gathering your supplies beforehand makes the repair process smooth and stress-free. You probably already have a few of these items in your house.
For the famous steam method, you will need:
- A standard household clothes iron.
- A clean, cotton cloth or washcloth.
- A small cup of water.
For deeper dents that require filling, you will need:
- High-quality wood filler that matches your floor color.
- A plastic putty knife.
- A fine-grit sanding block (220-grit is perfect).
- A clean microfiber cloth.
- A small can of polyurethane to seal the repair.
- A small foam brush for application.
Step-by-Step Fix Guide: How to Repair Dent in Wood Floor
Not all dents are created equal. We will start with the easiest, most magical fix first. If that does not work for your specific damage, we will move on to the filler method.
Method 1: The Steam Method (For Shallow Dents)
This trick works beautifully for dents where the wood fibers are compressed but not torn. The moisture and heat swell the wood fibers right back into place.
Step 1: Clean the Area
Start by wiping the dented area with a damp microfiber cloth. You want to remove any dirt, grit, or floor wax. Dirt left behind can get pressed into the finish during the heating process.
Step 2: Wet Your Cloth
Take your clean cotton cloth and wet it thoroughly with water. Wring it out just enough so it is not dripping everywhere. You want it quite damp to create good steam.
Step 3: Place the Cloth Over the Dent
Lay the damp cloth flat directly over the dent in your floor. Make sure the entire indented area is covered by the wet fabric.
Step 4: Apply the Hot Iron
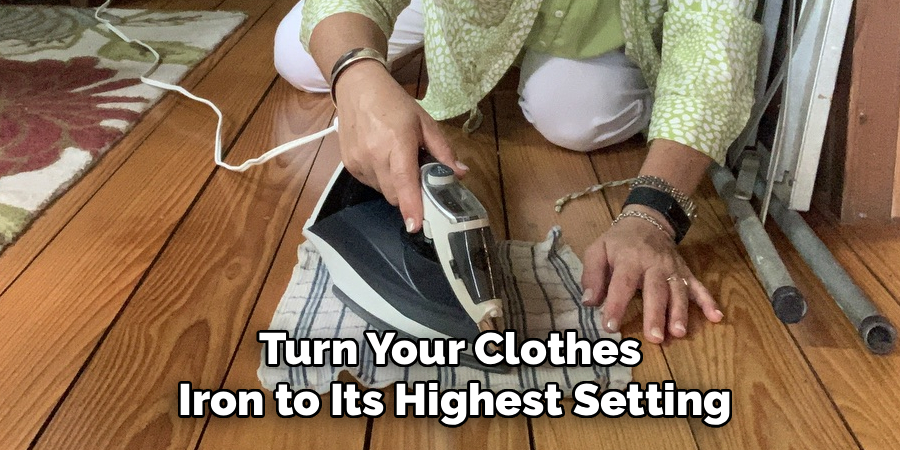
Turn your clothes iron to its highest setting. Press the hot iron firmly onto the damp cloth directly over the dent. Keep it moving in small circles so you do not burn the cloth or the floor.
Step 5: Check Your Progress
Leave the iron on the cloth for about three to five minutes, continually moving it. Carefully lift the cloth to check the dent. You should see the wood fibers rising back up.
Step 6: Repeat if Necessary
If the dent is still visible, re-wet the cloth and repeat the process. Once the wood is flush with the floor, let it dry completely.
Method 2: Using Wood Filler (For Deep Dents or Torn Fibers)
Sometimes a dent is too deep, or the wood fibers are actually broken. The steam method will not work here. Instead, you need to fill the gap.
Step 1: Clean and Prep the Dent
Wipe the damaged area clean to ensure the filler sticks properly. If there are jagged wood splinters, carefully remove them.
Step 2: Apply the Wood Filler
Scoop a small amount of color-matched wood filler onto your plastic putty knife. Press it firmly into the dent, making sure to push it into all the corners.
Step 3: Overfill Slightly
Leave the filler mounded slightly higher than the floor surface. Wood filler shrinks a tiny bit as it dries. You will level it out later.
Step 4: Let the Filler Dry
Follow the manufacturer’s instructions for drying time. Most fillers take a few hours to harden completely. Do not rush this step, or the repair will fail.
Finishing the Repair for a Flawless Look
Once the filler is rock hard, it is time to blend it into the rest of your beautiful floor.
Step 1: Sand the Area Smooth
Grab your fine-grit sanding block. Gently sand the dried filler until it is perfectly flush with the surrounding floor. Always sand in the direction of the wood grain to avoid scratches.
Step 2: Wipe Away Dust
Use a dry microfiber cloth to wipe up all the sanding dust. The area must be completely clean before applying any finish.
Step 3: Apply the Polyurethane
Dip your small foam brush into the polyurethane. Apply a very thin, even coat over the sanded area to seal the wood and restore the shine.
Step 4: Let it Cure
Allow the finish to dry completely for at least 24 hours. Keep foot traffic, pets, and furniture away from the spot until it is fully cured.
Crucial Safety Warnings
DIY repairs are fun and rewarding, but safety must always come first.
When using the steam method, be very careful with the hot iron. Never touch the metal plate, and do not leave the iron unattended on the floor.
Always keep the iron moving. Leaving it stationary on a hot, damp cloth can strip the finish right off your hardwood.
If you are using polyurethane, make sure the room is well-ventilated. Open a window or run a fan to disperse the strong fumes. Wear a basic dust mask when using your sanding block to keep particles out of your lungs.
When to Call a Professional
Knowing your DIY limits is just as important as knowing how to use your tools.
If a water pipe bursts and causes massive buckling and denting across the whole room, call a pro. DIY methods are meant for isolated, localized damage.
If your floor is a rare, antique wood or an expensive engineered hardwood with a complex veneer, tread carefully. The steam method can sometimes delaminate cheap engineered floors.
When you have a massive gouge that spans several planks, a professional flooring contractor might need to replace the boards entirely.
Cost Estimate: DIY vs. Pro Repair
One of the best reasons to learn how to repair dent in wood floor surfaces is the cost savings.
Doing it yourself is incredibly cheap. An iron and a wet cloth cost you nothing. If you need to buy wood filler, a sanding block, and a small can of finish, you will spend about $20 to $35 at the hardware store.
Hiring a professional is a different story. Most flooring contractors have a minimum call-out fee. You can expect to pay anywhere from $150 to $300 just to have them walk through the door.
For deep gouges that require board replacement, a pro might charge $300 to $500 depending on the cost of the matching wood.
Frequently Asked Questions
Will the steam method ruin my floor finish?
If done correctly, no. The damp cloth protects the finish while driving heat and moisture into the wood. Just keep the iron moving.
Can I use a hair dryer instead of an iron?
A hair dryer does not get hot enough to generate the required steam. A clothes iron is necessary to push the moisture into the compressed wood fibers.
What if I cannot find a wood filler that matches my floor?
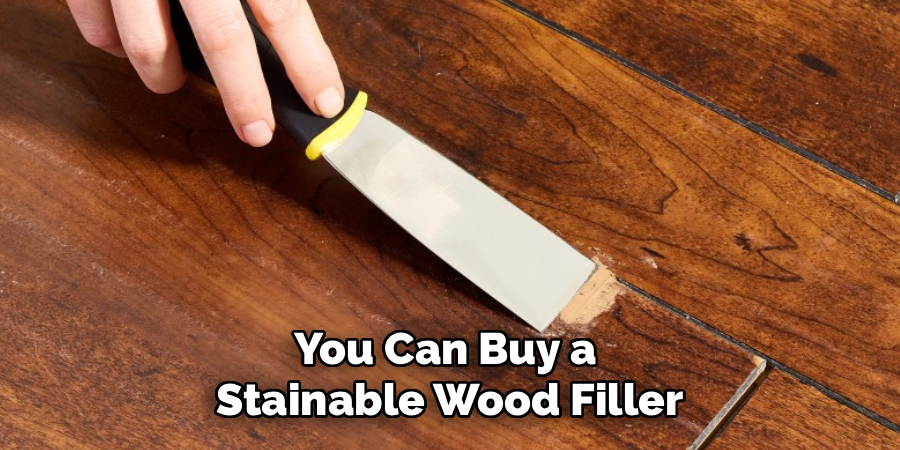
You can buy a stainable wood filler. Apply the neutral filler, sand it, and then apply a matching wood stain before sealing it.
Does this work on laminate floors?
No. Laminate is essentially a printed image over a composite core. The steam method will ruin laminate floors by causing them to bubble and warp.
How do I prevent dents in the future?
Place thick felt pads under all furniture legs. Avoid wearing high heels indoors, and put down area rugs in high-traffic zones.
Conclusion
Fixing floor damage does not have to be an intimidating chore. Now that you know how to repair dent in wood floor surfaces, you can tackle those annoying blemishes with confidence.
Whether you use the magical steam method for shallow compressions or wood filler for deeper gouges, your floors will look fantastic again. Remember to take your time, keep the iron moving, and always let your finish dry completely.
Ready to get your home looking flawless? Grab your iron, wet a cloth, and try lifting out that dent today!