

You grab your bottle jack to lift a car or trailer, pump the handle, and… nothing. The ram barely rises, or it sinks right back down under the load. Frustrating, right?
The good news is that many bottle jack problems come from simple causes—low hydraulic fluid, air trapped in the system, or a sticky release valve. These are fixable on a workbench in an afternoon, no mechanic required.
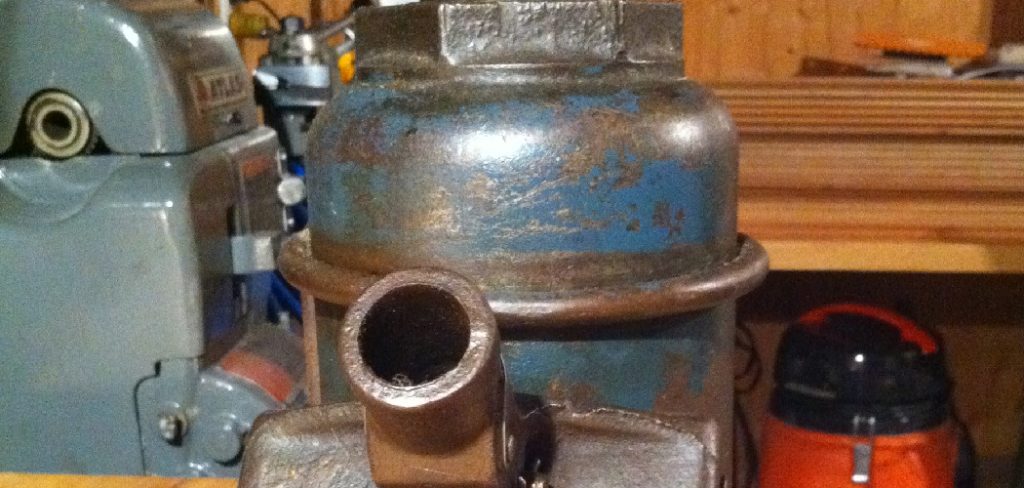
Learning how to repair bottle jack issues saves you money and keeps a trusty tool out of the trash. With a little patience and the right approach, you can bring a weak or leaky jack back to full strength.
This guide walks you through diagnosing the problem, refilling fluid, bleeding trapped air, and replacing worn seals safely and correctly.
Why Fixing a Bottle Jack Matters
A working bottle jack is one of those tools you don’t think about until you really need it—often at the worst possible moment.
For campers and outdoor beginners, that moment usually comes far from any garage. A flat tire on a remote trail, a trailer that needs leveling at a campsite, or an off-road emergency miles from help all demand a jack you can trust.
Knowing how to fix yours means you’re not stranded when a seal fails or the ram won’t hold. You can perform a quick field repair, top off the hydraulic fluid, or bleed out trapped air and get back on the road.
It also builds real gear readiness. When you understand how your equipment works, you pack smarter, spot problems early, and handle setbacks calmly instead of panicking when something goes wrong outdoors.
Tools and Materials You’ll Need
Lay everything out before you start so you’re not hunting for parts with fluid on your hands.
- Quality hydraulic jack oil rated for your jack (never brake fluid or motor oil)
- A seal kit or O-ring set matched to your jack’s make and model
- A flathead and Phillips screwdriver for the release valve and filler plug
- An adjustable wrench or socket set to open the reservoir
- Clean rags and paper towels to wipe away old, dirty oil
- A small funnel for neat refilling
- Safety goggles and gloves to protect against spills and pressure
- A drain pan to catch old hydraulic fluid
- Jack stands for any real load testing under a vehicle
Optional but handy: a small parts tray with magnetic compartments. It keeps tiny screws, springs, and O-rings from rolling off the bench and disappearing into the void.
Step-by-Step Guide on How to Repair Bottle Jack
Work through these steps in order and don’t rush. Knowing how to repair bottle jack problems safely starts with figuring out exactly what’s wrong before you open anything up.
Step 1 – Diagnose the Problem
Before you touch a wrench, watch how your jack behaves. The symptoms tell you a lot about what’s hiding inside.
Pump the handle a few times with no load and observe the ram. If it rises but slowly drifts back down, you likely have a worn seal or a leaking release valve letting fluid bypass internally.
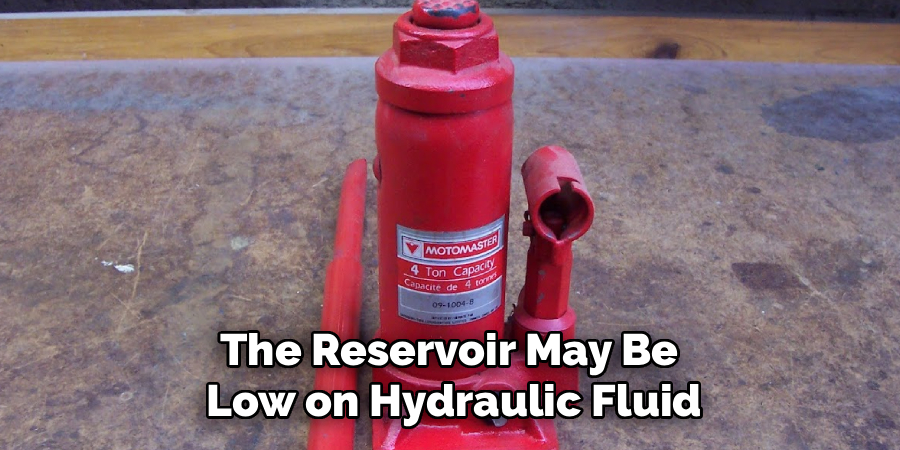
If the ram jumps unevenly or feels spongy, air is probably trapped in the system. And if it barely moves at all, the reservoir may be low on hydraulic fluid.
Listen for hissing and feel for slick oil on the body, which points to a leak. Wipe the jack clean and note where fluid appears. A clear diagnosis saves you from chasing the wrong fix.
Step 2 – Inspect the Body for Safety
This step decides whether you should fix the jack at all. Safety comes first, always.
Look closely at the steel body, base, and ram under good light. Run your fingers along the welds and edges, feeling for cracks, deep pitting, or rough repairs someone made before you.
If you find a cracked body, badly welded seams, heavy corrosion, or any bend in the frame, stop right here. A compromised jack can fail under load and cause serious injury.
When the rated safety integrity is even slightly in doubt, replace the unit instead of repairing it. A new bottle jack costs far less than a hospital visit.
Only continue if the body is solid, straight, and structurally sound.
Read More: How to Repair a Leach Field.
Step 3 – Release Pressure and Clean Up
Now prepare the jack for service. You want it fully relaxed before opening anything.
Turn the release valve counterclockwise to lower the ram completely. You’ll feel the resistance ease as the piston drops back into the body.
Wipe the entire jack down with a clean rag. Grime and grit are the enemy here—any dirt that sneaks into the reservoir can score the piston or clog the valve later.
Pay special attention to the area around the filler plug and the release valve. Brush away dust and old oil residue until the surfaces look clean and feel dry.
Set the jack on a stable, level workbench. A tidy starting point makes every step that follows smoother and far less messy.
Step 4 – Check and Refill Hydraulic Fluid
Low fluid is the most common reason a jack loses lifting capacity. Let’s fix that.
Find the filler plug, usually a rubber stopper or bolt on the side of the reservoir. Remove it carefully and peek inside. The fluid should sit near the fill line.
If it looks low, dark, or milky from contamination, drain the old oil into your pan first. Cloudy fluid means moisture or grit has crept in and needs to go.
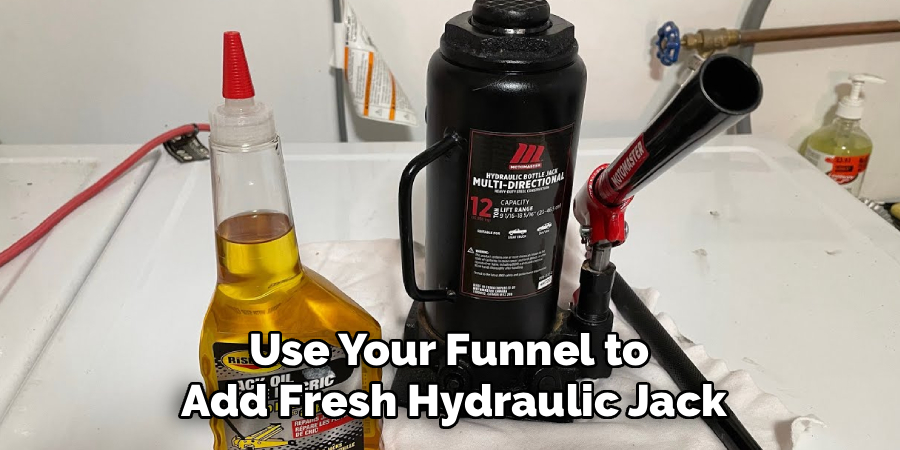
Use your funnel to add fresh hydraulic jack oil slowly, stopping at the recommended level. Don’t overfill—too much oil leaves no room for air and can cause problems.
Wipe up any spills, then reinsert the filler plug snugly. You’ll often feel improvement right away.
Step 5 – Bleed the Trapped Air
Air trapped in the system makes a jack feel spongy and weak. The bleed procedure clears it out.
Open the release valve by turning it counterclockwise. With the valve open, pump the handle rapidly ten to fifteen times. This pushes trapped air back up toward the reservoir.
You might hear faint sputtering or feel the handle’s resistance change as the air works free. That’s exactly what you want.
Close the release valve and test the pump. If the ram still feels spongy, open the valve and repeat the bleed procedure a second time.
Some jacks have a specific air-release point near the filler plug—loosening it briefly while pumping helps stubborn bubbles escape. Patience pays off here.
Step 6 – Replace Worn Seals and O-Rings
If fluid keeps leaking past the piston, a worn seal is the culprit. Time for the seal kit.
Carefully disassemble the ram assembly according to your jack’s layout, keeping each part in order on your tray. Note how everything fits before you remove it.
Pull out the old O-ring and seals. They often look flattened, cracked, or hardened—clear signs they’ve stopped holding pressure.
Wipe the piston and cylinder clean, then coat the new seals lightly with fresh hydraulic fluid. Slide them into place gently so they don’t tear on any sharp edge.
Reassemble in reverse order, snugging each part without overtightening. A fresh O-ring restores the tight seal your jack needs to hold a load.
Read More: How to Repair Water Damaged Drywall.
Step 7 – Clean the Release Valve Area
A sticky or leaking release valve can let fluid bypass and drop your load. Cleaning it often solves the problem.
Locate the release valve and remove it carefully if your model allows. Inspect the small ball bearing and seat inside, where debris loves to lodge.
Wipe the valve, seat, and surrounding channel with a clean, lint-free rag. Even a tiny speck of grit can hold the valve open and cause a slow sink.
Check the valve’s O-ring too, replacing it if it looks worn. Reinstall the valve and turn it smoothly—it should open and close without grinding or sticking.
A clean valve seats tightly, holds pressure, and stops that maddening drift back down under load.
Step 8 – Load Test Before Trusting It
Never trust a freshly repaired jack until you prove it holds. This final step keeps you safe.
Pump the ram to full extension with no load and watch it for a full minute. It should stay put without drifting down. If it sinks, revisit your seals and valve.
When it holds dry, perform a careful load test on a vehicle—but only with jack stands in place. Lift the load, slide the stands under, and lower onto them.
Never, ever work under a vehicle supported only by a jack. A jack is for lifting, not for holding you safe beneath two tons of steel.
If the jack holds the load steadily and stays firm, your repair worked.
Critical Mistakes When Repairing a Bottle Jack
The most dangerous mistake is trusting a jack you should have replaced. If the body is cracked, badly welded, bent, or heavily corroded, no amount of fresh oil makes it safe. When the rated safety integrity is in doubt, throw it out and buy new. Your life is worth more than a cheap tool.
Another common error is using the wrong fluid. Brake fluid, motor oil, and water all damage seals and ruin performance. Stick to proper hydraulic jack oil rated for your unit, and never mix types.
Many beginners also overfill the reservoir. Too much fluid leaves no room for expansion, traps pressure, and can make the jack behave worse than before. Fill only to the line.
Skipping the bleed procedure is another frequent slip. People top off the oil, feel the jack still acting spongy, and assume it’s broken—when air trapped in the system was the real issue all along.
Finally, never work beneath a vehicle held up by the jack alone. Always set jack stands first. Hydraulic seals can fail without warning, and a dropped load is unforgiving.
Expert Tips
Always match your seal kit and hydraulic fluid to your jack’s exact make and model. Generic parts may not seal properly and can cause the very leaks you’re trying to fix.
Keep your jack clean and stored upright in a dry place. Moisture invites contamination and rust, both of which shorten its life and weaken lifting capacity.
Cycle the ram fully a few times every couple of months, even when you’re not using it. This keeps seals supple and spreads oil across the piston so nothing dries out and sticks.
Label your fluid container clearly so you never grab the wrong bottle in a hurry.
And know your limits. Bleeding air, refilling fluid, and swapping an O-ring are great beginner jobs. Internal machining or structural modifications are not—those belong to a pro or signal it’s time for a replacement.
Frequently Asked Questions
Why won’t my bottle jack hold pressure?
Usually one of three things is to blame. A worn seal or O-ring lets fluid slip past the piston, a dirty release valve fails to seat, or air is trapped in the system. Start by bleeding the air, then clean the release valve area. If it still sinks, replace the seals. Always load test with jack stands before trusting it again.
What kind of fluid does a bottle jack use?
A bottle jack uses dedicated hydraulic jack oil, not brake fluid, motor oil, or water. The right oil protects the seals and keeps the piston moving smoothly. Check your owner’s manual or the jack body for the recommended type and weight:
- Use only hydraulic jack oil
- Never substitute brake fluid or motor oil
- Avoid overfilling past the fill line
Wrong fluid leads to leaks and ruined seals.
How do I get air out of my bottle jack?
Run the bleed procedure. Open the release valve by turning it counterclockwise, then pump the handle rapidly ten to fifteen times to push trapped air toward the reservoir. Close the valve and test the pump. If the ram still feels spongy, repeat the process. Some models have a bleed point near the filler plug that helps release stubborn air bubbles.
When should I replace my bottle jack instead of repairing it?
Replace it whenever safety is in question. A cracked or bent body, badly welded seams, heavy corrosion, or a damaged base all mean the jack can fail under load. If the rated safety integrity is even slightly doubtful, don’t gamble. A new bottle jack is inexpensive compared to the injury a sudden failure could cause. When in doubt, throw it out.
Can I use my bottle jack to hold a car while I work under it?
No—never. A jack is for lifting only, not for supporting a vehicle while you’re beneath it. Hydraulic seals can fail without warning and drop the load instantly. Always raise the vehicle with the jack, then place rated jack stands under it and lower the weight onto the stands. Only then is it safe to work underneath.
Conclusion
A weak or leaky bottle jack doesn’t have to mean a trip to the store for a new one. Once you understand how to repair bottle jack problems step by step, you can bring most units back to full strength right on your workbench.
The routine is simple: diagnose the symptom, inspect the body for safety, refill the hydraulic fluid, bleed out trapped air, replace worn seals and O-rings, and clean the release valve. Then load test carefully before you trust it with anything heavy.
Just as important, you’ve learned where to draw the line. A cracked, bent, or badly corroded body means it’s time to replace the jack, not fix it. And you never work under a vehicle held up by a jack alone—jack stands always come first.
So clear off your bench, lay out your tools, and take it one careful step at a time. When your jack lifts smooth and holds rock-steady, you’ll feel the quiet satisfaction of fixing it yourself—and knowing exactly when to stay safe instead.