

That favorite teddy bear with the worn-down fur, drooping arm, and split seam still holds a lifetime of memories. Maybe it belonged to you as a kid, or maybe your own child can’t fall asleep without it. Either way, watching it fall apart feels a little heartbreaking.
Here’s the good news: you don’t need to be a master tailor to bring it back to life. Knowing how to repair a threadbare teddy bear takes just a few basic supplies, some patience, and a steady hand.
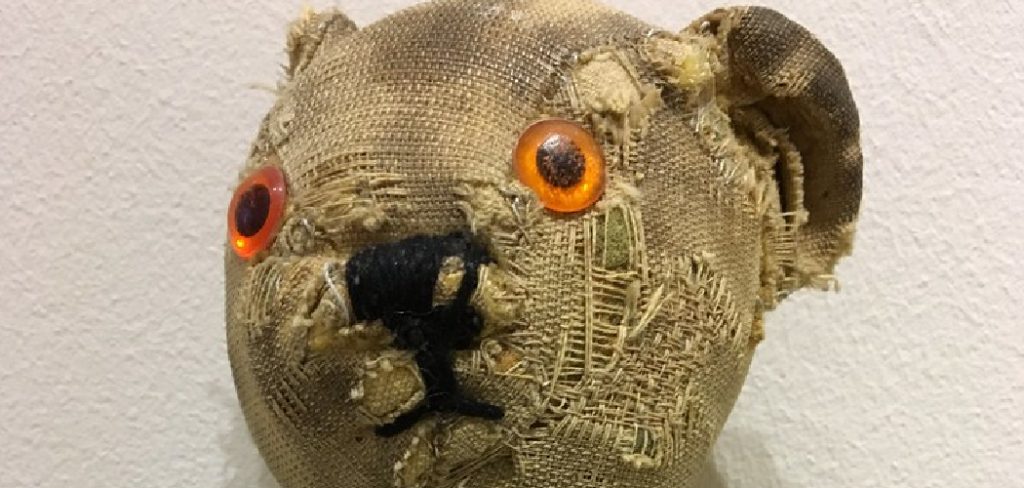
Whether the seams have popped, the stuffing pokes through, or the fabric has thinned to almost nothing, most fixes are surprisingly simple. With the right approach, you can mend the damage and keep that bear hugging strong for years.
This guide walks you through every step, from gathering tools to stitching frayed areas and reinforcing weak spots.
Why Repairing a Threadbare Teddy Bear Matters
A worn teddy bear is more than fabric and stuffing—it’s a memory keepsake you can hold in your hands.
Learning to mend one builds real, hands-on sewing skills that carry far beyond the toy box. Once you master a ladder stitch and a basic patch, you can repair torn jackets, ripped tents, and frayed backpacks too. That’s a huge win for campers and outdoor beginners who can’t always run to a store mid-trip. A small sewing kit and these skills can save a gear emergency in the woods.
There’s also a sentimental payoff. Buying a replacement bear never feels the same. The original carries history, comfort, and personality that no shelf model can match.
Fixing it yourself also saves money and keeps a beloved item out of the landfill. That’s good for your wallet and the planet.
Tools and Materials You’ll Need
Gather everything before you start so you’re not hunting for supplies with the bear half-opened on your lap. Most of these items fit in a small sewing kit.
- A hand sewing needle sized for the fabric thickness
- Embroidery floss or strong thread that matches the bear’s color
- Fabric scissors for clean, precise cuts
- Patch fabric in a similar texture and shade
- Extra polyester stuffing to refill thin or flat areas
- Straight pins to hold patches in place
- A seam ripper for opening old stitches cleanly
- A fabric marker to map out repairs
Optional but handy: a thimble protects your fingertip when pushing the needle through thick or matted fur. It makes longer repair sessions far more comfortable and saves you from sore, poked fingers.
Step-by-Step Guide on How to Repair a Threadbare Teddy Bear
Work through these steps in order. Knowing how to repair a threadbare teddy bear starts with a careful look at exactly where and how the damage has spread.
Step 1 – Inspect the Damage Closely
Before you thread a single needle, sit down with the bear under good light and study it inch by inch.
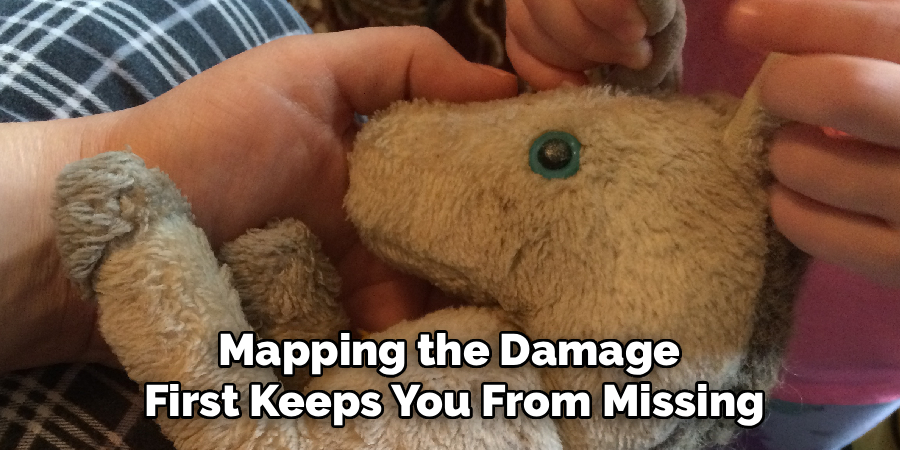
Run your fingers gently over the fur and feel for thin, bald patches where the worn fabric has stretched almost see-through. Gently tug at the seams to find any that have split or loosened. You’ll often hear a faint crackle from old, dried thread giving way.
Look for loose threads, frayed areas around the paws, and spots where stuffing peeks out. Note each problem with your fabric marker or jot it on paper.
Mapping the damage first keeps you from missing a weak spot. It also helps you decide which repairs need a patch and which just need a few stitches.
Step 2 – Clean the Bear Gently
Dirt and oils weaken old fabric, so give your bear a gentle clean before any stitching begins.
For surface grime, dab a damp cloth with a little mild soap and wipe the soiled areas. Avoid soaking the bear, since too much water can shift the stuffing and stress fragile seams. You’ll smell that musty, old-toy scent start to fade as the fur freshens up.
For a deeper clean, place the bear in a pillowcase and run a gentle, cold cycle if the care tag allows. Older or delicate bears should always be spot-cleaned by hand instead.
Let the bear air-dry completely before you continue. Damp fabric is harder to sew and can trap mildew inside the stuffing.
Step 3 – Tame Loose Threads and Frayed Edges
Once the bear is dry, tidy up the messy areas so your repairs look clean and last longer.
Snip away stray, dangling threads with your fabric scissors, cutting close but never into the fabric itself. You’ll feel the surface smooth out under your fingertips as the fuzz disappears.
For frayed areas around seams, dab a tiny bit of clear fabric glue or fray-stopping liquid along the raw edges. This locks the fibers and stops the unraveling from spreading while you work.
Take your time here. Rushing leaves rough patches that show through later. A clean, trimmed surface gives your needle a steady base and makes every following stitch sit neatly against the fur.
Step 4 – Refill Thin or Flattened Stuffing
Years of hugs flatten a bear, leaving limbs limp and the body saggy. Refilling brings back that huggable shape.
Find the closest seam to the deflated area and carefully open a small section using your seam ripper. You’ll feel the old stuffing inside, often clumped and matted from age.
Tease the existing filling apart with your fingers to fluff it, then tuck in small handfuls of fresh polyester stuffing. Add a little at a time and check the shape as you go. Overstuffing strains the seams and makes the fabric pull tight.
Press and shape the limb until it feels firm but still soft. Squeeze it like you would a pillow to spread the filling evenly before you close it back up.
Step 5 – Master the Ladder Stitch
The ladder stitch is your secret weapon for closing seams so the thread disappears into the fabric.
Thread your hand sewing needle with matching embroidery floss and knot the end. Starting just inside the open seam, push the needle through one folded edge, then straight across to the other side.
Make small, even stitches that hop back and forth like the rungs of a ladder. After a few stitches, gently pull the thread, and you’ll watch the seam pull shut as if by magic, hiding the thread completely.
Keep your tension steady—too tight puckers the fabric, too loose leaves gaps. This single stitch handles most seam repair jobs on a bear and looks clean from every angle.
Step 6 – Patch the Threadbare Spots
For areas worn too thin to stitch alone, a patch adds strength and covers the bald spots.
Cut a piece of patch fabric slightly larger than the damaged area, matching the color and texture as close as you can. Pin it in place over the worn fabric so it sits flat and smooth.
Using a small whipstitch or ladder stitch, sew around the edge of the patch, catching both the patch and the bear’s body. Work slowly around curves so the fabric doesn’t bunch.
You’ll feel the once-flimsy area firm up under your fingers as the patch takes hold. Choose a patch from a hidden spot, like under the arm, if you want the repair to stay nearly invisible.
Step 7 – Reattach Loose Limbs or Features
Dangling arms, wobbly legs, and missing eyes need secure reattachment so they hold up to future play.
For a loose limb, line it up at the joint and stitch it firmly using a doubled length of strong thread. Go around the joint several times, pulling snug after each pass. You’ll feel the limb stop wobbling as the stitches build strength.
For eyes or a nose, knot the thread securely on the inside before bringing it through. Loose buttons or plastic eyes are a choking hazard for little ones, so anchor them tight.
Embroider a new nose or mouth with floss if the originals have worn away. Small, close satin stitches recreate the bear’s face beautifully and bring back its familiar expression.
Step 8 – Final Touches and Inspection
With the major repairs done, give the bear a final once-over to catch anything you missed.
Run your hands over every seam and tug gently to test your stitches. Solid repairs won’t budge or gap. You’ll feel the difference—firm limbs, smooth patches, and tidy seams instead of the loose, fragile bear you started with.
Trim any leftover thread tails close to the fabric so nothing dangles. Fluff the fur with your fingers or a soft brush to blend the repaired spots into the surrounding texture.
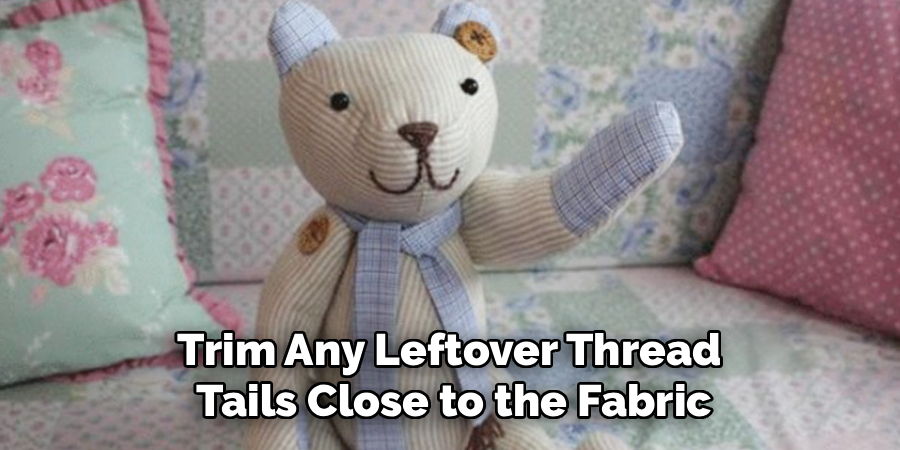
Give the bear a good squeeze. It should feel whole and sturdy again, ready for years of hugs. Step back and admire the difference your patience and a needle just made.
Critical Mistakes When Repairing a Threadbare Teddy Bear
Even a simple mend can go wrong if you rush or skip key steps. The most common mistake is using mismatched thread or patch fabric. Bright, contrasting thread on an old bear stands out and ruins the look, so always match color and texture as closely as you can.
Another frequent slip is overstuffing. It’s tempting to pack in lots of fresh filling, but too much strains those fragile old seams and can split them right open again. Add stuffing gradually and stop once the limb feels firm but soft.
Many beginners also pull their stitches too tight. Heavy tension puckers the worn fabric and creates ugly bunching that’s hard to undo. Keep your stitches snug but relaxed, especially around thin, threadbare areas.
Skipping the cleaning step causes problems too. Dirt and skin oils weaken fibers, so stitching over a grimy bear shortens the life of your repair.
Finally, don’t ignore loose eyes or buttons on a child’s bear. A poorly secured feature becomes a choking hazard, so anchor every piece tightly and double-check it before handing the bear back.
Expert Tips
Want your repair to last and look professional? Always work in good lighting so you can see the fur direction and match your stitches to it.
Save a scrap of matching fabric whenever you sew. Even a small swatch from a hidden seam makes the perfect patch later when fresh damage appears.
Use a doubled thread on high-stress spots like limbs and joints. The extra strength holds up far better than a single strand against everyday hugging and tugging.
For delicate antique bears, test any cleaner on a hidden spot first. Old dyes and fragile fibers react unpredictably, and one wrong wipe can leave a stain.
Finally, take your time. Rushing leads to crooked stitches and uneven patches. A relaxed pace gives you cleaner results and turns the repair into a calm, satisfying project rather than a chore.
Frequently Asked Questions
What’s the best stitch for closing a teddy bear seam?
The ladder stitch is the best choice for closing teddy bear seams. It hides the thread inside the fabric, leaving an almost invisible finish. Make small, even stitches that cross back and forth between the two folded edges, then pull gently to draw the seam closed. Keep the tension steady so the fabric doesn’t pucker, and use thread that matches the bear’s color.
How do I fix the worn, bald patches on an old bear?
For worn, bald spots, a fabric patch works best. Here’s the quick approach:
- Cut patch fabric slightly larger than the damaged area
- Match the color and texture as closely as possible
- Pin it flat over the thin spot
- Stitch around the edge with a small ladder or whipstitch
Pull the patch from a hidden area, like under the arm, for a near-invisible repair.
Can I machine wash a teddy bear before repairing it?
Sometimes, but check the care tag first. Sturdy modern bears can handle a gentle, cold cycle inside a pillowcase to protect them. Older, delicate, or antique bears should only be spot-cleaned by hand with mild soap and a damp cloth. Always let the bear air-dry completely before sewing, since damp fabric is harder to stitch and can trap mildew inside the stuffing.
What kind of thread should I use to repair a teddy bear?
Use strong, color-matched thread or embroidery floss for teddy bear repairs. Embroidery floss works well for visible details like the nose and mouth because it’s thick and durable. For seams and limbs, a doubled length of strong all-purpose thread holds up best against repeated hugging. Always match the thread color to the fabric so your stitches blend in and stay hidden.
How do I reattach a teddy bear’s eye safely?
To reattach an eye safely, knot your thread securely on the inside of the bear first. Bring the needle through to the eye, loop the thread tightly around the eye’s shank or hole several times, then knot it firmly again. For a child’s bear, double-check the eye won’t pull loose, since a loose eye is a serious choking hazard for little ones.
Conclusion
A worn-out teddy bear doesn’t belong in the trash—it belongs back in your arms. Now you know how to repair a threadbare teddy bear from start to finish: inspect the damage, clean it gently, refill flat stuffing, master the ladder stitch, patch the thin spots, and reattach any loose limbs or features.
None of this takes special talent. With a hand sewing needle, matching thread, and a little patience, you can bring that bear back to life in an afternoon.
The reward goes beyond the fix. You’ll save money, keep a treasured keepsake out of the landfill, and build sewing skills that come in handy for clothes, gear, and other repairs down the road. Best of all, you preserve the memories stitched into every worn seam.
So gather your supplies, find a quiet spot with good light, and give that old friend the care it deserves. Once you feel those firm limbs and tidy seams again, you’ll be glad you picked up the needle yourself.