

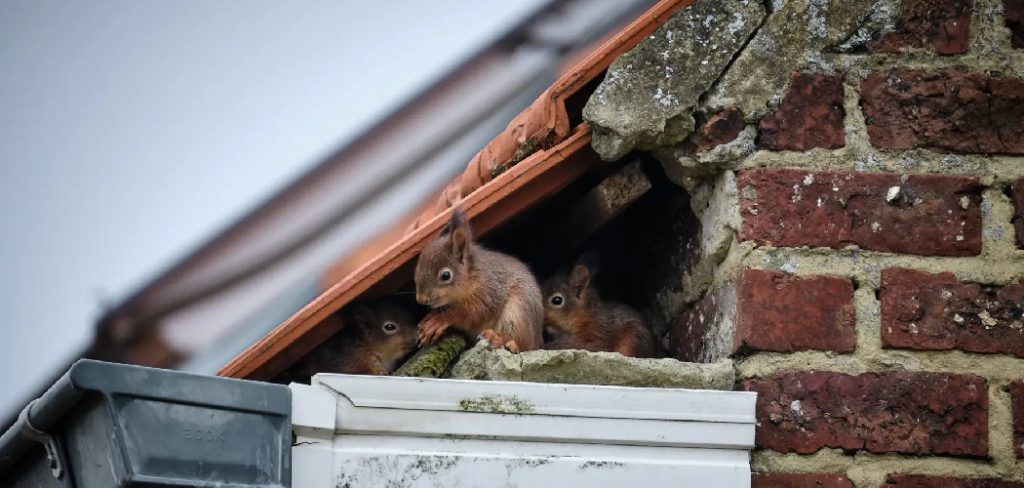
Are you hearing scratching noises above your ceiling? You might have unwanted furry guests. Figuring out how to repair squirrel hole in attic spaces is a common homeowner headache.
Squirrels are relentless chewers that can cause major structural damage. They gnaw through wood, siding, and even wires. Leaving these holes open invites weather damage and more pests into your home.
Luckily, you do not need to panic. Handling this fix yourself is entirely possible.
Taking the DIY route saves you hundreds of dollars on pest control and contractor fees. With the right tools and a free afternoon, you can seal your home up tight.
We are going to walk through this together. Let’s get your attic back in shape!
What Causes This Problem?
Squirrels do not just randomly decide to eat your house. They usually have a specific motivation for breaking in.
Understanding why they enter helps you prevent future invasions. Here are the most common reasons you end up with squirrel holes:
- Seeking Shelter: When temperatures drop, attics provide a warm, dry refuge from winter weather.
- Nesting Space: Mother squirrels actively seek out secure, hidden spots to birth and raise their babies.
- Rotting Wood: Fascia boards and soffits softened by water damage make very easy chewing for rodents.
- Overhanging Trees: Branches touching your roof act like a superhighway straight to your vulnerable vents and eaves.
- Food Storage: Your attic is a dry, predator-free zone perfect for hoarding nuts and seeds.
Essential Tools and Materials Needed
Before you climb any ladders, you need to gather your supplies. Having everything within reach makes this job much easier.
You can find all these items at your local hardware store. Here is your shopping list:
Safety Gear:
- Heavy-duty leather work gloves
- Safety goggles or glasses
- An N95 dust mask or respirator
- Sturdy, non-slip footwear
Repair Materials:
- 1/4-inch or 1/2-inch galvanized hardware cloth (steel mesh)
- Expanding polyurethane foam (pest-blocking variety is best)
- Roofing sealant or exterior-grade silicone caulk
- Wood putty or exterior wood filler
- Replacement wood boards (if the damage is extensive)
- Exterior paint to match your trim
Hand and Power Tools:
- A sturdy extension ladder
- A bright LED flashlight or headlamp
- Tin snips or wire cutters
- A cordless drill with driver bits
- 1-inch exterior wood screws or roofing nails
- A caulking gun
- A putty knife
- A crowbar or hammer for removing rotted wood
Step-by-Step Guide on How to Repair Squirrel Hole in Attic
This process requires patience and attention to detail. Do not rush through these steps.
Follow this beginner-friendly guide closely. We will make sure your home is permanently sealed.
Step 1: Locate Every Entry Point
Squirrels rarely use just one door. You need to inspect the entire perimeter of your roof.
Set up your ladder safely on level ground. Check the fascia, soffits, roof vents, and eaves.
Look for chewed wood, missing shingles, or greasy rub marks. Mark each hole you find with a piece of chalk or painter’s tape.
Read More: How to Repair Dog Chewed Wood.
Step 2: Confirm the Attic is Empty
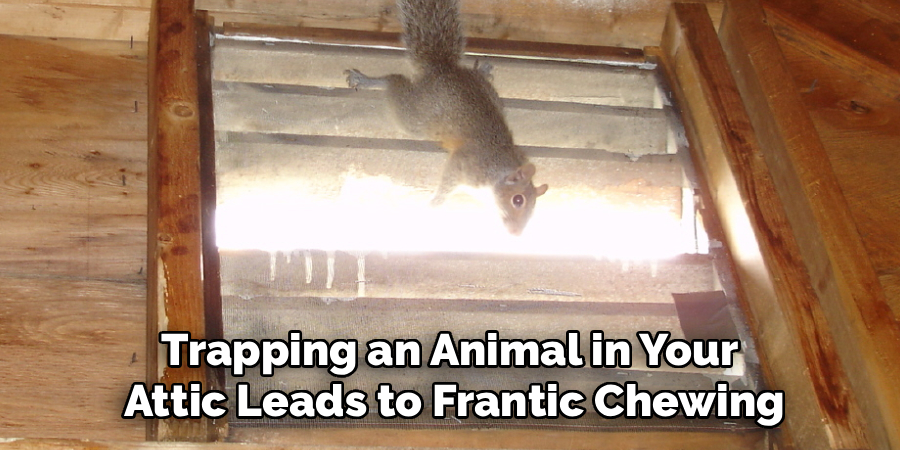
You absolutely cannot seal a hole if squirrels are still inside. Trapping an animal in your attic leads to frantic chewing and terrible smells.
Go into your attic during the day when squirrels are typically out foraging. Bring your bright flashlight.
Look for nests made of insulation, leaves, and twigs. Check carefully for squirrel babies, as mothers often hide them in tight corners.
Step 3: Install a One-Way Exclusion Door
If you suspect squirrels are still using the nest, you must install an exclusion device. This allows them to leave but prevents their return.
Mount a one-way squirrel door over the main entry hole using your drill and screws. Temporarily seal any secondary holes with your steel mesh.
Leave the one-way door in place for at least three to five days. Monitor the area to ensure no more noises are coming from the attic.
Read More: How To Repair Splintered Wood Deck.
Step 4: Clean the Damaged Area
Once you are 100% sure the squirrels are gone, remove the one-way door. Now it is time to prep the hole for repair.
Use your hammer or crowbar to remove any badly rotted or splintered wood. You need a solid, clean surface for your patch to stick to.
Brush away any dirt, debris, or loose paint with a wire brush. Wipe the area down with a damp rag and let it dry completely.
Step 5: Cut and Shape the Steel Mesh
Squirrels can chew through wood, plastic, and foam. They cannot chew through thick galvanized steel mesh.
Measure the hole and cut a piece of hardware cloth using your tin snips. Make the patch at least two inches wider than the hole on all sides.
Bend the edges of the mesh slightly so it fits snugly against the wood. This creates a tight, impenetrable barrier.
Read More: How to Repair Brick Steps.
Step 6: Secure the Mesh Barrier
Place the steel mesh over the opening. Hold it firmly in place with your gloved hand.
Use your cordless drill and exterior screws to fasten the mesh to the solid wood. Place a screw every inch or two around the perimeter.
Make sure there are no loose edges. If a squirrel can wedge its claws under the mesh, it will pry it off.
Step 7: Seal with Expanding Foam
Now we need to make the patch weatherproof and airtight. Grab your can of pest-blocking expanding foam.
Spray the foam directly over the mesh and into the edges of the hole. Fill the gaps completely, but do not overfill.
The foam will expand significantly as it cures. Let it sit and harden according to the manufacturer’s instructions (usually a few hours).
Read More: How to Repair Hole in Hollow Door.
Step 8: Trim and Patch the Surface
Once the foam is completely hard, take a utility knife or putty knife. Carefully trim away any excess foam so it sits flush with the wood.
Apply exterior wood filler or putty over the foam and mesh. Smooth it out with your putty knife so it blends with the surrounding trim.
Allow the wood filler to dry completely. Sand it smooth if necessary.
Step 9: Caulk and Paint
The final step is waterproofing and hiding the repair. Load your roofing sealant or silicone caulk into the caulking gun.
Run a bead of caulk around the edges of your patch to seal out moisture. Smooth it with a wet finger.
Once the caulk is dry, apply a coat of exterior paint. Your house will look good as new, and the squirrels will be locked out for good.
Important Safety Warnings
Working on ladders and roofs is inherently dangerous. Your safety must always come first.
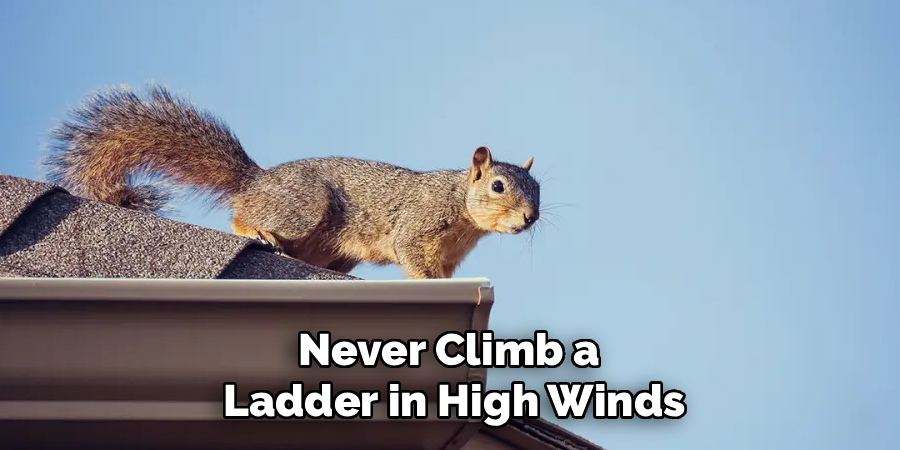
Never climb a ladder in high winds, rain, or icy conditions. Ensure your ladder is on solid, level ground before climbing.
Always wear your N95 mask and gloves when cleaning up animal droppings. Squirrel feces can carry harmful bacteria and diseases.
Never corner a squirrel in your attic. A scared wild animal will bite or scratch to defend itself.
When to Call a Professional
DIY repairs are incredibly rewarding, but you need to know your limits. Some situations require an expert touch.
If your roof is very steep or higher than two stories, call a pro. A fall from that height can be fatal.
Call pest control if you find a nest full of babies. Professionals know how to safely remove and relocate them without causing harm.
If the squirrels have chewed through electrical wiring, stop immediately. Call a licensed electrician to fix the fire hazard before proceeding.
Rough Cost Estimate: DIY vs. Professional
Understanding the costs can help you decide how to tackle this project.
The DIY Approach
Doing this yourself is very budget-friendly. A roll of hardware cloth costs around $15.
Expanding foam, caulk, and wood filler will run you another $20 to $30. If you already have basic tools, your total cost will be under $50.
Hiring a Professional
Pest control companies charge a premium for exclusion work. The initial inspection often costs $75 to $150.
Installing a one-way door and sealing the entry points can cost anywhere from $300 to $600. If there is severe wood or roof damage, a carpenter might charge an additional $200 to $500.
By fixing it yourself, you keep hundreds of dollars in your pocket.
Frequently Asked Questions
Can I just use wood to cover the hole?
No, wood alone is not enough. Squirrels have incredibly strong teeth and will chew right through a wooden patch. You must use galvanized steel mesh behind the wood to stop them permanently.
What time of day is best to seal the hole?
The best time is mid-morning to early afternoon. Squirrels are usually out foraging for food during these hours. Always double-check the attic before sealing the hole.
Will expanding foam stop squirrels?
Standard expanding foam will not stop a squirrel. They can easily chew through it. You must use the foam in combination with steel hardware cloth for a secure repair.
How do I know how to repair squirrel hole in attic eaves safely?
Repairing eaves requires working from a ladder. Always maintain three points of contact on the ladder. If the eaves are rotten, you must remove the soft wood before applying your steel mesh patch.
Do squirrel repellents actually work?
Most commercial repellents, ultrasonic devices, and DIY sprays offer very limited success. The only guaranteed way to stop squirrels is by physically blocking their entry points with steel and secure materials.
Conclusion
Dealing with rodents is frustrating, but you are now equipped with the knowledge to handle it. Learning how to repair squirrel hole in attic spaces is a valuable skill for any homeowner.
By using sturdy steel mesh, sealing out the weather, and taking proper safety precautions, you can protect your home. You will save a massive amount of money by skipping the expensive contractors.
Do not wait for the damage to get worse. Grab your ladder, pick up your supplies, and reclaim your attic this weekend!