

Electric scooters provide a brilliant way to commute and have fun. They break down from time to time, leaving you stuck and frustrated.
You might think taking your ride to a shop is the only option. Learning how to repair electric scooter problems yourself actually saves you significant time and money.

Shop repairs often cost as much as buying a brand-new budget scooter. Doing the work at home keeps that cash in your wallet.
You do not need a mechanical engineering degree to fix most standard issues. With a few basic tools and a bit of patience, you can get your ride running smoothly again.
This guide walks you through the most common fixes step by step. We will cover everything from flat tires to battery glitches so you can tackle the job with confidence.
What Causes Your Electric Scooter to Break Down?
Your scooter takes a beating every time you ride over bumps, cracks, and rough pavement. Understanding the root cause of an issue makes fixing it much easier.
Here are the most common reasons your scooter might stop working:
- Punctured Tires: Sharp debris, glass, or simply hitting a deep pothole can instantly pinch or pop a pneumatic tube.
- Battery Degradation: Lithium-ion batteries lose their capacity over time, leading to shorter ranges or sudden power failures.
- Loose Wiring: Constant vibrations loosen internal electrical connectors, causing the throttle or motor to randomly cut out.
- Worn Brake Pads: Frequent stops wear down the mechanical brake pads, leading to weak stopping power and dangerous rides.
- Water Damage: Riding through deep puddles or heavy rain can short-circuit the motherboard or display dashboard.
- Loose Stem or Handlebars: Folding mechanisms endure heavy stress, causing bolts to back out and the steering column to wobble.
Tools & Materials Needed for the Job
Gathering your tools before you start prevents you from abandoning a half-disassembled scooter. You probably have most of these lying around your garage.
Make sure your workspace is clean, flat, and well-lit.
Here is exactly what you need to start your repairs:
- Metric Allen Wrench Set: Almost every bolt on a modern scooter uses a hex head.
- Phillips and Flathead Screwdrivers: You need these to remove plastic housing covers and battery deck plates.
- Tire Levers (Plastic or Metal): Essential for prying stubborn rubber tires off the wheel rims without scratching the metal.
- Replacement Parts: Keep a spare inner tube, brake pads, or a fresh battery pack ready, depending on your specific repair.
- Zip Ties: Great for securing loose cables back to the scooter frame after opening the deck.
- Multimeter: This helps you test the battery voltage and ensure electrical currents are flowing properly.
- Blue Threadlocker: Applying this liquid to your bolts stops them from vibrating loose on future rides.
Step-by-Step Guide: How to Repair Electric Scooter Issues
Let us dive right into the core repairs. We broke these down into beginner-friendly phases so you never feel overwhelmed.
Follow the section that matches your specific scooter problem.
Step 1: Diagnose the Exact Problem
You cannot fix an issue until you know exactly what is broken. Start with a thorough visual inspection of your entire scooter.
Check the tires for obvious nails, low air pressure, or bald spots. Squeeze the brake levers to see if they feel spongy or completely loose.
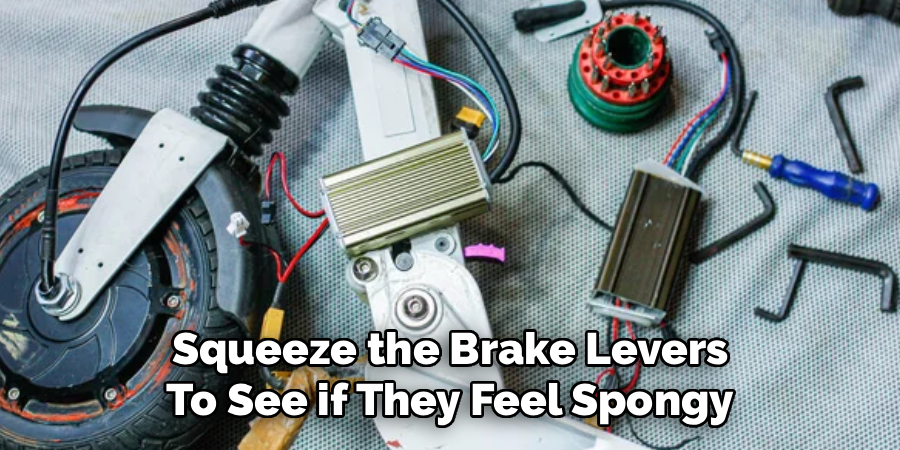
Turn the scooter on and look at the display panel. If the screen flashes an error code, check your user manual to translate what that specific number means.
Listen closely to the motor while spinning the wheels by hand. Grinding noises usually point to bad wheel bearings or debris stuck near the brakes.
Step 2: Fix a Flat or Damaged Tire
Tire repairs are the most common maintenance task for scooter owners.
Start by using your Allen wrench to unscrew the plastic covers protecting the wheel nuts. Use a standard wrench to remove the main axle nuts holding the wheel to the frame.
Slide the wheel out carefully. If it is the rear motor wheel, avoid yanking the power cable connected to it.
Deflate the tire completely by pressing the valve stem pin. Use your tire levers to pry one side of the rubber tire off the metal rim.
Pull the old inner tube out and inspect the inside of the tire for hidden thorns. Inflate your new inner tube just slightly to give it shape, then slide it into the tire.
Use your thumbs to push the tire bead back onto the rim. Reattach the wheel to the frame, tighten the axle nuts firmly, and replace the plastic covers.
Step 3: Resolve Battery and Power Issues
If your scooter dies quickly or refuses to turn on, the battery is likely the culprit.
Flip your scooter upside down and unscrew the bottom deck plate. This reveals the battery pack and the central motherboard.
Look for any disconnected wires or burnt connectors. Sometimes, simply plugging a loose wire back in fixes the entire power issue.
If the wires look fine, use your multimeter to check the battery voltage. Place the red probe on the positive wire and the black probe on the negative wire.
If the voltage reads significantly lower than the number printed on the battery label, it is time for a replacement.
Unplug the main power cable connecting the battery to the controller. Carefully lift the old battery out of the chassis.
Drop the new battery in, plug in the main connector, and screw the bottom deck plate back into place.
Step 4: Adjust and Replace Worn Brakes
Brakes keep you safe, so this step requires careful attention.
If your disc brakes squeak or fail to stop you quickly, locate the brake caliper near the rear wheel.
Look at the brake cable running into the caliper. Loosen the retaining bolt holding the cable, pull the cable slightly tighter, and tighten the bolt again.
Spin the wheel to test the tension. The wheel should spin freely but stop instantly when you squeeze the brake lever.
If adjusting the cable does not help, you need new brake pads. Unscrew the two bolts holding the caliper to the frame and slide it off the brake rotor.
Pull the old metal pads out using needle-nose pliers. Push the new pads into the magnetic slots until they click into place.
Reattach the caliper to the frame, making sure the brake rotor sits perfectly between the two new pads.
Step 5: Eliminate Stem Wobble
A shaking handlebar stem makes your scooter feel incredibly unsafe.
Locate the folding mechanism at the base of the steering column. This hinge takes a lot of abuse and easily works itself loose.
Find the tension bolt inside the folding latch. Use your Allen wrench to tighten this bolt clockwise by a quarter turn.
Close the folding latch. It should feel significantly stiffer and require some force to lock into place.
Grab the handlebars and push them forward and backward. If the wobble is gone, you successfully fixed the tension.
If it still shakes, check the screws near the very top of the stem where the handlebars attach. Apply a drop of blue threadlocker to these screws and tighten them down.
Essential Safety Warnings for Scooter DIY Repairs
Safety comes first whenever you open up electronic devices.
Never poke sharp metal tools near the battery pack. Puncturing a lithium-ion battery can cause a dangerous fire.
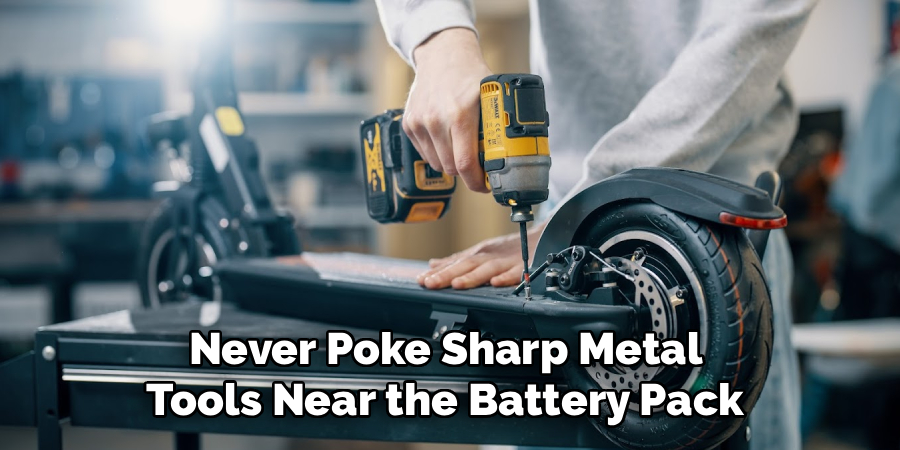
Always ensure your scooter is fully powered off before removing the bottom deck plate. Disconnect the battery from the controller before touching any other internal wires.
Keep liquids far away from your open scooter to prevent accidental short circuits.
When working on tires, wear safety glasses. Tire levers can snap back suddenly under high tension and hit you.
Always double-check your axle nuts and brake bolts before taking your scooter for a test ride. A loose wheel at fifteen miles per hour is a recipe for disaster.
When to Call a Professional Technician
Doing things yourself is highly rewarding, but knowing your limits is equally important.
Some fixes simply require specialized equipment or deep electrical knowledge.
If your motherboard has visibly burnt components or melted plastic, stop working. Soldering new microchips onto a motherboard is incredibly difficult without proper training.
If your motor completely seizes up and refuses to spin, you might need a whole new hub motor installed by a pro.
Water damage that reaches the main battery pack is another major red flag. Water-logged batteries are highly unstable and should be handled by battery disposal experts.
Call a local repair shop if you encounter complex error codes that replacing parts does not fix.
DIY Cost Estimate vs. Professional Repair Cost
Fixing your scooter yourself dramatically cuts down your maintenance budget.
A DIY flat tire fix costs about $10 for a new inner tube. Taking that same flat to a repair shop usually costs $50 to $80 in labor and parts.
Replacing brake pads yourself sets you back roughly $15. A shop will easily charge $60 to adjust the cables and install new pads.
Swapping a dead battery yourself ranges from $100 to $250 depending on your scooter model. A professional mechanic will charge that parts fee plus an extra $100 for an hour of labor.
Over a year of regular riding, learning these basic skills can easily save you hundreds of dollars. You also get the scooter back on the road the exact same day.
Frequently Asked Questions About How to Repair Electric Scooter
We gather a lot of common questions from riders fixing their own gear. Here are clear answers to help you troubleshoot.
Can you fix an electric scooter that won’t turn on?
Yes, you usually can. A scooter that refuses to turn on often suffers from a loose wire in the deck or a drained battery. Check the connections between the dashboard and the main controller first.
How do I know if my scooter battery is dead?
A dead battery refuses to hold a charge, dies after a mile of riding, or causes the scooter to randomly shut off under load. You can test it with a multimeter to see if the voltage matches its rating.
Why is my electric scooter making a grinding noise?
Grinding noises almost always come from the wheels. You likely have dirt trapped inside the wheel bearings, or your brake caliper is rubbing against the metal rotor. Cleaning the area usually solves this instantly.
Is it hard to learn how to repair electric scooter tires?
It takes a bit of elbow grease, but it is not terribly complicated. The hardest part is stretching the tight rubber tire over the metal rim. Using proper tire levers and a bit of soapy water makes the job much easier.
How often do electric scooters need maintenance?
You should check your tire pressure and tighten loose bolts every two weeks. Brake pads and tires typically need replacing every 500 to 800 miles, depending on your riding style.
Conclusion
Taking charge of your own maintenance keeps you riding safely and saves you significant cash. Knowing how to repair electric scooter problems turns a stressful breakdown into a simple weekend project.
You now have the knowledge to fix flat tires, swap batteries, adjust brakes, and tighten wobbly stems. Remember to work slowly, use the right tools, and prioritize safety when handling electronics.
Grab your Allen wrenches and give your scooter the tune-up it deserves today. Let us know in the comments which repair you successfully tackled first!