

Hearing the drip-drip of water hitting your floor is a terrible feeling. A leaky roof can cause instant panic. This is especially true if you have a flat roof structure on your home or garage.
Before you grab your phone to call a contractor, take a deep breath. Learning how to repair a leaking flat roof is completely doable for most homeowners. You do not need to be a professional builder.
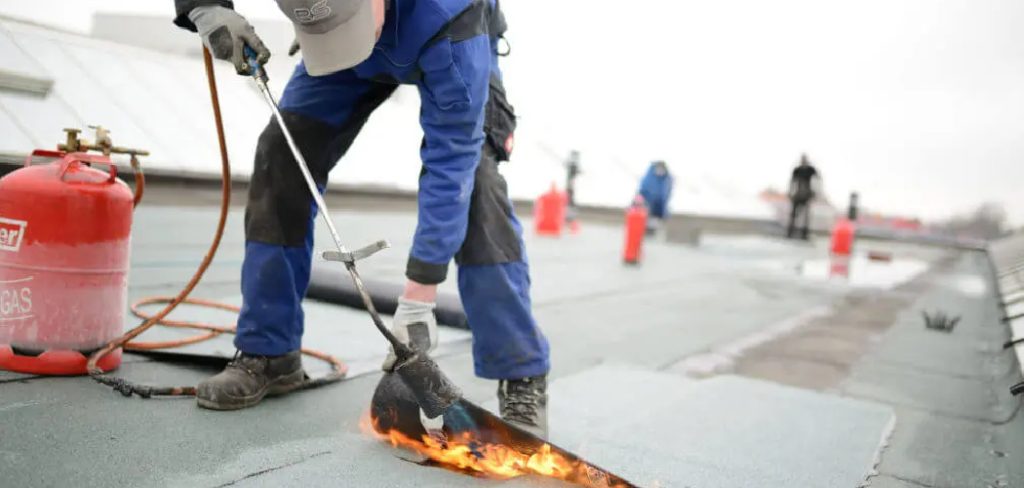
Fixing it yourself saves a massive amount of money. Professional roofers charge steep labor fees just to show up and patch a small hole. You can keep that hard-earned money in your pocket.
We will walk through the entire process together. You just need a free afternoon and some basic hardware store supplies.
Let us dive in and get that roof watertight again. You will be ready to relax before the next rainstorm even hits.
What Causes This Problem?
Flat roofs are fantastic, but they have a unique set of vulnerabilities. Since water does not roll off them easily, they face different challenges than sloped roofs.
Here are the five most common reasons your flat roof is leaking:
- Ponding Water: Flat roofs are rarely perfectly flat. They have a slight pitch to drain water. If it sags, water pools in one spot and eventually eats through the membrane.
- Blistering and Cracking: The sun beats down on your roof every day. Extreme heat causes the roofing material to expand and contract. This creates air pockets, blisters, and eventually, cracks.
- Damaged Flashing: Flashing is the metal material installed around the edges, vents, and chimneys. Over time, it can warp or pull away from the roof. This leaves a wide open gap for water to sneak inside.
- Aging Seams: Flat roofs are usually made of large overlapping sheets of rubber, PVC, or modified bitumen. The glue or tape holding these seams together degrades over time. Once a seam opens, water flows right in.
- Debris Buildup: Leaves, twigs, and dirt often collect on flat roofs. This debris traps moisture against the roofing material. It also clogs up the drainage system, speeding up the rotting process.
Tools & Materials Needed
Preparation is the secret to any successful DIY project. You do not want to be stuck on top of your house missing a crucial item.
Gather these tools and materials before you climb the ladder:
Essential Hand Tools
You will need a stiff-bristle push broom. This is crucial for sweeping away standing water and debris.
Grab a heavy-duty utility knife with fresh blades. You will use this to cut away the damaged roofing material.
Bring a small hand trowel or a putty knife. This helps you spread the roofing cement evenly.
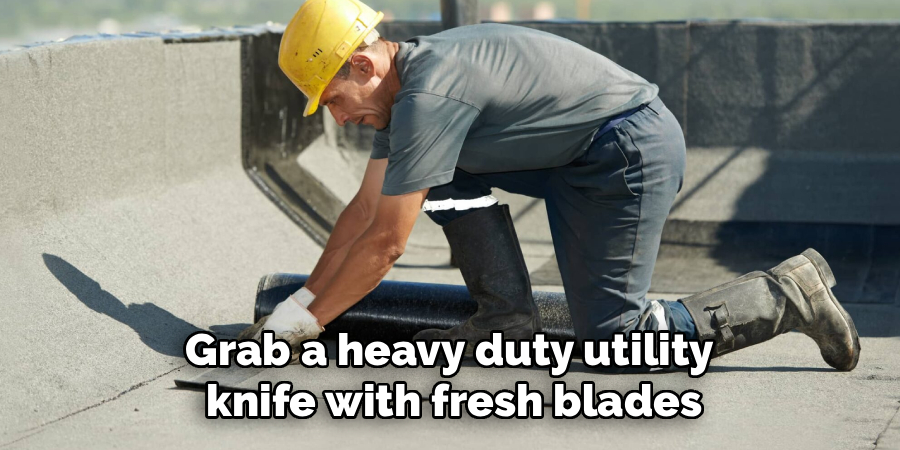
You also need a tape measure to size your patch materials accurately. Keep a pair of heavy work gloves handy to protect your hands from sharp edges.
Cleaning Supplies
A bucket of warm water and a mild detergent are necessary. You must clean the damaged area perfectly before applying any patch.
Grab a few old rags or heavy-duty shop towels. You will use these to dry the surface completely.
Bring a wire brush to scrub away stubborn dirt and old, flaky roofing tar.
Repair Materials
Purchase a tub of high-quality plastic roofing cement. Make sure it is formulated for your specific roof type.
You need a roll of fiberglass reinforcing mesh. This acts like a bandage to give your patch structural strength.
If you have a rubber roof (EPDM), buy a specialized rubber patching kit instead of standard cement.
Finally, grab a can of roof coating or sealant to paint over the finished patch for extra UV protection.
Pre-Repair Prep: Finding the Leak
Finding the actual hole is often the hardest part of the job. Water is sneaky. It can enter the roof in one spot and travel ten feet before dripping through your ceiling.
Start your search inside the house. Look at where the water stain is located. Measure the distance from the stain to the nearest outside wall.
Take those measurements up to the roof. This gives you a rough starting point for your search.
Look for obvious signs of damage in that zone. Search for blisters, cracks, or loose seams. Check the flashing around nearby vents or skylights.
If the roof surface looks perfect, look uphill. Remember that even flat roofs have a slight slope. Water always travels downward.
Once you find the damaged spot, mark it clearly with a piece of chalk. You are now ready to begin the repair process.
Step-by-Step Fix Guide: How to Repair a Leaking Flat Roof
Now we get to the fun part. Follow these simple steps exactly. Do not skip the cleaning or drying phases, as they dictate how well the patch holds.
This guide focuses on patching standard asphalt or modified bitumen flat roofs. It is the most common DIY repair method.
Step 1: Sweep and Clean the Area
Start by using your push broom to sweep away loose dirt, leaves, and gravel. Clear an area at least two feet wide around the actual leak.
Scrub the immediate area with your wire brush. You want to remove any flaking material or old, brittle roof tar.
Wash the marked spot with your detergent and warm water. Scrub it thoroughly to remove all oils and hidden dirt.
Rinse it off with a splash of clean water. Your patching cement will not stick to a dirty surface.
Step 2: Dry the Surface Completely
This is a critical step. Roofing cement and water simply do not mix well.
Use your heavy-duty shop towels to wipe away all standing water. Press hard to soak up moisture from the tiny grooves in the roof.
Let the sun bake the area for an hour if possible. The surface must be bone dry before you move forward.
If you are in a rush, you can carefully use a heat gun or a hair dryer to speed up the evaporation process.
Step 3: Cut Away the Damage
Put on your heavy work gloves. Take your utility knife and carefully slice through the center of the blister or crack.
Make a clean, straight cut. Do not dig too deep into the insulation underneath.
If there are overlapping layers of cracked material, slice them away. You want to create a smooth, flat surface for your new patch.

Make sure the edges of your cut are securely glued to the roof underneath. If they lift up easily, cut them back further.
Step 4: Apply the First Layer of Cement
Open your tub of roofing cement. Scoop out a generous amount with your trowel or putty knife.
Pack the cement deep into the crack or hole you just cleaned out. Press it down firmly to eliminate any trapped air bubbles.
Spread a layer of cement over the entire damaged area. Feather the edges out so they blend smoothly into the surrounding roof.
The layer should be about one-eighth of an inch thick. Extend this layer at least three inches past the damage in every direction.
Step 5: Press in the Fiberglass Mesh
Take your roll of fiberglass reinforcing mesh. Cut a piece that is slightly larger than the hole, but smaller than your wet cement patch.
Lay the mesh flat directly over the wet roofing cement. Do not let it wrinkle or fold over on itself.
Use your trowel to press the mesh down firmly. You want the cement to squeeze up through the tiny holes in the mesh.
This mesh acts exactly like rebar in concrete. It prevents the patch from splitting open when the roof expands in the hot sun.
Step 6: Apply the Top Coat of Cement
Scoop out another layer of roofing cement. Spread it directly over the top of the fiberglass mesh.
Cover the mesh completely. You should not be able to see the grid pattern once you are done spreading.
Feather these top edges out even further than the first layer. Smooth it down nicely so water can easily flow right over it.
Wipe away any huge globs of excess cement. A smooth patch is a successful patch.
Step 7: Seal the Final Repair
Let the roofing cement cure according to the manufacturer’s instructions. This usually takes between 12 and 24 hours.
Once it is completely dry, apply your liquid roof coating over the entire patched area. Use a cheap disposable paintbrush for this step.
This final coating protects the raw cement from UV rays. The sun will destroy an unprotected patch in just a few years.
Congratulations! You just successfully fixed your own roof.
Safety Warnings
Working on a roof always carries inherent risks. Your safety is much more important than saving a few dollars.
Never climb onto a roof during a rainstorm or while it is actively snowing. Wet flat roofs are incredibly slippery. Wait for a dry day to attempt any repairs.
Always ensure your ladder is on solid, level ground. Secure the top of the ladder to the roof edge if possible. Extend the ladder at least three feet above the roofline for safe stepping.
Watch out for power lines. Never carry long metal tools or poles near electrical wires. Keep your distance from the home’s service drop.
Be mindful of soft spots when walking. If the roof feels spongy or sags under your weight, step back immediately. This indicates severe rot in the wood decking beneath your feet.
Wear closed-toe shoes with soft, grippy rubber soles. Old sneakers work great. Heavy work boots can sometimes puncture older flat roofing materials.
When to Call a Professional for How to Repair a Leaking Flat Roof
DIY is fantastic, but it has its limits. You need to know when a project is out of your depth.
If your roof feels soft and spongy to walk on, call a pro. This means water has rotted the structural wood framing. A simple patch will not fix a collapsing roof.
Call an expert if you have multiple leaks spread across the entire house. Widespread leaking usually means the entire roof system has reached the end of its lifespan.
Do not attempt to patch large tears that are over a foot long. Heavy structural damage requires professional heat-welding equipment and large membrane sheets.
If you patch a spot and it continues to leak, wave the white flag. Water might be entering from a complex flashing failure that requires an expert eye to trace.
Finally, if your roof is still under a manufacturer’s warranty, do not touch it. Doing a DIY repair can instantly void your warranty coverage. Let the original installers handle it.
Cost Estimate: DIY vs. Professional Repair
Money talks, and this is where you will see the biggest benefit of doing the work yourself.
A DIY flat roof repair is incredibly cheap. A tub of roofing cement costs around $20 to $30. A roll of fiberglass mesh will run you about $10.
Even if you need to buy a trowel and some cleaning supplies, your total material cost will easily sit under $65. Your only other investment is a few hours of sweat equity on a Saturday afternoon.
Hiring a professional tells a very different financial story.
Most roofing companies have a minimum service fee just to drive to your house. This fee usually ranges from $200 to $400.
Once they assess the damage, labor and materials for a minor patch generally cost between $400 and $800.
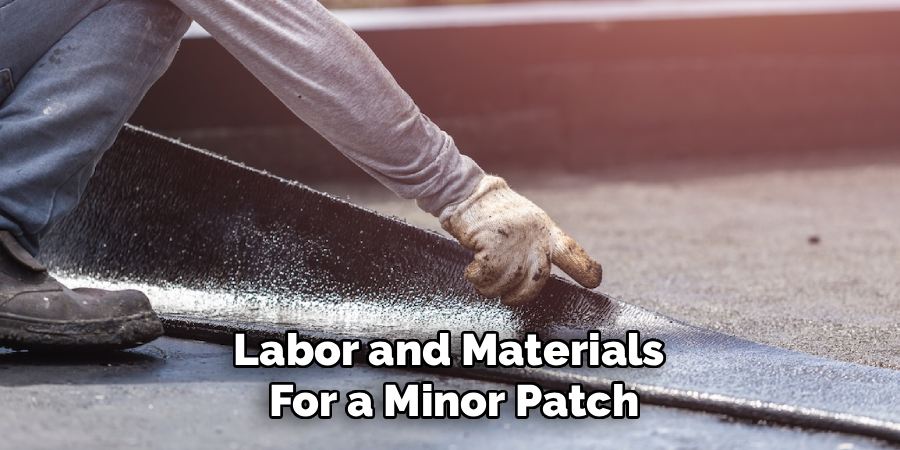
If the flashing needs replacing or the leak is complex, expect the bill to easily cross the $1,000 mark. By taking charge and handling it yourself, you keep a significant amount of cash in the bank.
Frequently Asked Questions
Can I repair a flat roof while it is raining?
No. Standard roofing cement will not bond to a wet surface. You must wait for a dry window. If it is an absolute emergency, use a specialized “wet patch” cement, but plan to redo the repair properly when it dries.
How long does a flat roof patch last?
A properly applied patch using fiberglass mesh and quality cement can last 5 to 7 years. You should inspect the patch every fall to ensure it is not cracking under UV exposure.
What is the best sealant for a flat roof?
Plastic roofing cement paired with fiberglass mesh is the standard for asphalt roofs. If you have an EPDM rubber roof, you must use a specialized rubber primer and self-adhesive rubber patching tape instead.
Why does my flat roof hold water?
Flat roofs are meant to have a slight pitch to guide water to the drains. If it holds water, the building may have settled, or the drainage system is clogged with leaves and debris.
Can I just paint over the leak with waterproof paint?
No. Waterproof paint or liquid coatings are meant to protect intact roofs from the sun. They do not have the structural strength to bridge gaps, bridge cracks, or stop active leaks. You must fill the hole with cement first.
Conclusion
Taking care of your home does not have to be an intimidating chore. Now that you know exactly how to repair a leaking flat roof, you are ready to tackle the problem head-on.
Remember to prioritize safety, clean the area thoroughly, and use the right materials. A little bit of patience goes a long way in ensuring a watertight seal.
By following these simple steps, you are protecting your home from water damage while saving hundreds of dollars in professional fees. You have totally got this.
Ready to cross this repair off your weekend to-do list? Head down to your local hardware store today, grab your supplies, and get that roof patched up right!