

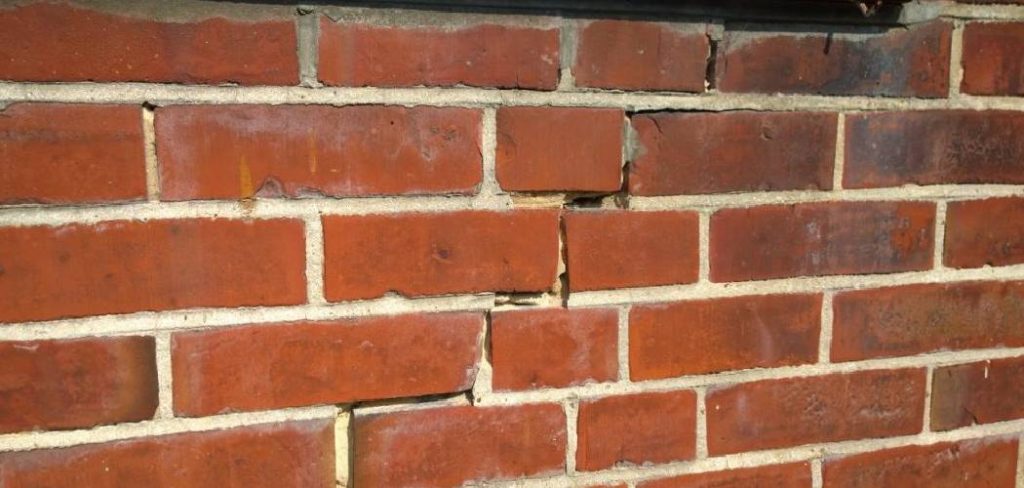
Seeing a jagged line running up your home’s exterior can be scary. You might instantly worry about failing foundations or massive repair bills.
Take a deep breath. Most small masonry fissures are entirely normal and manageable.
Learning how to repair cracks in brickwork is a fantastic skill for any homeowner. It protects your house from water damage. It keeps pests outside where they belong.
Best of all, fixing it yourself saves you a ton of cash. Hiring a mason for a small patching job often costs hundreds of dollars.
With a free afternoon and a few basic tools, you can handle this project on your own. You do not need years of construction experience.
This guide will walk you through the entire process. We will cover the tools you need, the steps to take, and when you should actually call a pro. Let’s get that wall looking as good as new.
What Causes Cracks in Brick Walls?
Before you grab your trowel, it helps to understand why the damage happened. Bricks are incredibly tough, but they are not immune to nature.
Here are five common culprits behind damaged masonry:
- Natural Foundation Settling: Houses shift slightly over time. As the ground moves, the rigid mortar holding your house together can snap.
- Temperature Fluctuations: Bricks and mortar expand in the heat and contract in the cold. This constant cycle weakens the joints over the years.
- Moisture Intrusion: Water can seep into tiny pores in the mortar. When winter hits, that water freezes, expands, and pushes the brickwork apart.
- Poor Initial Construction: Sometimes the original builders used a weak mortar mix. Subpar materials degrade much faster than properly mixed cement.
- Heavy Vibrations: Do you live near a busy highway or train tracks? Constant heavy vibrations can slowly shake mortar loose.
If you understand the root cause, you can prevent future issues. Most hairline fractures simply come from age and weather.
Essential Tools and Materials You Need
Preparation is the secret to a stress-free DIY project. You want everything within arm’s reach before your mortar starts drying.
Head to your local hardware store and grab these essential items.
The Gear:
- Cold chisel: A narrow metal chisel meant for chipping away old cement.
- Masonry hammer: A heavy-duty hammer for striking your chisel.
- Stiff wire brush: Essential for scrubbing dust and debris out of the gaps.
- Pointing trowel: A small, triangular tool used to pack wet cement into tight spaces.
- Brick jointer: A specialized metal tool that shapes the wet cement to match your existing wall.
- Heavy-duty spray bottle: You need this to mist the wall with water.
- Safety gear: Protective goggles, a dust mask (N95 or better), and heavy work gloves.
The Materials:
- Pre-mixed mortar: Look for a Type N mortar mix, which is standard for exterior home repairs.
- Water: Keep a bucket or hose nearby for mixing.
- Masonry bonding agent (optional): A liquid additive that helps new cement stick to old bricks.
Once you have your supplies gathered, wait for a dry, mild day. You do not want to do this project in freezing weather or blazing direct sunlight.
Step-by-Step Guide on How to Repair Cracks in Brickwork
Now comes the fun part. We are going to tackle this project methodically.
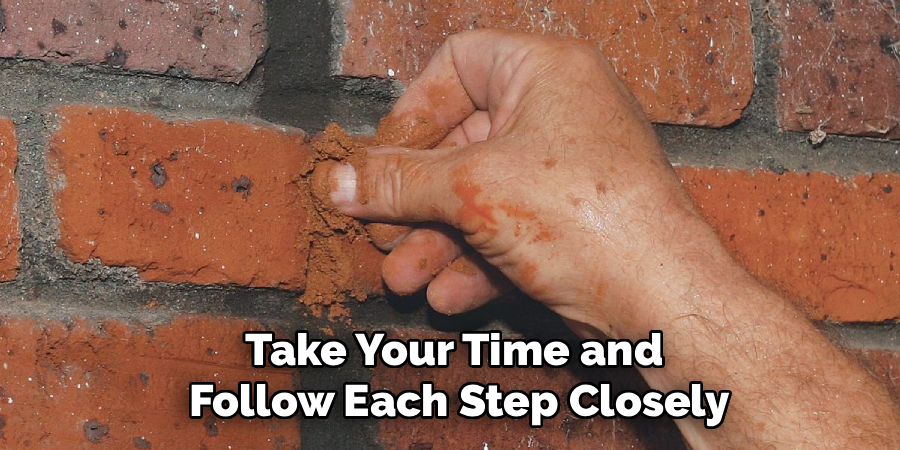
Take your time and follow each step closely. The goal is to make the repair blend in perfectly with the rest of your home.
Step 1: Inspect the Damage and Prep the Area
First, put on your safety goggles, gloves, and dust mask. Safety always comes first when dealing with flying stone chips.
Examine the damaged area closely. Are the bricks themselves broken, or is the damage limited to the mortar joints?
This guide focuses on repointing, which means replacing the cement between the bricks. If the bricks are completely shattered, you may need a larger repair.
Clear the space around your workspace. Lay down a drop cloth if you are working over a patio or nice landscaping.
This process gets incredibly dusty. Protecting the ground now saves you from a massive cleanup later.
Step 2: Chisel Out the Old, Loose Mortar
You cannot put new mortar on top of crumbling old mortar. It simply will not stick.
Take your cold chisel and masonry hammer. Carefully tap the chisel into the damaged joints.
You want to chip away the loose, cracked cement. Aim to clear out about three-quarters of an inch deep into the wall.
Work slowly and hold the chisel at an angle. Never point the chisel directly at the brick itself, or you might chip the face of the brick.
Only remove the loose material. If the mortar feels solid and resists your chisel, leave it alone.
Step 3: Clean the Joints Thoroughly
Once you have removed the damaged material, the joints will be full of sandy dust.
New cement will not bond to a dusty surface. It needs clean, porous masonry to grab onto.
Grab your stiff wire brush. Vigorously scrub inside the gaps you just chiseled out.
Sweep away all the loose sand, pebbles, and debris.
Next, take your heavy-duty spray bottle filled with clean water. Thoroughly mist the empty joints.
You want the surrounding bricks to be damp, but not dripping wet. Damp bricks will not instantly suck the moisture out of your new wet cement.
Step 4: Mix Your Repair Mortar
Now it is time to act like a baker. You need to mix your material to the perfect consistency.
Pour a small amount of your dry pre-mixed mortar into a plastic bucket. Do not mix the whole bag at once, as it dries quickly.
Add water slowly, stirring constantly with your pointing trowel.
You are looking for a consistency similar to peanut butter. It should hold its shape on your trowel without sliding off.
If it is too soupy, add a little more dry mix. If it is too crumbly, add a tiny splash of water.
Let the mixture sit for about five minutes. This resting period allows the chemicals to activate properly.
Step 5: Pack the New Mortar into the Gaps
Load a small amount of your wet mix onto your pointing trowel.
Hold the trowel right up to the empty joint. Use a smaller tool, like a tuckpointing tool, to push the cement into the gap.
Press firmly. You want to eliminate any hidden air bubbles trapped inside the wall.
Fill the gap completely so it sits just slightly higher than the surrounding brick faces.
Work on a small section at a time. Trying to fill a massive area all at once will cause the material to dry out prematurely.
Scrape away any large, messy blobs that fall onto the front of the bricks.
Step 6: Tool the Joints for a Seamless Match
Your repair currently looks flat and messy. Now we need to make it blend in.
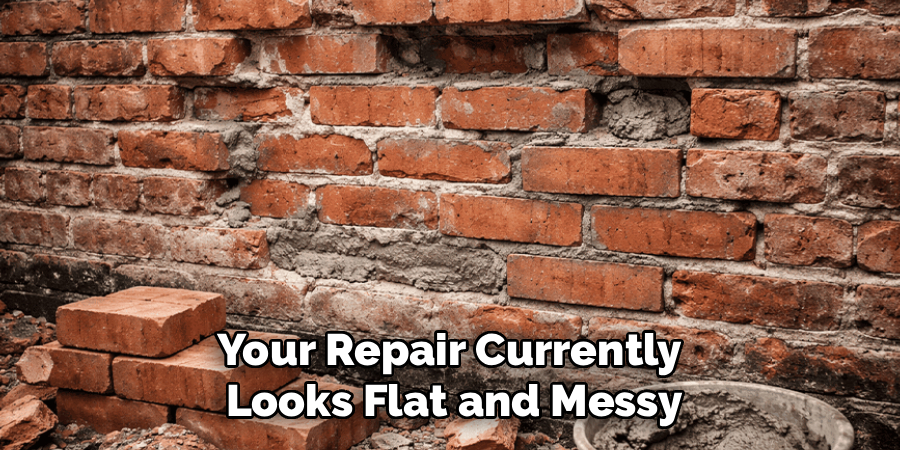
Wait about 20 to 30 minutes. The new cement should become “thumb-print hard.”
When you press it gently with your thumb, it should leave a slight indent but not stick to your skin.
Take your brick jointer tool. Run it firmly along the fresh cement.
Press inward to compress the material and shape it. Match the shape of the existing joints on your house (usually a concave curve).
This step makes the repair look professional. It also forces the material tightly against the bricks to create a waterproof seal.
Step 7: Cure the Repair and Clean Up
Your work is almost done. Now you need to manage the curing process.
Cement does not just dry; it cures through a chemical reaction that requires moisture.
For the next three days, lightly mist the repaired area with your spray bottle once a day. This prevents it from drying too fast and cracking again.
After a week, you might notice a hazy white film on the bricks around your repair.
Use a stiff bristle brush (not wire) and water to scrub the dried haze off the brick faces.
Stand back and admire your handiwork. You just successfully saved your exterior wall.
Crucial Safety Warnings for Brick Repair
DIY projects are fun, but masonry work carries specific risks. You must protect yourself from silica dust.
Old mortar contains silica. When you chisel it, invisible dust particles fill the air.
Breathing in silica dust causes severe, irreversible lung damage over time. Always wear a high-quality N95 or P100 respirator mask.
Protect your eyes. Sharp chips of stone will fly unpredictably when you strike your chisel.
Wear safety goggles that wrap around the sides of your face. Standard reading glasses will not protect you.
Finally, wear thick work gloves. The rough texture of masonry will quickly scrape your knuckles raw.
When to Call a Professional Mason
Knowing how to repair cracks in brickwork is great, but knowing your limits is even better.
Not all foundation issues should be tackled by an enthusiastic homeowner. Some warning signs require an expert.
Call a professional structural engineer or mason if you see horizontal cracks running continuously along the wall.
Horizontal lines often mean the soil pressure is pushing your foundation inward. This is a major structural failure.
Call a pro if the cracks are wider than half an inch. Large gaps mean significant shifting has occurred.
Call a pro if the bricks themselves are bulging outward. Bulging indicates the internal wall ties have failed.
If you just have stair-step cracks following the mortar lines, you are safe to DIY.
Cost Estimate: DIY Brick Repair vs. Hiring a Pro
Let us talk about why this DIY project is so rewarding for your wallet.
If you hire a professional mason for a minor repointing job, expect a hefty bill.
Contractors have minimum call-out fees. Even a tiny fix can cost between $300 and $600 just to get them to your house.
Larger repointing jobs can easily exceed $1,500 depending on your location and wall size.
Now, let us look at the DIY route.
A bag of pre-mixed mortar costs about $10. A good cold chisel and masonry hammer run about $30 combined.
Add a trowel, a jointer, and some safety gear, and you are spending perhaps $60 total.
You save hundreds of dollars for a few hours of honest physical labor. Plus, you get to keep the tools for future repairs.
Frequently Asked Questions
Can I just use caulk to fix my brick wall?
No, standard silicone caulk is a terrible idea for exterior masonry. It traps moisture inside the wall and looks incredibly ugly. Always use proper mortar for a permanent, breathable fix.
How long does the new mortar take to dry?
It becomes hard to the touch in a few hours. However, it takes a full 28 days to cure to its maximum strength. Remember to mist it with water for the first few days.
Do I have to match the existing mortar color?
Yes, if you want it to look nice. Standard mix is light gray. If your house has colored joints, you can buy powdered masonry dye at the hardware store to tint your wet mix.
Why do stair-step cracks form in the first place?
Stair-step cracks naturally follow the weakest path through the wall, which is the mortar. This usually happens due to minor, normal foundation settling over decades.
Can I repair bricks in freezing weather?
Avoid this at all costs. If the water inside your wet mix freezes before it cures, the chemical bond is destroyed. Wait for a day when temperatures stay above 40°F (4°C).
Conclusion
Tackling home maintenance does not have to be intimidating.
Now that you know how to repair cracks in brickwork, you can protect your home’s exterior with confidence. You have the right tools, the correct safety gear, and a solid step-by-step plan.
Taking care of small fissures today prevents massive structural headaches tomorrow. Plus, that feeling of stepping back and seeing a beautifully restored wall is incredibly satisfying.
Are you ready to tackle more projects around the house? Browse our other DIY guides today and turn your honey-do list into a “honey-done” list!