

Are you noticing crumbling mortar or cracked bricks on your roof? You are not alone. Many homeowners face masonry damage after years of harsh weather.
Learning how to repair a chimney can save you hundreds, if not thousands, of dollars. Masonry work might look intimidating, but basic repointing is highly manageable.
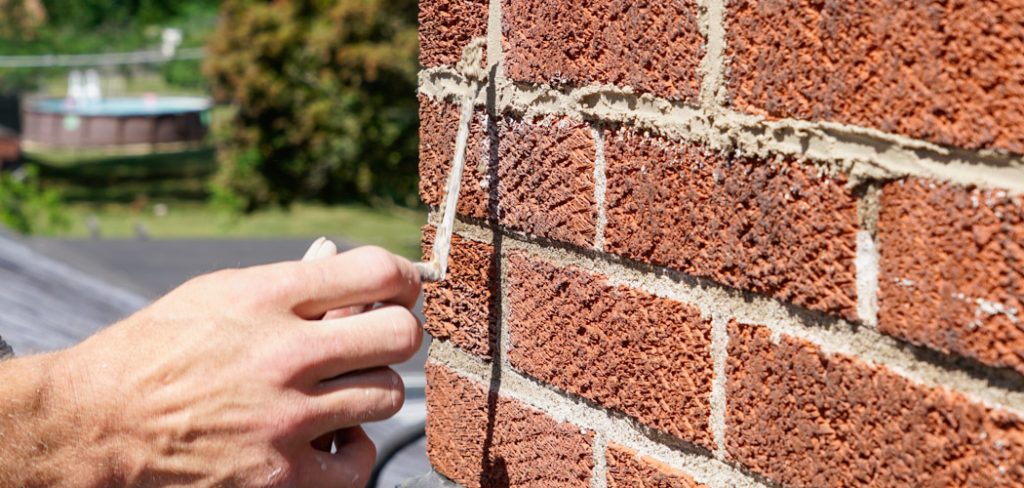
Fixing it yourself keeps moisture out of your home. It prevents minor cracks from becoming massive structural failures. Plus, nothing beats the satisfaction of maintaining your own house.
In this guide, we will walk you through the entire process. You will learn the exact steps to restore your brickwork safely. Let’s dive in and fix that masonry together.
What Causes Chimney Damage?
Before grabbing your tools, it helps to understand why the damage happened. Identifying the root cause ensures your fix will actually last.
Here are the most common culprits behind crumbling masonry:
- Harsh Weather: Freezing and thawing cycles cause moisture inside the bricks to expand and contract, cracking the mortar.
- Old Age: Standard mortar only lasts about 25 years. If your home is older, the material is simply reaching the end of its lifespan.
- Poor Initial Construction: If the wrong mortar mix was used originally, it will deteriorate much faster than the bricks themselves.
- Foundation Settling: As a house settles over time, shifting can cause vertical cracks along the brickwork.
- Lack of a Chimney Cap: Without a protective cap, rain pours directly down the flue, soaking the masonry from the inside out.
Tools & Materials Needed
Having the right gear makes all the difference. Gather these items before you climb the ladder.
You can find all of these materials at your local home improvement store.
Essential Hand Tools:
- A masonry chisel or a mortar rake.
- A heavy hammer or small sledgehammer.
- A stiff wire brush.
- A masonry pointing trowel (tuckpointing trowel).
- A mixing bucket and a sturdy stirring stick.
Materials:
- Pre-mixed masonry mortar (Type N is usually best for exterior brick).
- Water for mixing.
- Brick sealer or waterproofing spray.
Safety Gear:
- A sturdy, secure extension ladder.
- A safety harness and roof anchor.
- Heavy-duty work gloves.
- Safety goggles and an N95 dust mask.
Step-by-Step Fix Guide: How to Repair a Chimney
If you want to know how to repair a chimney the right way, follow these steps closely. We will focus on “repointing,” which means replacing the damaged mortar.
Take your time with each phase. Good prep work leads to a professional-looking finish.
Step 1: Set Up Your Safety Gear
Never rush the setup process. Working on a roof is dangerous, so safety is your top priority.
Secure your ladder on flat, stable ground. Extend it at least three feet above the roofline.
Wear your safety harness and tie off to a secure roof anchor. Put on your safety goggles and dust mask before touching any tools.
Step 2: Remove the Old, Damaged Mortar
You cannot put new mortar over old, crumbling mortar. You must chip away the decayed material first.
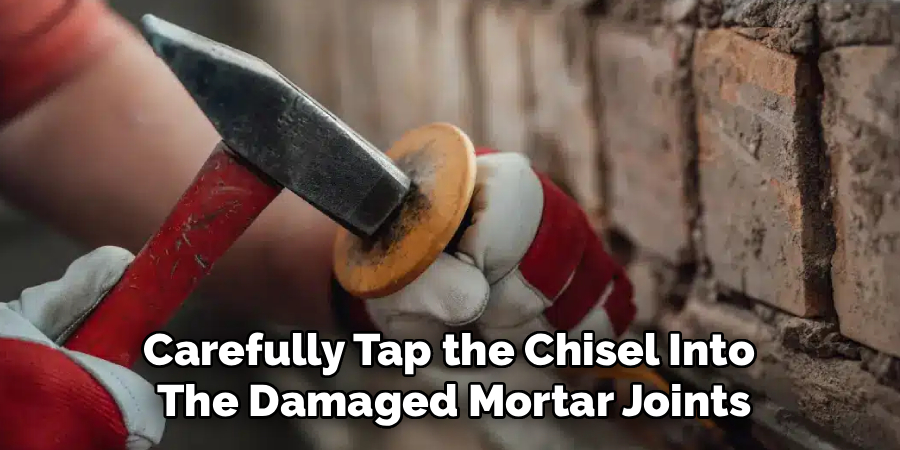
Take your masonry chisel and hammer. Carefully tap the chisel into the damaged mortar joints.
Remove the mortar to a depth of about half an inch to one inch. Be gentle so you do not chip or crack the surrounding bricks.
Step 3: Clean the Mortar Joints
Once the loose chunks are gone, you need a clean surface. New mortar will not stick to a dusty joint.
Take your stiff wire brush and vigorously scrub between the bricks. Remove all lingering dust, dirt, and debris.
After brushing, lightly spray the joints with a hose. The dampness keeps the dry bricks from sucking all the moisture out of your new mortar.
Step 4: Mix Your New Mortar
Now it is time to prep your bonding material. Open your bag of Type N masonry mortar.
Pour the dry mix into your bucket. Slowly add water according to the package instructions.
Stir the mixture thoroughly until it looks like thick peanut butter. It should hold its shape on your trowel without dripping off.
Read More: How to Repair Water Damaged Drywall.
Step 5: Apply the New Mortar
This is the most rewarding part of learning how to repair a chimney. Scoop a small amount of mortar onto your pointing trowel.
Press the mortar firmly into the horizontal joints first. Pack it in tightly so there are no hidden air bubbles.
Once the horizontal lines are filled, move to the vertical joints. Scrape away any excess mortar that smears onto the brick faces.
Step 6: Tool the Joints
You want your new mortar to match the old mortar’s shape. This process is called “tooling.”
Wait about 30 minutes until the mortar is thumb-print hard. It should not be sticky, but it should not be fully dry either.
Use a jointing tool or the handle of your trowel. Press it into the mortar and slide it along the joints to create a smooth, concave finish.
Step 7: Clean and Seal the Chimney
Give the mortar a few days to cure completely. Check the bag instructions for exact curing times.
Once dry, use a soft brush to sweep away any dried mortar dust from the brick faces.
Finally, apply a breathable masonry water repellent. This protects your hard work from future rain and freeze-thaw cycles.
Important Safety Warnings
We cannot stress this enough: roof work comes with serious risks. Do not take shortcuts with your safety.
Always work on a dry, clear day. Never attempt roof repairs if the shingles are wet, icy, or covered in leaves.
Wear your dust mask. Chipping old mortar creates silica dust, which is highly toxic to your lungs over time.
If your roof has a steep pitch, do not rely on your balance alone. Always use a proper roof harness system.
When to Call a Professional
DIY is fantastic, but some jobs require an expert. Knowing your limits is part of being a smart homeowner.
If your chimney is visibly leaning to one side, stop immediately. This indicates a severe structural failure that could collapse.
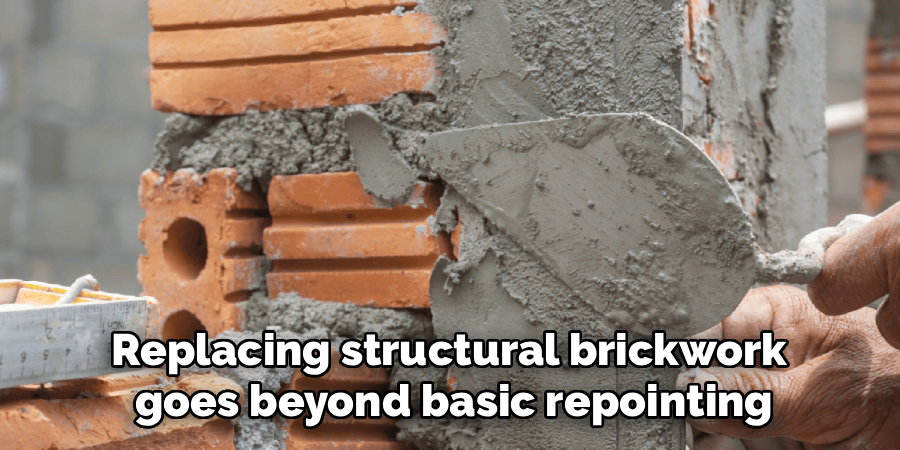
Call a professional if the actual bricks are crumbling or missing entirely. Replacing structural brickwork goes beyond basic repointing.
You should also hire a pro if the damage extends below the roofline. That often requires removing shingles and installing new flashing.
Cost Estimate: DIY vs. Professional
Fixing it yourself keeps a lot of cash in your wallet. The materials for this job are incredibly cheap.
DIY Cost:
A bag of mortar costs around $10. A basic set of masonry tools will run you about $40 to $60.
Total DIY Cost: $50 – $100.
Professional Cost:
Masons charge for their specialized labor and the risk of roof work. Basic repointing usually starts at $500.
For larger repairs, professional costs can easily range from $1,000 to $2,500.
Read More: How to Repair a Boiler.
Frequently Asked Questions
Can I just use caulk instead of mortar?
No. Standard caulk cannot withstand the extreme heat of a chimney. It will also trap moisture, causing the surrounding bricks to decay faster.
Do I need to replace the bricks too?
Only if the bricks are cracked, “spalling” (flaking off), or missing. If only the mortar is crumbly, a simple repointing job is all you need.
How long does new chimney mortar take to dry?
It usually feels dry to the touch within 24 hours. However, it takes up to 28 days to fully cure and reach its maximum strength.
What is a chimney crown?
The crown is the cement slab at the very top of the structure. It seals the top and sheds water away from the flue.
Conclusion
Tackling roof repairs might feel daunting at first. However, repointing masonry is a straightforward process when you take it step by step.
By following this guide on how to repair a chimney, you protect your home from water damage. You also save a significant amount of money on labor costs.
Remember to prioritize your safety, use the right mortar, and clean the joints thoroughly. Your brickwork will look as good as new in no time.
Ready to tackle more home fixes? Check out our other DIY repair guides to keep your house in perfect shape!