

Bicycles are fantastic machines, but they take a beating on the road. Potholes, curbs, and rough trails can easily throw your wheels out of alignment. If your ride feels bumpy or your brakes rub against the wheel, you likely have a warped wheel. Learning how to repair a bent bicycle rim is a highly rewarding skill.
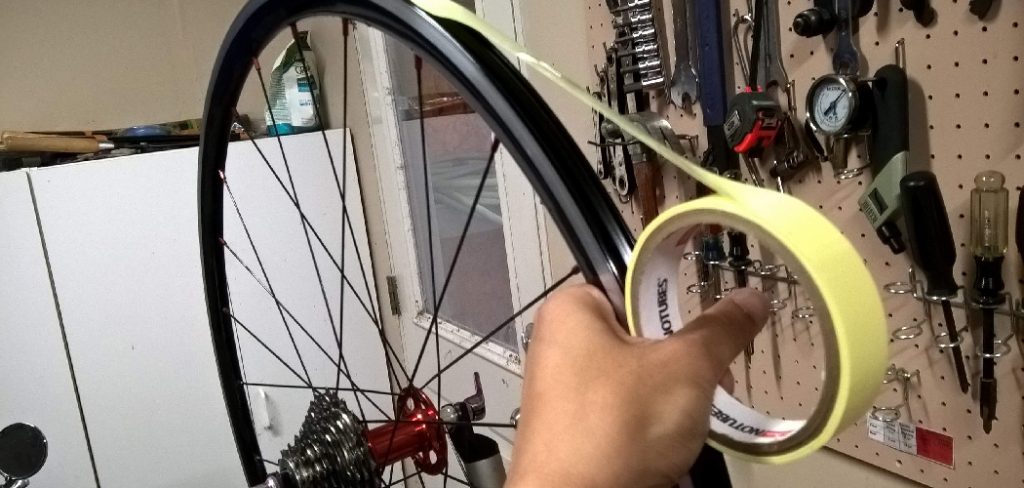
Fixing it yourself saves money and trips to the bike shop. You get your bike back on the road faster. Plus, wheel truing is much easier than most people think.
You only need a little patience and the right tools. We will walk you through the entire process together. Soon, you will know exactly how to straighten out that wobble and enjoy a smooth ride again.
What Causes a Bent Bicycle Rim?
A wheel rarely goes out of true without a reason. Understanding the root cause helps you prevent future damage. Here are the most common culprits behind a warped wheel:
- Impact damage: Hitting a pothole, curb, or large rock at high speeds.
- Loose spokes: Over time, riding vibration causes spokes to lose tension.
- Crashes: Falling over or colliding with another object bends the metal.
- Heavy loads: Carrying too much weight stresses the spokes unevenly.
- Poor wheel building: Factory wheels sometimes lack proper initial spoke tension.
Essential Tools and Materials for Rim Repair
You do not need an entire mechanic’s shop to fix this issue. However, having the correct equipment makes the job much smoother. Gather these items before you start working on your bike.
The Must-Haves:
- Spoke wrench: This is the most critical tool. Make sure it fits your specific spoke nipples perfectly to avoid stripping them.
- Zip ties or a marker: These act as your guide if you leave the wheel on the bike.
- Tire levers: You need these if you plan to remove the tire for a more thorough repair.
The Nice-to-Haves:
- Truing stand: A professional truing stand makes identifying lateral runout much easier and more precise.
- Spoke tension meter: This ensures all spokes hold the exact same amount of tension.
How to Repair a Bent Bicycle Rim: Step-by-Step Guide
Repairing a wheel is all about balancing tension. Think of the spokes like a game of tug-of-war. If one side pulls too hard, the rim pulls in that direction. Your goal is to balance the pull.
Step 1: Set Up Your Workspace
First, find a well-lit area to work. Good lighting helps you spot tiny wobbles in the metal.
If you have a truing stand, remove the wheel from your bike and lock it into the stand. If you do not have one, you can leave the wheel on the bike. Simply flip your bicycle upside down so it rests on the handlebars and seat.
Step 2: Establish a Reference Point
You need a guide to see exactly where the bend occurs. If you are using your bike frame, attach a zip tie to the front fork or rear chainstay.
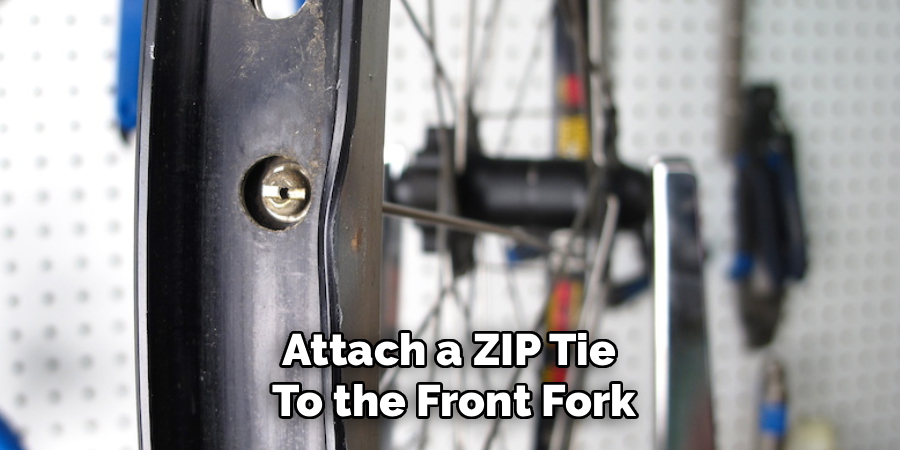
Trim the end of the zip tie so it barely hovers over the metal edge of the wheel. As you spin the wheel, the bent section will rub against this zip tie. This indicates your lateral runout, or side-to-side wobble.
Step 3: Locate the Problem Area
Slowly spin the wheel. Watch the gap between the metal edge and your zip tie. Listen for a scraping sound.
When the rim hits the plastic, stop the wheel immediately. Find the exact spot where the metal rubs. This is the section you need to adjust. Mark the center of the rub with a piece of tape or a marker.
Read More: How to Repair Crumbling Concrete Statues and Save Money.
Step 4: Understand Spoke Mechanics
Before turning anything, look at how the spokes connect to the hub. Half of the spokes go to the right side of the hub. The other half go to the left side.
Tightening a right-side spoke pulls the wheel to the right. Tightening a left-side spoke pulls it to the left. Loosening has the exact opposite effect.
Step 5: Make Your Adjustments
Now, grab your spoke wrench. If the metal rubs against the left side, you need to pull it to the right.
Find the spoke right at the center of the rubbing area that connects to the right side of the hub. Turn the nipple a quarter-turn counterclockwise to tighten it. Remember, looking down from the tire, counterclockwise tightens the spoke.
Step 6: Adjust the Neighboring Spokes
You rarely adjust just one spoke. To keep the tension even, find the two neighboring left-side spokes next to your center spoke.
Loosen these two left-side spokes by turning them a quarter-turn clockwise. This relieves the tension pulling the wheel to the left.
Step 7: Check and Repeat
Spin the wheel again. The scrape should sound much quieter or disappear entirely.
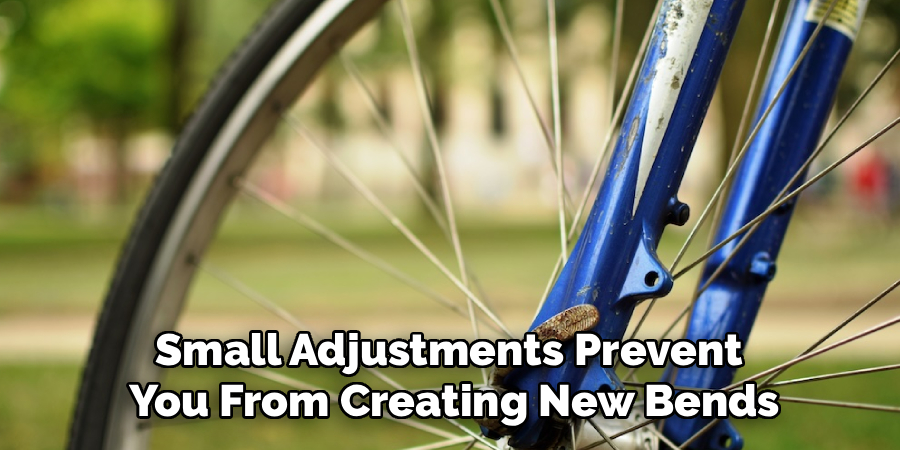
If the wheel still rubs, repeat the process. Only make quarter-turns at a time. Small adjustments prevent you from creating new bends in the opposite direction.
Step 8: Massage the Wheel
Once the wheel spins straight, take it off the bike or stand. Place it flat on the floor.
Press down firmly on the rim with your hands, working your way around the circle. You might hear pinging sounds. This is normal. It simply means the spokes are settling into their new positions.
Safety Warnings When Truing a Bike Wheel
Working on your bike is fun, but safety always comes first. A poorly repaired wheel can fail while you are riding.
Never over-tighten your spokes. Too much tension can cause the metal to crack or the spoke to snap. If a spoke feels incredibly stiff, do not force it.
Always check your brake alignment after adjusting the wheel. A newly straightened wheel might rub against your brake pads differently. Adjust your brakes before you hit the road.
When to Call a Professional for a Bent Rim
DIY repairs are great, but some damage requires professional help. You must recognize when a wheel is beyond a simple fix.
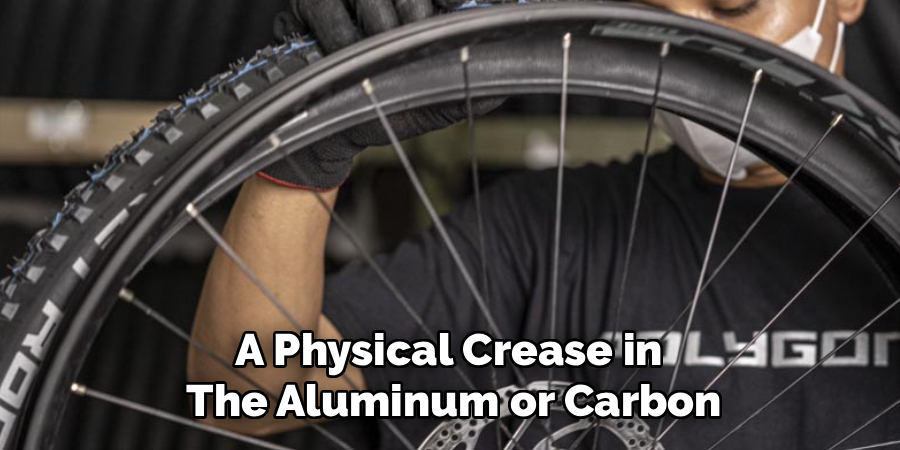
If your rim has a sharp crease or a visible dent, do not ride it. The structural integrity is compromised. A spoke wrench cannot fix a physical crease in the aluminum or carbon.
If you have broken spokes, or if the wheel wobbles up and down instead of side-to-side, visit a bike shop. Vertical hops are much harder to fix and often require a professional truing stand.
DIY vs. Professional Repair Cost Estimate
Fixing it yourself is highly cost-effective. A basic spoke wrench costs between $5 and $15. If you buy a decent home truing stand, expect to pay around $70 to $100.
Taking your bike to a professional shop costs more. A standard wheel true usually runs between $20 and $40 per wheel, depending on your location.
If the wheel is severely damaged, a shop might recommend replacing it entirely. New wheels range from $50 for a basic commuter to hundreds of dollars for high-end road bikes.
Frequently Asked Questions
Can I ride my bike with a warped wheel?
Minor wobbles are safe for short distances. However, severe bends can cause your brakes to catch or the tire to blow out. Fix it as soon as possible.
How do I know if my spoke tension is correct?
You can pluck the spokes like guitar strings. They should all produce a similar pitch. For total accuracy, use a spoke tension meter.
Which way do I turn the spoke wrench?
When looking down from the top of the tire toward the hub, turn counterclockwise to tighten. Turn clockwise to loosen.
Can carbon fiber wheels be trued?
Yes, but they require extreme care. Carbon does not bend like aluminum. If a carbon wheel is severely out of true, it might be cracked and unsafe to ride.
Conclusion
You just learned everything you need to know about wheel maintenance. Fixing your own gear builds confidence and keeps your bike in top condition.
Remember to work slowly. Make small adjustments with your spoke wrench. Use your zip tie to track your progress and eliminate that lateral runout one quarter-turn at a time.
Now that you know how to repair a bent bicycle rim, it is time to grab your tools and get to work. Your next smooth, wobble-free ride is just a few adjustments away!