

Finding a crack in your favorite carbon fiber gear can be heartbreaking. Whether it is a bicycle frame, a car part, or a sporting good, damage happens.
You might think it is ruined forever. However, learning how to repair carbon fiber is entirely possible for a handy DIYer.
Carbon fiber is incredibly strong and lightweight. It is also surprisingly forgiving when it comes to home repairs.
Fixing it yourself saves you a ton of money. Professional repairs often cost hundreds of dollars.
By tackling this weekend project, you keep your favorite items in action. You also gain a valuable new repair skill.
Grab your work gloves. Let’s walk through this process together, neighbor to neighbor.
What Causes Carbon Fiber Damage?
Carbon fiber is tough, but it is not completely invincible. Certain impacts and stresses can compromise its structural integrity.
Understanding the root cause helps prevent future damage. Here are the most common culprits:
- Direct Impact: A hard crash on a bike or dropping a part on concrete.
- Over-tightening: Clamping bolts too tightly crushes the composite layers.
- Fatigue Over Time: Repeated heavy stress slowly weakens the resin bonds.
- Abrasions and Scratches: Deep gouges from sharp objects expose the underlying fibers.
- Heat Exposure: Extreme, prolonged heat can cause the epoxy resin to degrade.
- Manufacturing Defects: Tiny air bubbles trapped during production create weak spots.
Tools & Materials Needed
Before we start, gather all your supplies in a well-ventilated workspace. Having everything within reach makes the job smooth and easy.
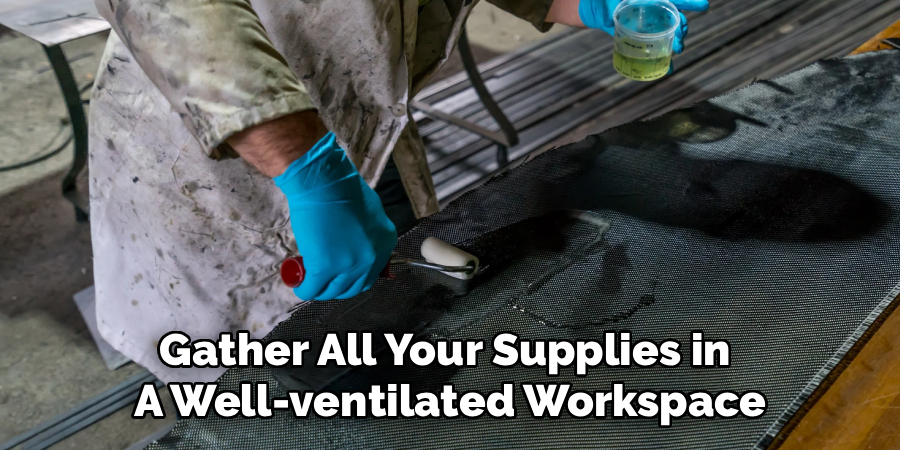
You will need a basic carbon fiber repair kit. You can find these online or at specialty hobby shops.
Here is exactly what you need on your workbench:
- Carbon Fiber Cloth: Woven fabric to patch the damaged area.
- Two-Part Epoxy Resin: The liquid adhesive that hardens the fabric.
- Sandpaper: Multiple grits ranging from 120 (coarse) to 800 (fine).
- Rubbing Alcohol or Acetone: For cleaning the surface thoroughly.
- Disposable Gloves: Nitrile works best to protect your hands.
- Mixing Cups and Stir Sticks: For blending the epoxy resin.
- Small Paintbrush or Foam Brush: To apply the wet epoxy.
- Masking Tape: To protect the undamaged areas around the crack.
- Dust Mask or Respirator: Crucial for breathing protection while sanding.
- Clear Coat Spray (Optional): UV-resistant spray for a polished final finish.
Safety Warnings for Working with Composites
Safety always comes first in any home workshop. Carbon fiber repair requires handling fine dust and strong chemicals.
Never sand carbon fiber without wearing a high-quality dust mask. Breathing in carbon dust is extremely harmful to your lungs.
Always wear your nitrile gloves. Epoxy resin gets incredibly sticky and can cause skin irritation.
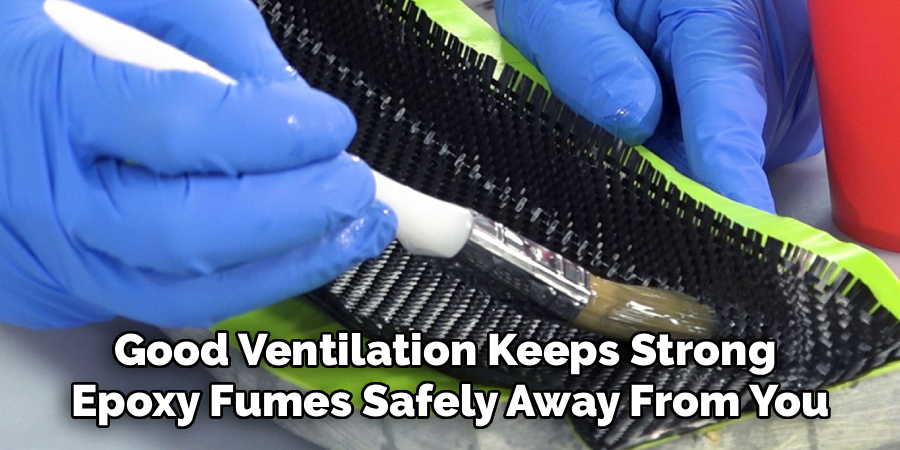
Work in a garage with the door open or outside. Good ventilation keeps strong epoxy fumes safely away from you.
Keep some clean shop rags handy. Wipe up any epoxy spills immediately before they harden permanently.
Best Practices on How to Repair Carbon Fiber
When you learn how to repair carbon fiber, patience is your best tool. Rushing the process leads to messy results and weak bonds.
Preparation is eighty percent of the work. If you skip cleaning or sanding, the new patch will peel right off.
Always mix your epoxy exactly according to the package directions. Even slightly wrong ratios prevent the resin from hardening correctly.
Work in moderate temperatures. Extreme cold or heat ruins the epoxy curing process.
Take your time layering the fabric. A slow, steady approach guarantees a repair that lasts for years.
Step-by-Step Fix Guide
Now for the fun part. Follow these simple, numbered steps to bring your damaged gear back to life.
Step 1: Assess the Damage
Look closely at the crack or hole. Press lightly around the area to see if it feels soft or mushy.
If the damage goes all the way through a critical structural piece, pause. You might need professional help for massive breaks.
For surface cracks, delamination, or small holes, you are good to go. Outline the damaged zone with a pencil.
Step 2: Tape Off and Clean
Grab your masking tape. Tape off the healthy sections of your part right around the pencil outline.
This protects the good paint and finish from stray sanding scratches. It also keeps messy epoxy off your clean surfaces.
Wipe the damaged spot with rubbing alcohol. This removes old dirt, grease, and finger oils.
Step 3: Sand Away the Damage
Put on your dust mask and safety glasses. Take your 120-grit sandpaper and gently sand the damaged spot.
You need to remove the clear coat and any loose, broken carbon fibers. Sand down until you reach solid, healthy carbon material.
Taper the edges of the sanded area outward. Creating a shallow slope helps the new patch sit flat and blend perfectly.
Step 4: Final Cleaning and Prep
Use a vacuum to suck up all the carbon dust. Never blow it around your workspace.
Wipe the newly sanded area with rubbing alcohol once more. Let it dry completely for about five minutes.
Cut your carbon fiber cloth into patches. Cut them slightly larger than the sanded hole.
Step 5: Mix Your Epoxy Resin
Put your gloves on. Pour the epoxy resin and hardener into a mixing cup.
Follow the exact ratio listed on your specific brand’s instructions. Mix it slowly and thoroughly with a stir stick.
Avoid whipping it too fast. Fast stirring creates air bubbles that weaken your final repair.
Step 6: Apply the Base Layer of Epoxy
Use your small brush to paint a thin layer of epoxy directly onto the sanded hole. This base coat acts like glue.
Make sure the entire sanded depression is wet. Do not let it pool or drip down the sides.
Step 7: Lay the Carbon Fiber Patch
Carefully place your first piece of cut carbon fiber cloth over the wet epoxy. Press it down gently with your brush.
Dab more epoxy on top of the cloth. Make sure the fabric is completely saturated and turns slightly dark.
Use your brush to push out any trapped air bubbles. Work from the center of the patch outward to the edges.
Step 8: Add Multiple Layers
If the hole is deep, you need more than one layer. Repeat the previous step right away while the epoxy is wet.
Add another piece of cloth, saturate it, and press out the bubbles. Keep stacking layers until the patch is slightly higher than the original surface.
You want extra material on top. You will sand this excess down later to make it perfectly flush.
Step 9: Compress the Repair
To make the repair strong, you must squeeze out excess resin. Wrap the wet repair tightly with clear plastic wrap or shrink tape.
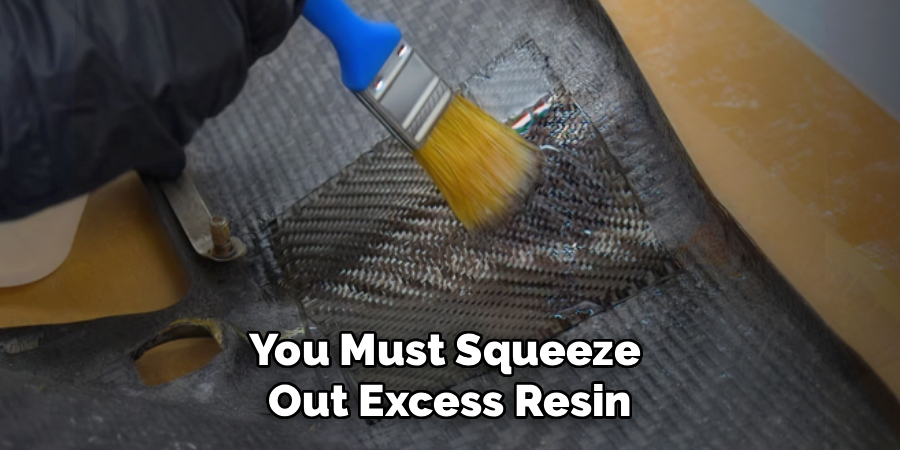
This pushes the layers together tightly. It also gives the final repair a smoother surface when it dries.
Poke a few tiny pinholes in the plastic wrap. This allows excess epoxy to bleed out under pressure.
Step 10: Let it Cure
Set the part aside in a warm, dry room. Do not touch it or move it around.
Read your epoxy instructions for the required cure time. Usually, this takes 24 to 48 hours for a full, rock-hard cure.
Be patient. Touching it too early ruins the smooth finish and structural integrity.
Step 11: Remove Wrap and Rough Sand
Once fully cured, peel off the plastic wrap. The patch will look rough and slightly raised.
Put your dust mask back on. Take your 220-grit sandpaper and start sanding the high spots.
Keep your sandpaper flat. Sand slowly until the new patch is completely level with the surrounding taped area.
Step 12: Fine Sanding and Blending
Switch to your 400-grit sandpaper. Wet the sandpaper slightly to reduce dust and create a smoother finish.
Gently sand the edges where the patch meets the old surface. Remove your masking tape.
Finish by lightly wet-sanding the whole area with 800-grit paper. The surface should feel as smooth as glass.
Step 13: Clean the Finished Area
Wipe the area down one last time with a damp rag. Dry it immediately with a clean towel.
Look closely at your work. You should see a smooth, seamless transition between the old and new carbon fiber.
Step 14: Apply a Protective Clear Coat
Carbon fiber epoxy needs UV protection to stop it from turning yellow in the sun. Grab your UV-resistant clear coat spray.
Apply two to three very light coats over the repaired area. Let each coat dry according to the can’s instructions.
This final step adds a beautiful, glossy shine. It makes your repair look incredibly professional.
When to Call a Professional
DIY repairs are incredibly satisfying. However, you must know your limits to stay safe.
If a carbon fiber bicycle fork is snapped completely in half, do not glue it yourself. Catastrophic failures on moving parts cause serious injuries.
Complex structural components on race cars or aircraft always require professional engineering. Professionals use industrial ovens and vacuum bagging for maximum strength.
If the damage is purely cosmetic or structurally minor, DIY is perfect. Use your best judgment and prioritize your physical safety.
Cost Estimate: DIY vs. Professional Repair
Taking it to a shop usually starts at $200 minimum. Complex frame repairs can easily exceed $500 or more.
A basic DIY carbon fiber repair kit costs between $30 and $60. This includes resin, cloth, and basic tools.
Buying sandpaper, masks, and alcohol adds another $20. Your total DIY cost is roughly $50 to $80.
You save hundreds of dollars doing it yourself. Plus, you will have leftover supplies for any future fixes.
Frequently Asked Questions
Can carbon fiber actually be repaired?
Yes, absolutely. You can repair most cracks, chips, and small holes using a carbon fiber cloth and epoxy resin kit. The repaired section is often just as strong as the original material.
Is repairing carbon fiber difficult for beginners?
No, it is surprisingly approachable. If you can follow instructions, mix two liquids, and use sandpaper, you can handle this. It just takes patience and attention to detail.
What kind of epoxy do I need?
You need a high-strength, two-part structural epoxy resin specifically designed for composites. Do not use standard quick-setting glues or superglue from the hardware store.
How long does a carbon repair take?
The actual hands-on work takes about one to two hours. However, you must wait 24 to 48 hours for the epoxy to fully cure before sanding and painting.
Will the repaired area look identical to the rest of the part?
It will look slightly different. You might see the edges of the new fabric weave. However, a good sanding job and clear coat make it look very neat and professional.
Conclusion
Seeing a crack in your expensive gear is frustrating. But now you know exactly how to repair carbon fiber with confidence.
By gathering the right materials and taking your time, you can fix the damage right in your garage. You save money, learn a great skill, and rescue your favorite equipment.
Do not let a little crack bench your favorite bike or car part. Follow these simple steps and get back out there doing what you love.
Ready to tackle your project? Grab a carbon fiber repair kit today and start fixing!