

Are you wondering how to repair fascia boards on your home without spending a fortune? You are in the right place.
Fascia boards are the long, straight boards running right along the lower edge of your roof. They hold up your gutters and give your roof a finished look. But because they face the elements head-on, they often suffer from water damage over time.
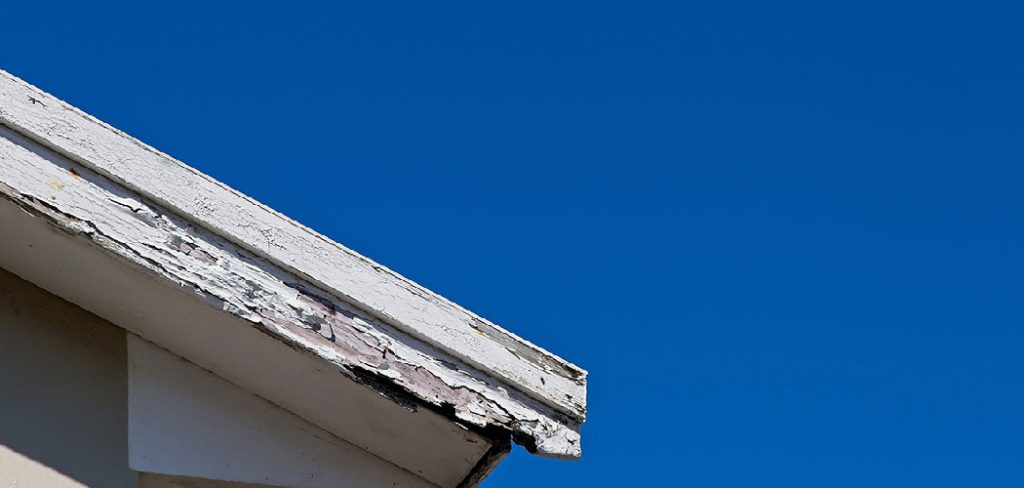
If you notice peeling paint, soft spots, or sagging gutters, you likely have a problem. Homeowners and renters often face this frustrating issue.
Learning how to repair fascia yourself is incredibly rewarding. It saves you hundreds of dollars in professional labor costs. Plus, it protects your home from deeper structural damage.
Grab your tool belt, and let’s get started. We will guide you through this project step by step.
What Causes Fascia Board Damage?
Before we dive into the repair, we need to understand the root cause. If you do not fix the source of the problem, your new boards will eventually fail, too.
Here are the most common culprits behind fascia damage:
- Clogged Gutters: When leaves and debris clog your gutters, water overflows. This trapped moisture soaks directly into the wood behind it.
- Missing Drip Edge: A drip edge is a metal flashing that directs water into the gutter. Without it, water curls back under the shingles and rots the wood.
- Ice Dams: In cold climates, melting snow can refreeze at the roof’s edge. This heavy ice pushes water up under the roofline, soaking the boards.
- Pest Infestations: Termites, carpenter ants, and even squirrels love soft, damp wood. Once moisture sets in, bugs quickly follow and eat away the structural integrity.
- Poor Maintenance: Failing to paint or seal the wood regularly leaves it exposed. Bare wood absorbs rainwater like a sponge, leading to rapid decay.
Understanding these causes helps you prevent future headaches. Now, let’s gather our supplies.
Tools & Materials Needed for the Job
Having the right gear makes this project much smoother. Do not rush out to start pulling boards before you have everything on this list.
Gather these items before you climb the ladder:
Essential Tools
- Sturdy extension ladder
- Pry bar (flat bar works best)
- Claw hammer
- Tape measure and carpenter’s square
- Circular saw or miter saw
- Power drill with screwdriver bits
- Caulking gun
- Paintbrushes and rollers
Required Materials
- Replacement fascia board (match the thickness and width of your current boards, usually 1×6 or 1×8 pine, cedar, or PVC)
- Galvanized or stainless steel nails (to prevent rust stains)
- Exterior-grade wood filler
- High-quality exterior primer
- Exterior acrylic latex paint
- Exterior-grade caulk (paintable)
Now that your workspace is prepped and your tools are ready, we can move on to the actual work.
Step 1: Inspect the Damage
You need to know exactly what you are dealing with before tearing things apart. Set up your ladder safely on level ground.
Climb up and gently probe the wood with a screwdriver. If the wood feels spongy or easily breaks apart, you have active wood rot.
Check the adjacent areas closely. You must ensure the rot has not spread to the soffit, which is the board tucked under the roof overhang.
Mark the rotted sections with a pencil. You always want to replace the damaged board up to the nearest rafter tail so you have solid wood for nailing.
Read More: How to Repair Freezer Door Seal.
Step 2: Remove the Gutters and Drip Edge
You cannot access the damaged wood while the gutters are in the way. First, you need to detach them from the house.
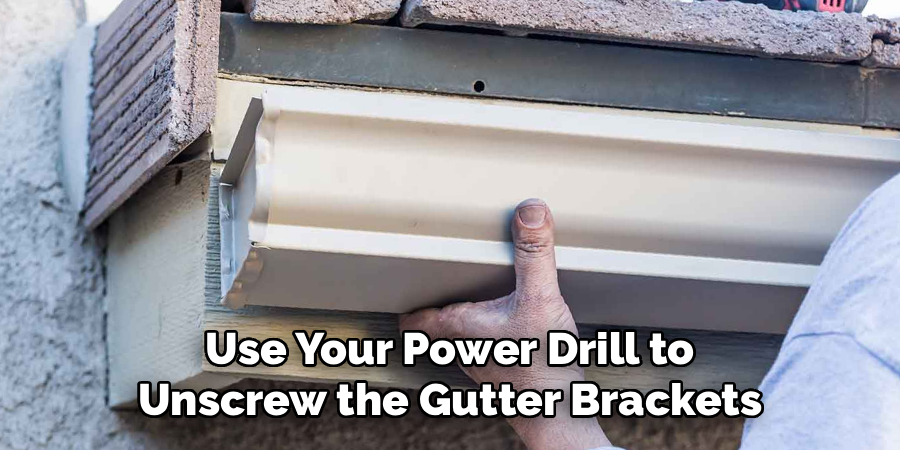
Use your power drill to unscrew the gutter brackets attached to the rotted board. Carefully lower the gutter section to the ground to avoid bending it.
Next, look closely at the roof edge. If you have a metal drip edge installed, you need to lift it gently.
Do not bend or warp the metal flashing. Slide your pry bar underneath it to loosen any roofing nails holding it down.
Step 3: Remove the Rotted Wood
This is the fun part, but you still need to be careful. Slide your flat pry bar behind the damaged fascia board.
Gently pry the board away from the rafter tails. Work slowly to avoid damaging the roof shingles above or the soffit below.
If the board is tightly nailed, use your hammer and claw to pull the nails out first. Pull the rotted section down entirely.
Once the old wood is gone, inspect the exposed rafter tails. If the ends of the rafters show signs of wood rot, you must treat them with a wood hardener before proceeding.
Read More: How to Repair a Shingle Roof Leak.
Step 4: Measure and Cut the New Board
Take your tape measure and find the exact length of the gap you just created. Measure twice to ensure absolute accuracy.
Transfer this measurement to your new lumber. Use a carpenter’s square to draw a perfectly straight line across the board.
Put on your safety glasses and use your circular saw to cut the board. If you are joining two boards together on a long run, cut the ends at a 45-degree angle.
This angled cut is called a scarf joint. It helps the two boards overlap smoothly and prevents water from sneaking into the seam.
Step 5: Prime and Paint Before Installing
Never install bare wood on your home’s exterior. You must protect it from moisture first.
Lay your newly cut board on a set of sawhorses. Apply a thick coat of high-quality exterior primer to all six sides of the board.
Yes, you must prime the front, back, top, bottom, and both cut ends. Leaving the back unpainted is a common rookie mistake that invites hidden moisture.
Once the primer dries, apply two coats of exterior paint. Let the paint cure completely before you try to handle the board.
Step 6: Install the New Fascia Board
It is time to put your house back together. Carry your painted board up the ladder. Having a helper hold the other end makes this much easier.
Slide the top edge of the board snugly up under the drip edge. Ensure the bottom lines up perfectly with the existing boards.
Use your hammer to drive two galvanized nails through the board and directly into each rafter tail. Drive the nails flush, but do not dent the wood.
If you struggle to hold the board and swing a hammer, use your power drill and exterior wood screws. Screws hold tight and are easier to drive with one hand.
Read More: How to Repair Termite Damage Yourself.
Step 7: Seal the Joints
Even the tightest cuts will leave small seams. You must seal these up to make the repair watertight.
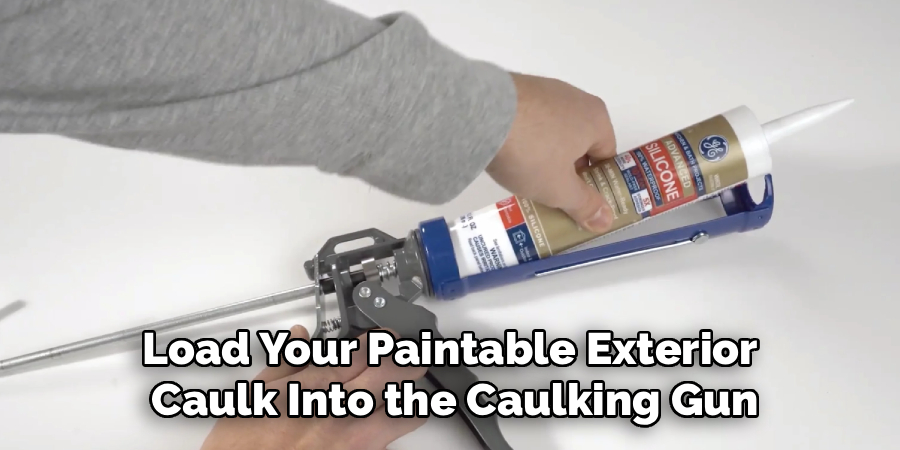
Load your paintable exterior caulk into the caulking gun. Run a smooth bead of caulk down the seams where the new board meets the old boards.
Use your finger or a damp rag to smooth the caulk flat. Fill any sunken nail heads with exterior wood filler as well.
Once the caulk and filler dry completely, touch them up with a little bit of your exterior paint. This blends the repair seamlessly into the house.
Step 8: Reattach the Gutters
The final step is getting your drainage system back online. Lift your gutters back into position against the new wood.
Use your power drill to drive the gutter bracket screws firmly into the new board. Ensure the gutters still slope downward toward the downspout.
Make sure the drip edge rests perfectly inside the back lip of the gutter. This ensures water flows correctly off the roof and away from the fresh wood.
Congratulations! You have successfully completed this important home repair.
Essential Safety Warnings for Roof-Level Work
Fixing your roof edge involves heights and power tools. Safety must always be your top priority.
Never lean your ladder against a rotted board or a loose gutter. Always ensure the ladder rests on solid, level ground and is secured at the top.
Always wear safety glasses when cutting wood or pulling nails out above your head. Falling debris can easily scratch your eyes.
Never work on your roof or ladder during a rainstorm or high winds. A slippery ladder is a recipe for disaster.
When to Skip the DIY and Call a Professional
We love saving money with DIY projects, but some situations require a pro. Knowing your limits keeps you safe.
If the wood rot extends deep into the structural rafter tails, call a professional. Fixing structural framing requires specialized knowledge and building permits.
If your home is three stories tall or sits on a steep hill, ladder work becomes incredibly dangerous. Pay a roofing contractor who has the right scaffolding and safety harnesses.
If you discover extensive pest damage from termites, stop immediately. You need a pest control expert to eliminate the bugs before replacing any wood.
Cost Estimate: DIY vs. Professional Repair
Let’s look at the numbers. Fixing this yourself provides a massive return on your time investment.
If you tackle this project yourself, materials will cost roughly $50 to $150. This covers a new board, nails, caulk, and a quart of paint.
Hiring a professional contractor changes the math entirely. Most pros charge between $15 and $30 per linear foot for labor and materials.
For a simple 10-foot section, a contractor might charge $300 to $500. By learning how to repair fascia, you keep that cash firmly in your wallet.
Frequently Asked Questions About Fascia Repair
Do I have to remove the gutters to fix the fascia?
Yes, you almost always need to remove the gutters. The gutters are attached directly to these boards, making it impossible to remove the wood without taking the gutters down first.
What is the best type of wood to use?
Cedar and redwood are excellent natural choices because they resist rot and insects naturally. However, PVC or composite boards are becoming very popular because they never rot at all.
How do I prevent wood rot from coming back?
The absolute best prevention is keeping your gutters clean and ensuring you have a proper drip edge installed. Regular painting every few years also seals out destructive moisture.
Can I just put aluminum over the rotted wood?
No, you should never cap or cover rotted wood with aluminum trim. The wood will continue to rot underneath the metal, eventually spreading to your roof framing and soffit.
Is a soffit the same thing as a fascia board?
No, they are different parts of your roof’s overhang. The fascia faces outward like a band around the roof, while the soffit is tucked underneath, facing the ground.
Wrapping Up: How to Repair Fascia Successfully
We covered a lot of ground today. You now understand why these boards rot and exactly what tools you need to fix them.
You know how to inspect the damage, remove the old wood safely, and install fresh, protected lumber. You also know how to spot deeper problems with your soffit and drip edge.
Taking care of this home maintenance task yourself is highly rewarding. It improves your home’s curb appeal and blocks moisture from destroying your framing.
Do not let a small soft spot turn into a massive roofing nightmare. Grab your ladder, follow these simple steps, and protect your biggest investment today!
Ready to tackle more home projects? Check out our other DIY guides for more money-saving tips and tricks.