

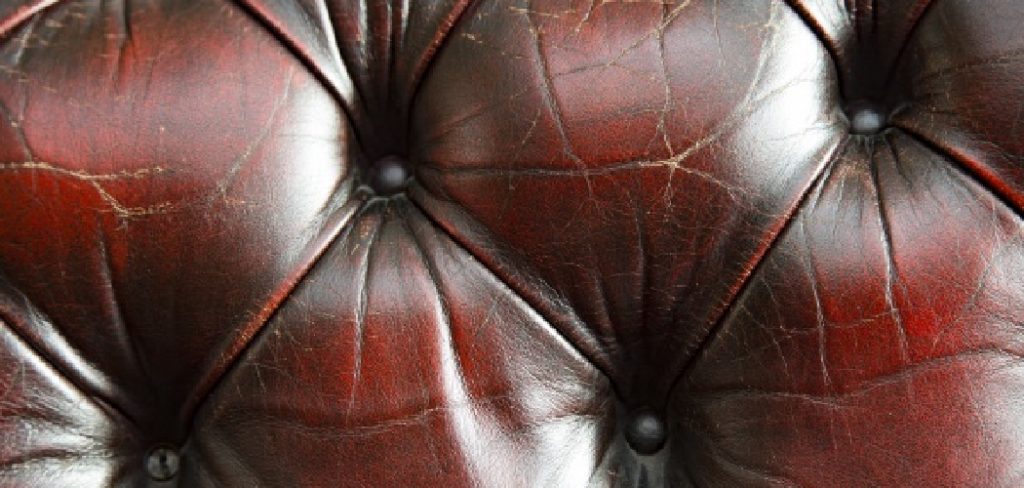
There is nothing quite like sinking into your favorite leather couch at the end of a long day. But that feeling quickly fades when you notice the surface starting to split and peel.
If you are wondering how to repair cracked leather sofa cushions or armrests, you are in the exact right place. We have all been there. You do not need to throw out your favorite piece of furniture or spend a fortune on an upholsterer.
Fixing it yourself is surprisingly simple and deeply rewarding. By tackling this weekend project, you can save hundreds of dollars. You will also breathe new life into your living room centerpiece. Let’s roll up our sleeves and get that couch looking beautiful again.
What Causes a Leather Sofa to Crack?
Before we dive into the fix, it helps to know why leather cracks in the first place. Leather is a natural material, much like our own skin. It needs moisture and care to stay soft and flexible.
When leather dries out, it loses its elasticity. This leads to those unsightly webbed cracks. Here are the most common culprits behind your damaged couch:
- Direct Sunlight: UV rays bake the leather, draining its natural oils and causing severe fading and cracking over time.
- Lack of Conditioning: Just like dry hands need lotion, leather needs regular hydration to prevent splitting.
- Body Oils and Sweat: The natural oils from human skin and pets can slowly break down the leather’s protective topcoat.
- Age and Normal Wear: Years of sitting, shifting, and stretching will eventually take a toll on even the highest quality hides.
- Harsh Cleaning Products: Using household chemical cleaners strips away essential moisture, accelerating the drying process.
- Proximity to Heat Sources: Placing a couch too close to a radiator or fireplace acts like a giant dehydrator for the material.
Tools and Materials Needed for Leather Sofa Repair
You want to gather all your supplies before you start. Having everything within reach makes the job go smoothly. Most of these items can be found in an all-in-one leather repair kit, or you can buy them separately.
Here is exactly what you need to pick up:
- Leather Prep Cleaner or Rubbing Alcohol: Essential for stripping away oils and dirt so your repair materials stick properly.
- Fine-Grit Sandpaper (600 to 800 grit): Used to gently smooth out the rough edges around the cracks.
- A Subpatch: A small piece of canvas or scrap leather used to reinforce deep cracks and holes from the inside.
- Leather Filler: A flexible, heavy-duty paste that fills in the gaps and creates a smooth, even surface.
- Palette Knife or Spatula: Needed to apply and spread the leather filler smoothly.
- Leather Colorant or Dye: To blend the repaired area seamlessly with the rest of your couch.
- High-Quality Leather Conditioner: The crucial final step to seal the repair and hydrate the surrounding area.
- Microfiber Cloths and Sponges: For applying cleaners, dyes, and conditioners without leaving lint behind.
Step-by-Step Guide: How to Repair Cracked Leather Sofa
Do not feel intimidated by the process. If you can ice a cake or patch a tiny hole in drywall, you can do this.
Take your time with each step. Patience is the secret ingredient to a professional-looking DIY repair.
Step 1: Clean the Damaged Area Thoroughly
You cannot build a sturdy house on a weak foundation. The same rule applies to leather repair. You must start with a squeaky-clean surface.
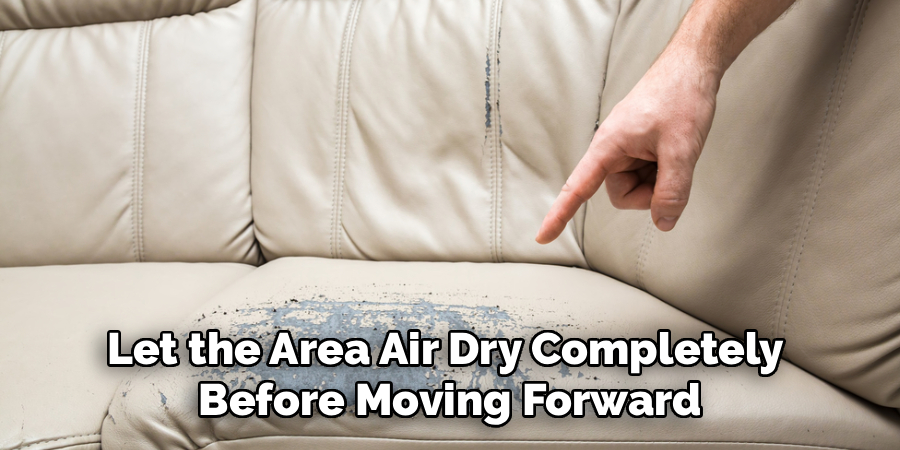
Use your leather prep cleaner or a rag dampened with rubbing alcohol. Gently wipe down the cracked area. This removes years of body oils, dirt, and old conditioners.
If you skip this step, the leather filler simply will not stick. Let the area air dry completely before moving forward.
Step 2: Smooth the Edges with Sandpaper
Cracked leather usually has tiny curled edges that stick up. If you fill over these, your repair will look bumpy and obvious.
Take your fine-grit sandpaper and gently rub it over the cracks. You only want to smooth out the rough, flaking bits.
Do not press too hard. You do not want to create a bigger hole. Just sand until the area feels relatively flat to the touch. Wipe away the dust with a dry cloth.
Step 3: Insert a Subpatch (For Deep Cracks)
If your cracks are very deep, or if they have turned into actual tears, you need a subpatch. This gives your filler something to hold onto.
Cut a piece of your subpatch material slightly larger than the tear. Use tweezers to push the patch inside the hole, sliding it flat beneath the leather.
Apply a small amount of leather glue between the patch and the underside of the leather. Press it down firmly and let the glue dry completely.
Step 4: Apply the Leather Filler
Now it is time for the magic. Grab your palette knife and scoop up a small amount of leather filler.
Spread it over the cracks just like you are buttering toast. Press it firmly into the crevices so it fills the gaps completely.
Keep the layers thin. It is much better to apply three thin layers than one thick, gloppy layer. Smooth the edges so the filler blends into the surrounding leather.
Step 5: Let it Dry and Sand Again
Let the first layer of leather filler dry completely. This usually takes about 30 to 45 minutes, but check your product’s instructions. You can use a hair dryer on a low setting to speed this up.
Once dry, the filler might shrink slightly. Apply another thin layer if you can still see an indentation.
When the final layer is fully dry, lightly sand the area again with your fine-grit sandpaper. Your goal is to make the repaired spot perfectly flush with the rest of the cushion. Wipe away all dust.
Step 6: Apply Leather Colorant or Dye
Now that the surface is smooth, it is time to make the repair disappear. Shake your leather colorant well.
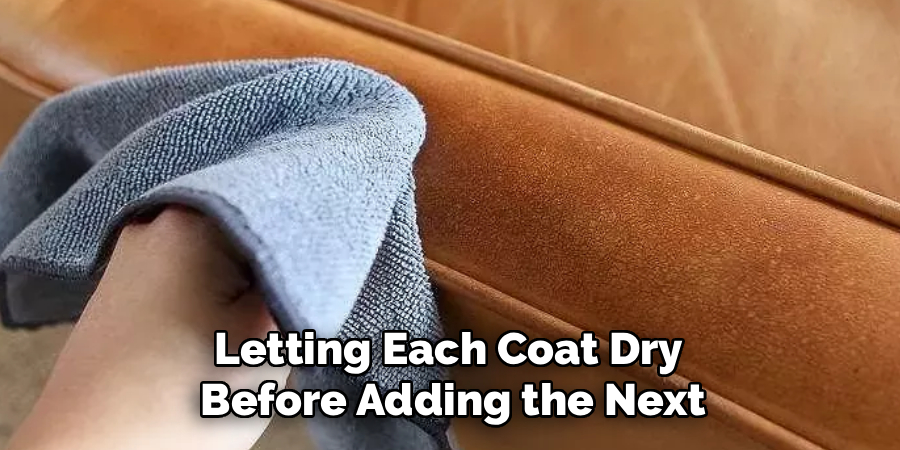
Dab a small amount onto a sponge and gently tap it over the repaired area. Do not rub; tapping helps mimic the natural texture of the leather.
Apply it in thin coats, letting each coat dry before adding the next. Feather the edges out slightly into the undamaged leather. This helps the color blend in beautifully.
Step 7: Seal and Protect with Conditioner
Once the colorant is fully dry, your repair is technically done, but it is not protected yet.
Apply a generous layer of high-quality leather conditioner over the entire cushion. This restores moisture to the old leather and helps seal your new repair.
Rub it in using circular motions with a clean microfiber cloth. Let it soak in, then buff away any excess. Your couch will look refreshed and feel incredibly soft.
Important Safety Warnings for Leather Repair
While this is a safe and simple project, you still need to protect yourself and your furniture. Keep these safety tips in mind while you work.
- Work in a Well-Ventilated Area: Rubbing alcohol, dyes, and glues can produce strong fumes. Open a window or run a fan.
- Wear Gloves: Leather dye will stain your hands just as well as it stains a couch. Protect your skin with latex or nitrile gloves.
- Always Do a Spot Test: Before applying chemicals or dyes to the middle of a cushion, test them on a hidden spot. The back or underside of the sofa is perfect for making sure the color matches.
- Keep Away from Heat: If you use a hair dryer to speed up drying times, keep it moving and on a low setting. High heat can melt the filler or scorch the leather.
When to Call a Professional for Leather Repair
We love a good DIY project, but it is important to know your limits. Sometimes, a couch is too damaged for a simple at-home fix.
If your leather sofa has massive, gaping tears that span across entire cushions, DIY kits might not hold up. Structural damage requires a professional upholsterer.
You should also call a pro if you have an extremely valuable antique piece. Professional color matching can also be tricky for highly unique or two-toned leathers. When in doubt about a priceless family heirloom, let the experts handle it.
Cost Estimate: DIY vs. Professional Sofa Repair
Fixing it yourself is a fantastic way to save a large chunk of change. Let’s break down the rough numbers so you can see the value of doing it yourself.
A comprehensive DIY leather repair kit usually costs between $20 and $50. This includes your filler, subpatch, dyes, and basic tools. A good bottle of conditioner might cost an extra $15. Your total DIY cost will rarely exceed $65.
On the other hand, hiring a professional leather repair technician is expensive. Minor patch jobs usually start around $150 to $200. If an entire panel needs to be replaced and color-matched, you are looking at $300 to $600 easily. By investing a few hours of your weekend, you are paying yourself handsomely.
Frequently Asked Questions
Can you fix a leather sofa that is peeling?
Yes. Peeling usually happens on bonded or faux leather. You can gently sand away the loose flakes and apply a specialized leather filler. Once smooth, dye the area to match. It takes patience, but it restores the look entirely.
How long does leather filler take to dry?
Most standard leather fillers take 30 to 45 minutes to dry at room temperature. You can carefully use a hair dryer on a low, warm setting to cut this time down to about 10 minutes per layer.
Will coconut oil fix cracked leather?
No. While coconut oil might temporarily darken and soften the leather, it can turn rancid over time. It can also clog the leather’s pores and prevent professional dyes or fillers from adhering later on. Always use a proper leather conditioner.
Does leather conditioner fix cracks?
A leather conditioner cannot physically fill in or repair existing cracks. However, it is vital for preventing new cracks from forming. It rehydrates the hide, keeping it flexible and resilient against daily wear and tear.
Conclusion
Seeing your favorite furniture start to show its age can be a bummer. But as you can see, learning how to repair cracked leather sofa cushions is completely within your reach.
By gathering the right tools, working patiently in thin layers, and blending your colors well, you can achieve professional results at home. You will save a ton of money and keep a great piece of furniture out of the landfill.
Do not let those cracks get any worse. Grab a leather repair kit today, set aside a few hours this weekend, and give your living room the facelift it deserves!