

Do you have a favorite garden gnome or birdbath that has seen better days? You are definitely not alone.
Many homeowners watch their beautiful yard art slowly crack and chip away over the years. But you do not have to throw your favorite pieces in the trash.
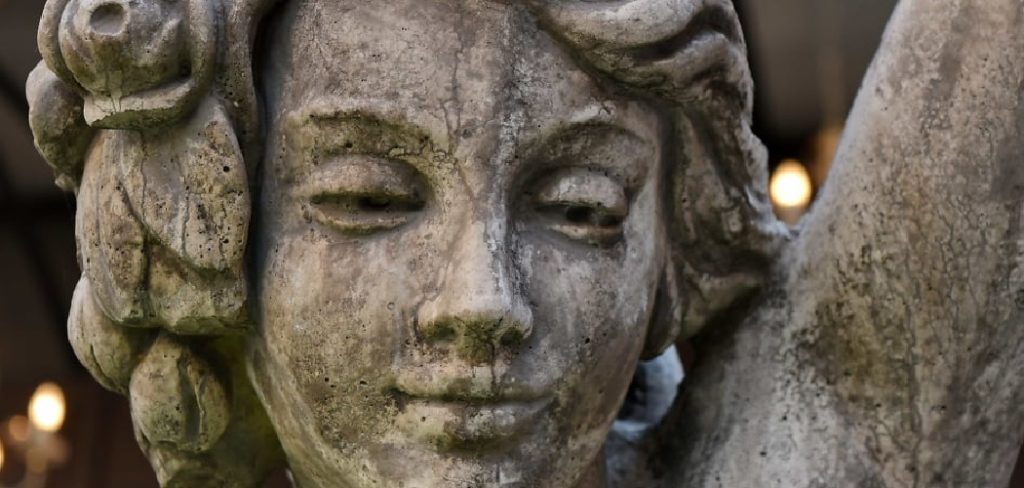
Learning how to repair crumbling concrete statues is easier than you might think. Best of all, fixing it yourself saves you a ton of money.
Buying heavy, brand-new garden art can cost hundreds of dollars. Repairing it usually costs less than a decent dinner out.
With a little patience and the right supplies, you can bring your favorite yard decorations back to life. Let’s dive into exactly how to get this easy weekend project done right.
What Causes Concrete Statues to Crumble?
Before you grab your tools, it helps to understand why this damage happens. Concrete is tough, but it is not invincible.
If you know what causes the damage, you can prevent it from happening again. Here are the most common culprits behind your crumbling yard art:
- Freeze-Thaw Cycles: Water seeps into tiny cracks in the concrete. When it freezes, the water expands and breaks the concrete apart.
- Poor Quality Concrete: Some cheaper statues are made with a weak concrete mix. These degrade much faster in harsh weather.
- Lack of Sealant: Unsealed concrete acts like a giant sponge. It absorbs rain, morning dew, and lawn sprinkler water.
- Age and Wear: Father Time eventually wins. Decades of sun, wind, and rain will wear down even the best masonry.
- Accidental Damage: A bumped lawnmower or a fallen tree branch can create the first crack that leads to bigger crumbling.
Essential Tools and Materials Needed
You cannot fix a statue with just hope and superglue. You need the right tools for the job.
Luckily, everything you need is easily found at your local hardware store. Gathering these items before you start will make the process smooth and stress-free.
Here is your essential shopping list:
- Stiff Wire Brush: Crucial for removing loose debris and old paint.
- Masonry Patch or Epoxy Putty: This is the magic material that replaces the missing concrete.
- Concrete Bonding Agent: A liquid that helps the new patch stick to the old concrete.
- Small Trowel or Putty Knife: For spreading and smoothing the repair material.
- Sculpting Tools: Old butter knives, toothpicks, or clay tools work great for adding details.
- Spray Bottle with Water: To keep the concrete damp while you work.
- Concrete Sealant: To protect your finished repair from future weather damage.
- Sandpaper: Medium and fine grit for smoothing the final patch.
Step-by-Step Guide: How to Repair Crumbling Concrete Statues
Now comes the fun part. You are about to become a backyard sculptor.
Do not rush this process. Take your time, follow these steps, and your statue will look fantastic.
Step 1: Clean and Prep the Damaged Area
You can never apply a masonry patch over dirt or loose gravel. The patch simply will not stick.
Take your stiff wire brush and vigorously scrub the crumbling area. Remove every piece of loose dust, dirt, and flaking concrete.
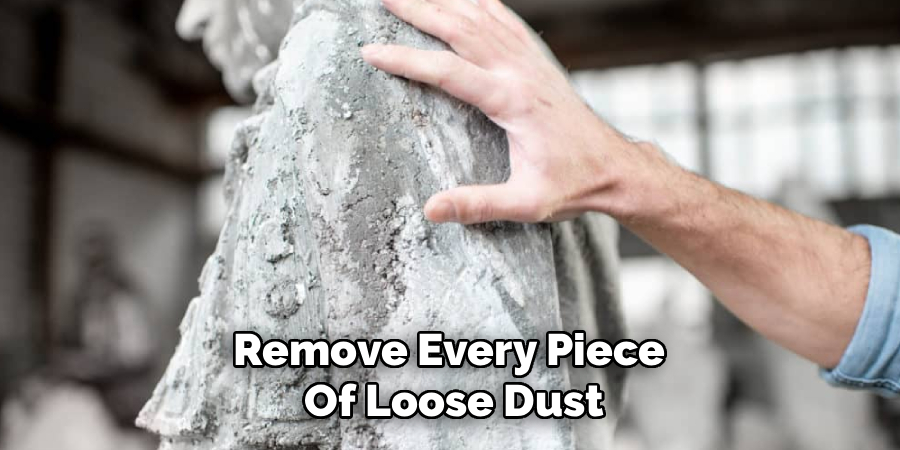
Once the loose stuff is gone, wash the area with a hose or a bucket of soapy water. Let the statue dry completely before moving to the next step.
Step 2: Apply the Concrete Bonding Agent
This step is the secret to a repair that lasts for decades. Think of a bonding agent as a heavy-duty glue for concrete.
Take a cheap paintbrush and paint the bonding agent directly into the cracked or crumbling area. Make sure to get it into every tiny crevice.
Let the bonding agent sit for a few minutes until it becomes tacky. Read the instructions on your specific bottle, as drying times can vary.
Step 3: Mix Your Masonry Patch
If you are using a powdered masonry patch, it is time to mix it. Pour a small amount of powder into a plastic bucket.
Add water very slowly. Stir the mixture with a trowel or a sturdy stick.
You want the consistency to feel like thick peanut butter. If it is too runny, it will slide right off your statue.
If you are using a two-part epoxy putty instead, simply knead the two parts together with your fingers until the color is solid.
Step 4: Apply the Patching Material
Grab your trowel, putty knife, or even your gloved hands. Scoop up a bit of your patching mixture.
Press the masonry patch firmly into the damaged area. You want to push it hard so there are no trapped air bubbles inside.
Build the patch up slightly higher than the original surface of the statue. It is much easier to sand away extra material later than to add more.
Step 5: Sculpt and Shape the Details
Concrete statues usually have textures, like feathers, leaves, or facial features. Now is the time to recreate those details.
Use your small sculpting tools, a butter knife, or a toothpick. Gently carve lines and textures into the wet patch so it matches the surrounding area.
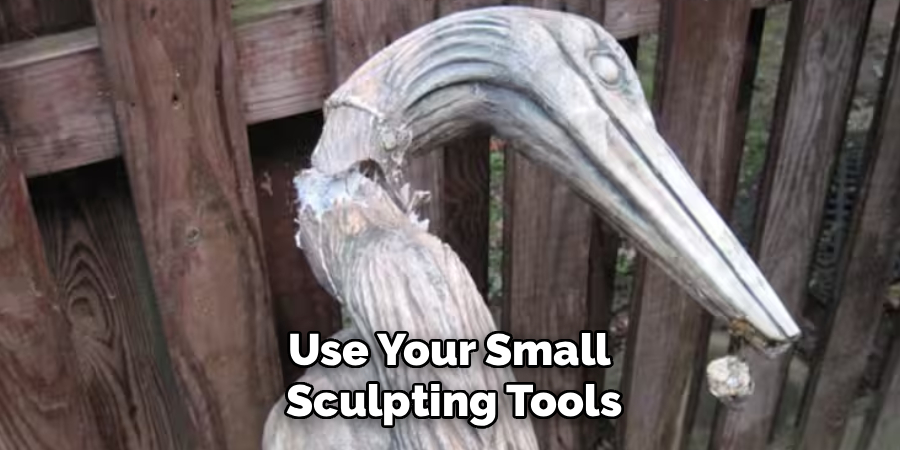
If the patching material starts to dry out while you are working, give it a quick spritz from your water bottle.
Step 6: Let It Cure and Sand Smooth
Patience is key here. Let your repair cure completely according to the package directions.
Depending on the weather and the product, this usually takes 24 to 48 hours. Keep the statue out of direct, blazing sunlight while it cures to prevent cracking.
Once the patch is rock hard, take your sandpaper and gently smooth out the edges. You want the new patch to blend seamlessly into the old concrete.
Step 7: Paint and Apply Concrete Sealant
Your repair is technically done, but it might look like a different color than the rest of the statue. You can paint the entire statue with exterior latex masonry paint to make it look brand new.
Once the paint is dry, you must protect your hard work. Apply a high-quality, clear exterior concrete sealant over the entire statue.
This sealant is your best defense against water damage and future freeze-thaw cycles. Apply a fresh coat of sealant every two years to keep your yard art safe.
Important Safety Warnings for DIYers
Fixing concrete is highly rewarding, but you must protect yourself. Concrete dust and chemicals can be harsh on your body.
Always wear a dust mask or respirator when using a wire brush or sanding concrete. Inhaling silica dust is very dangerous for your lungs.
Wear heavy-duty nitrile or rubber gloves. Wet concrete and bonding agents can severely dry out or even burn your skin.
Finally, wear safety glasses to keep stray chips of flying concrete out of your eyes. Protect your back by asking a friend to help you lift or move heavy statues.
When to Call a Professional
Most garden statues can be fixed with a basic DIY approach. However, some jobs are just too big for the average homeowner.
If your statue is an antique, a historical piece, or a highly valuable family heirloom, do not risk a DIY repair. Call a professional art conservator or masonry expert.
You should also seek help if the statue is massive and poses a crushing hazard if it falls over. Structural repairs on large monuments require professional-grade epoxy and steel pinning.
Be honest with your skill level. If you feel overwhelmed, it is always okay to hire a pro.
Cost Estimate: DIY vs. Professional Repair
One of the best parts about learning how to repair crumbling concrete statues is the money you keep in your wallet.
For a DIY repair, expect to spend about $15 to $35. This covers the wire brush, masonry patch, bonding agent, and a small can of sealant.
If you hire a professional masonry worker or a statue restorer, the costs jump significantly. Professionals usually charge between $150 and $500 depending on the size of the piece and the damage.
For standard backyard garden art, the DIY route is the clear financial winner.
Frequently Asked Questions
Can I use regular cement to fix my statue?
No, regular cement or concrete mix usually has gravel in it. You need a masonry patch or quick-setting mortar to get a smooth, workable finish for repairs.
How do I fix a statue that has broken completely in half?
For clean breaks, use a high-strength construction adhesive or concrete epoxy. You may also need to drill holes and insert a steel pin (rebar) to hold the two heavy pieces together.
Will the repaired area look different from the rest of the statue?
Yes, the new masonry patch will usually dry a different color than your aged statue. The best way to hide the repair is to paint or antique the entire piece afterward.
Why did my concrete repair crack after a few days?
This usually happens if the patch dried too quickly in the hot sun. It can also happen if you skipped the bonding agent, causing the new patch to shrink and pull away from the old concrete.
How often should I seal my outdoor concrete statues?
To prevent crumbling in the first place, you should apply a clear concrete sealant every one to two years. Do this before winter hits to block freezing moisture.
Conclusion
Seeing your beautiful garden art fall apart is frustrating, but it doesn’t mean the end of its life in your yard.
Knowing how to repair crumbling concrete statues is a fantastic DIY skill that will save you time, stress, and hundreds of dollars. By cleaning the area, using a good bonding agent, and applying a solid masonry patch, you can restore your pieces to their former glory.
Remember to take your time while sculpting the details and never skip the protective sealant at the end.
Are you ready to rescue your yard art? Grab your wire brush, pick up some supplies, and give your favorite statue a second chance at life this weekend!