

Noticing a jagged line running down the side of your house can feel incredibly stressful. You might worry about water damage, expensive contractor bills, or structural failure.
Take a deep breath. Learning how to repair cracks in stucco is easier than you might think. You do not need to be a professional contractor to get the job done right.
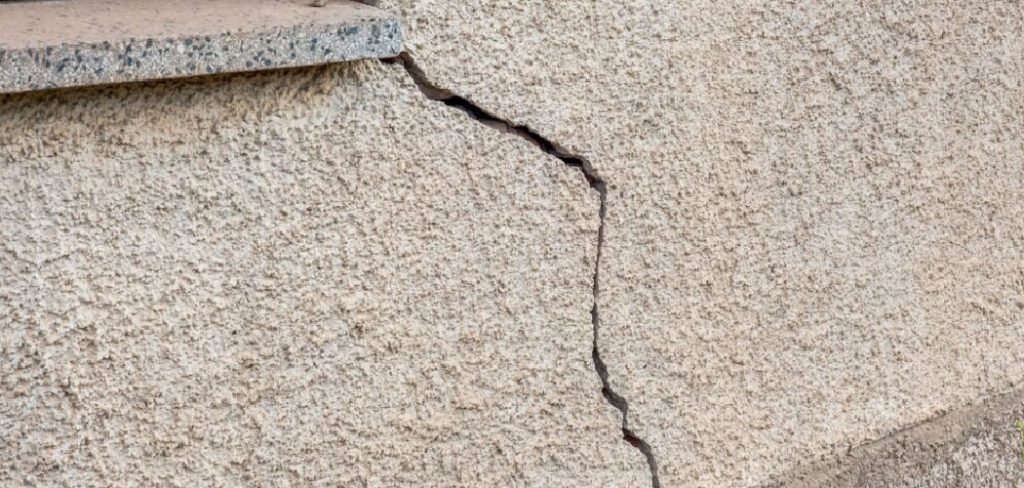
Many homeowners face this exact issue every single year. Stucco is a popular, durable exterior finish, but it is not immune to wear and tear.
When you tackle this project yourself, you keep hundreds of dollars in your pocket. You also gain the confidence that comes with maintaining your own home.
Grab your work gloves and a cold drink. We are going to walk through this simple repair together.
What Causes This Problem?
Before you fix the wall, you need to know why it broke. Understanding the root cause helps you prevent future damage.
Here are five common reasons your exterior walls might split:
- House Settling: Every home shifts slightly as the ground beneath it moves. This natural settling puts pressure on rigid materials, causing hairline fractures.
- Extreme Weather: Rapid temperature changes make building materials expand and contract. Over time, this constant movement weakens the exterior shell.
- Moisture Damage: Water is the enemy of any masonry. If rain sneaks behind the surface and freezes, it expands and breaks the material apart.
- Poor Installation: Sometimes the original builders rush the curing process. If the mixture dries too fast, it becomes brittle and prone to splitting early on.
- Heavy Vibrations: Do you live near a busy road or train track? Constant heavy vibrations slowly shake rigid walls until they snap under the stress.
Tools & Materials Needed
You cannot do good work without the right gear. Head to your local hardware store and gather these supplies.
Having everything within arm’s reach makes the job completely stress-free.
Essential Tools
- Stiff Wire Brush: You need this to scrub away loose debris and old paint.
- Chisel or Screwdriver: A flathead screwdriver works perfectly for clearing out the damaged area.
- Caulking Gun: This pushes the patching compound smoothly into the gap.
- Putty Knife or Margin Trowel: You will use this to smooth the surface and blend the edges.
- Damp Sponge: A simple kitchen sponge helps you match the rough texture of the surrounding wall.
Necessary Materials
- Acrylic Stucco Patch: Buy a high-quality, pre-mixed tube or tub. It flexes slightly, which prevents future breaks.
- Exterior Primer: Primer seals the patch and prepares it for paint.
- Exterior Masonry Paint: Get this color-matched to your current exterior for an invisible repair.
Step-by-Step Fix Guide: How to Repair Cracks in Stucco
Now it is time to get our hands dirty. Follow these numbered steps closely.
If you take your time and do not rush, your wall will look brand new.
Step 1: Inspect the Damage
Start by closely examining the damaged area on your wall. Measure the width of the gap to see what kind of fix you need.
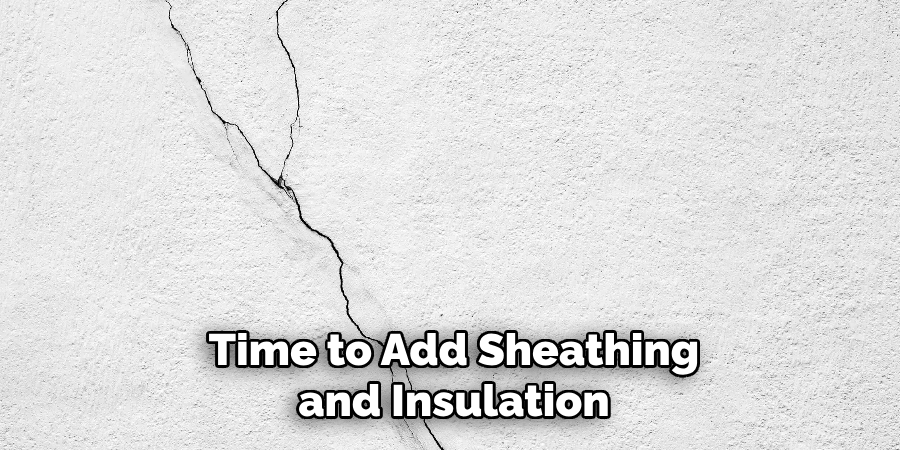
If the gap is thinner than a credit card, it is a hairline fracture. These are mostly cosmetic and very simple to fill.
If the gap is wider than a quarter of an inch, pay close attention. You will need to pack the gap deeply to ensure a solid hold.
Step 2: Clean the Area
Your patching material will not stick to dirt, dust, or flaking paint. Grab your stiff wire brush and scrub the wall vigorously.
Brush up and down, then side to side. Remove any loose pebbles or crumbling pieces of mortar.
Take a clean, dry cloth and wipe away the leftover dust. A completely clean surface guarantees your patch will last for years.
Step 3: Widen the Gap Slightly
This step sounds backward, but it is incredibly important. You actually need to make the gap a little wider before you fill it.
Take your chisel or flathead screwdriver and scrape it along the inside edges. You want to create a “V” shape inside the groove.
Widening the gap gives the patching compound more surface area to grip. This trick separates a temporary fix from a permanent repair.
Step 4: Apply the Patching Compound
Load your tube of acrylic stucco patch into your caulking gun. Cut the tip of the tube at a 45-degree angle.
Squeeze the trigger slowly and push the compound directly into the gap. Move steadily from the top to the bottom.
Do not be afraid to overfill the groove just a little bit. It is much easier to wipe away excess material than to add more later.
Step 5: Smooth the Surface
Drop your caulking gun and grab your putty knife or trowel. Press the flat edge of the tool against the wall.
Pull the blade down over the wet compound to flatten it out. You want the patch to sit perfectly flush with the surrounding wall.
Scrape away any extra material that spilled over the edges. Wipe your blade on a damp rag to keep your tool clean.
Step 6: Match the Texture
Your exterior walls likely have a bumpy, rough finish. If you leave your wet patch perfectly smooth, it will look like a scar on your house.
Take your damp sponge and lightly dab the wet compound. Do not press hard; just tap the surface to pull up little peaks of material.
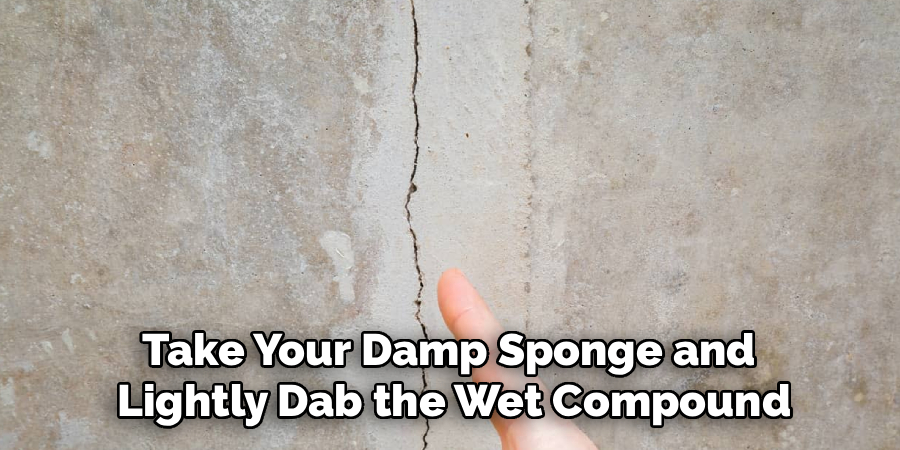
Keep dabbing until the patch blends seamlessly into the original wall pattern. Step back a few feet to check your work.
Step 7: Let It Cure
Patience is key for a successful repair. Read the label on your patching compound to find the exact drying time.
Most acrylic patches need at least 24 hours to cure completely. If the weather is cold or humid, wait an extra day just to be safe.
Do not touch the patch while it dries. Let the chemicals do their job and harden naturally.
Step 8: Prime and Paint
Once the patch is rock solid, it is time to hide your work. Grab a small paintbrush and apply a coat of exterior primer over the fixed area.
Let the primer dry for a few hours. Primer helps your topcoat stick and stops moisture from sneaking in.
Finally, paint over the primer with your color-matched exterior masonry paint. Two light coats will make the fix completely invisible to anyone walking by.
Safety Warnings
DIY projects are fun, but safety always comes first. Protect yourself before you start scraping and chemical mixing.
Wear safety goggles while using your wire brush and chisel. Flying bits of dried mortar can easily damage your eyes.
Wear a simple dust mask while cleaning the wall. Inhaling crushed masonry dust is terrible for your lungs.
If you need to use a ladder, make sure it sits on firm, level ground. Never overreach while standing on a ladder; climb down and move it instead.
When to Call a Professional
Knowing your limits is a sign of a smart homeowner. Not every problem can be solved with a tube of caulk and a putty knife.
If you notice gaps wider than half an inch, call a contractor. Large gaps often indicate severe foundation settling or structural failure.
If the wall feels spongy, soft, or crumbly when you push on it, stop immediately. You likely have hidden water damage and wood rot underneath the surface.
A professional mason can assess structural risks and rebuild the wall safely. It costs more upfront, but it prevents a total home collapse.
Cost Estimate: DIY vs Professional
Saving money is the best part of tackling home repairs yourself. Let us break down the rough numbers.
If you fix this yourself, expect to spend about $30 to $50. A tube of patch costs around $10, and basic tools make up the rest.
If you already own a wire brush and putty knife, your cost drops to almost nothing.
Hiring a professional contractor tells a very different story. Most masons charge between $300 and $1,000 for minor exterior repairs.
Contractors have minimum service fees just to drive their truck to your house. Doing it yourself keeps that cash right where it belongs.
Frequently Asked Questions
Can I just use regular silicone caulk?
No, you should never use standard silicone window caulk for this job. Silicone repels paint completely, meaning your repair will always look like an ugly plastic stripe. Always use a textured, paintable masonry or stucco patch.
How long does a DIY repair usually last?
If you clean the area well and use an acrylic-based patch, it can last for many years. Acrylic remains slightly flexible, which lets it stretch as your house naturally shifts. Rushed jobs with cheap materials will fail after one winter.
Do I really need to paint the patched area?
Yes, painting is essential for a long-lasting fix. The patch itself is rarely completely waterproof. Paint acts as a final barrier against rain, snow, and damaging UV rays from the sun.
Why did my newly patched wall crack again?
If the same spot breaks open a few weeks later, your house is actively shifting. It means the underlying structural movement is stronger than the patch. You should call a foundation specialist to inspect the ground beneath your home.
Can I do this repair in the winter?
It is highly recommended to wait for warmer weather. Patching compounds need temperatures above 40 degrees Fahrenheit to cure properly. If you apply the wet mixture in freezing weather, it will turn to ice and crumble out.
Conclusion
Taking care of your home exterior does not have to be an overwhelming chore. Now that you know exactly how to repair cracks in stucco, you can tackle the weekend with total confidence.
Remember to clean the gap thoroughly, widen the edges, and blend the texture carefully. Those three simple tricks separate a messy amateur job from a beautiful, lasting fix.
Every time you pull into your driveway, you will feel proud of the money you saved. You have the tools, the knowledge, and the ability to protect your biggest investment.
Go grab your supplies and give your walls the quick tune-up they deserve! If you loved this guide, check out our other home repair articles for more easy, money-saving tips.