

Noticing crumbling lines between your bathroom tiles is frustrating. It looks messy, and worse, it can lead to serious water damage. Learning how to repair cracked grout in shower walls or floors is an essential skill for any homeowner.
When you fix this issue yourself, you save hundreds of dollars. You also protect your home from costly mold and structural damage. Hiring a professional tile worker can drain your wallet quickly. Fortunately, fixing this common bathroom problem is a manageable weekend project.
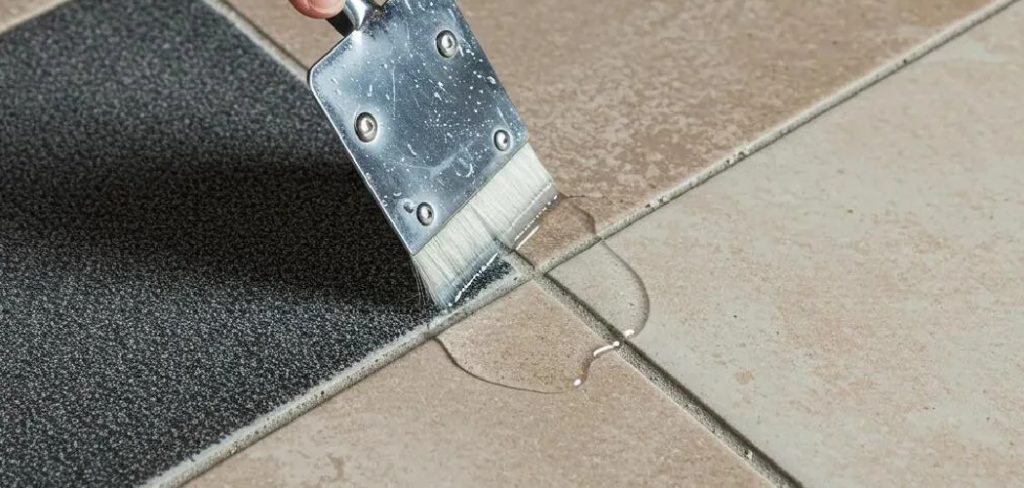
With a few basic tools and a bit of elbow grease, you can restore your tile. We will walk you through the entire process. You will learn the exact steps to make your bathroom look brand new again.
What Causes This Problem?
Before jumping into the fix, it helps to understand why this happens. Grout is porous and handles a lot of stress. Here are the most common reasons your shower joints are cracking:
- House Settling: As homes age, the foundation shifts slightly. This movement forces rigid tile joints to crack under pressure.
- Poor Installation: If the original mixture had too much water, it dries weak and brittle.
- Harsh Cleaners: Bleach and heavy acidic cleaners eat away at the cement over time.
- Missing Sealant: Unsealed joints absorb water daily. This constant expanding and contracting weakens the material.
- Missing Expansion Joints: Corners need flexible caulk, not rigid cement, to handle natural wall shifts.
Tools & Materials Needed
You do not need a massive workshop to tackle this job. You can find everything on this list at your local hardware store. Gather these items before you start working.
Removal Tools
- Manual grout saw or oscillating multi-tool
- Utility knife
- Stiff bristle brush
- Shop vacuum
Installation Materials
- Pre-mixed or powdered grout (match your existing color)
- Rubber grout float
- Large bucket for water
- Several large tiling sponges
- Microfiber cloths
- High-quality penetrating grout sealer
Safety Gear
- Safety glasses
- Dust mask or N95 respirator
- Work gloves
- Knee pads (if working on the floor)
Step-by-Step Fix Guide on How to Repair Cracked Grout in Shower
Ready to get to work? Follow these detailed steps. We broke the process down so anyone can succeed.
Step 1: Clean and Prepare the Area
Start with a completely dry shower. Do not use the shower for at least 24 hours before you begin. You need a dry surface so the new material adheres properly.
Wipe down the tiles with a mild cleaner. Remove any soap scum or surface dirt. Let the entire area dry completely before grabbing your removal tools.
Step 2: Remove the Damaged Grout
This is the most important step. You cannot put new material over crumbling old material. Grab your manual saw or oscillating tool.
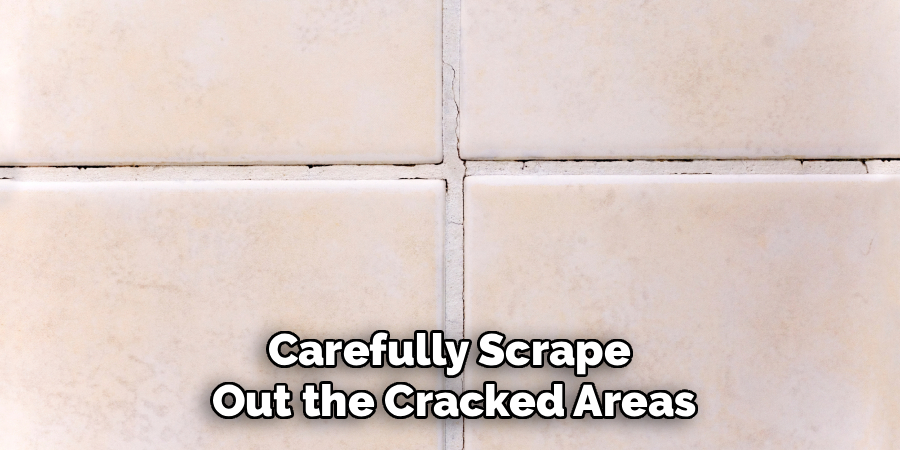
Carefully scrape out the cracked areas. You do not need to remove all the depth, but aim to remove at least half of the thickness. Be very careful not to chip the edges of your ceramic or porcelain tiles.
Step 3: Vacuum and Prep the Joints
Removing the old material creates a massive amount of fine dust. Grab your shop vacuum and suck up all the debris.
Follow up with a damp cloth to wipe inside the joints. Ensure absolutely no loose dust remains. The joints must be completely clean and dry before moving to the next phase.
Step 4: Mix Your New Material
If you bought pre-mixed material, you can skip this step. If you bought powder, grab a clean bucket.
Add water gradually according to the package directions. Mix it thoroughly until it reaches the consistency of creamy peanut butter. Let the mixture sit for about 10 minutes to activate the chemicals.
Step 5: Apply the Mixture
Scoop a generous amount of the mixture onto your rubber float. Press it firmly into the empty joints.
Hold your float at a 45-degree angle. Swipe diagonally across the tile lines. This pushes the material deep into the cracks without pulling it back out.
Step 6: Sponge Off the Excess
Wait about 15 to 30 minutes. The material in the joints should feel slightly firm to the touch.
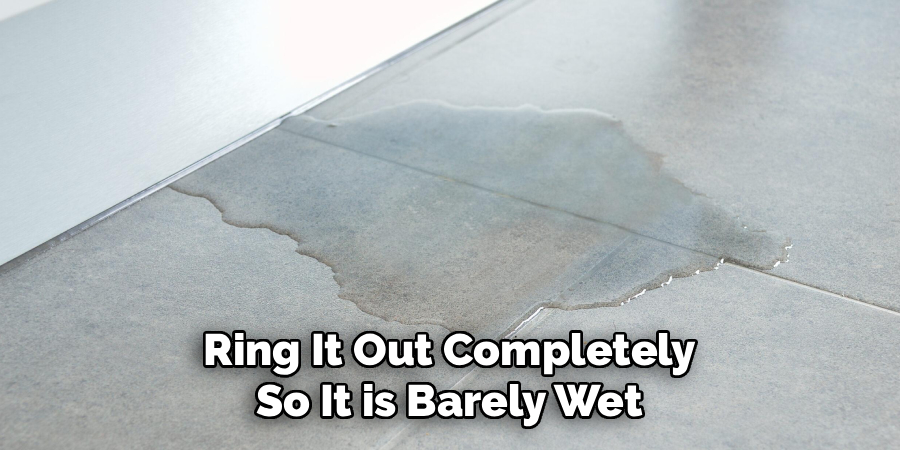
Dampen your large sponge. Ring it out completely so it is barely wet. Gently wipe diagonally across the tiles to clean the surface. Rinse your sponge frequently in a bucket of clean water.
Step 7: Buff the Tile Haze
After a few hours, you will notice a cloudy film on your tiles. This is completely normal.
Grab a dry, clean microfiber cloth. Gently buff the tiles until they shine. Avoid pressing too hard into your freshly filled joints.
Step 8: Apply the Sealant
You must let everything cure completely. This usually takes 48 to 72 hours. Check your manufacturer’s instructions for the exact timeline.
Once fully cured, apply a high-quality penetrating sealer. This protects your hard work from water, mold, and future cracking.
Safety Warnings
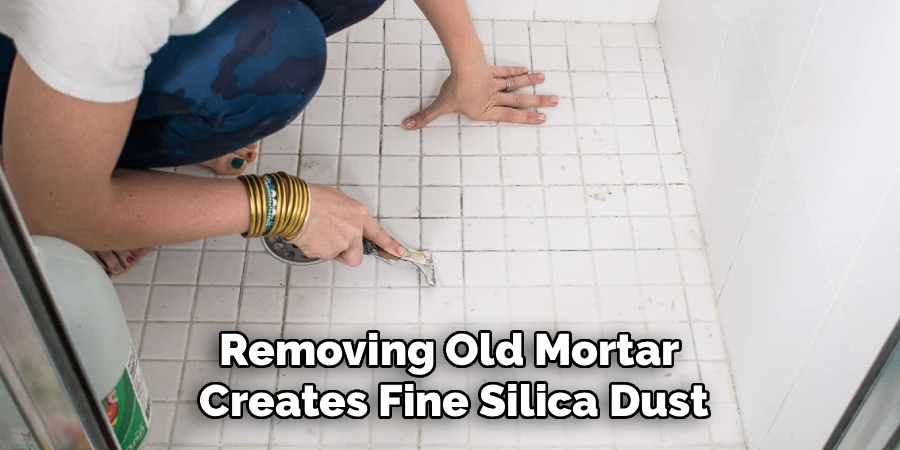
DIY projects are rewarding, but safety must come first. Removing old mortar creates fine silica dust. Breathing this dust is incredibly dangerous for your lungs.
Always wear an N95 respirator mask while scraping. Keep the bathroom fan running to improve ventilation. Wear safety glasses to protect your eyes from flying debris.
Take your time when using sharp tools. Rushing leads to slipping, which can severely damage your tile or cut your hands.
When to Call a Professional
Sometimes, learning how to repair cracked grout in shower walls reveals bigger issues. You must know your limits.
If you remove the old material and find soft, rotting drywall behind the tile, stop immediately. This indicates a severe water leak.
If tiles are falling off the wall, you need a professional. Water has compromised the backing board. A contractor will need to rip out the wall, fix the plumbing or structural damage, and rebuild the shower from scratch.
Cost Estimate: DIY vs. Pro
One of the best reasons to do this yourself is the financial savings. Let us break down the costs.
DIY Cost: You can expect to spend between $30 and $75. This covers a manual saw, a bag of powder, a float, sponges, and sealant. If you already own basic tools, your cost might be under $20.
Professional Cost: Hiring a tile contractor or handyman is much more expensive. They typically charge between $200 and $600 for a standard regrouting job. The price increases if your shower is large or uses tiny mosaic tiles.
Frequently Asked Questions
Does cracked grout cause leaks?
Yes. When the joints fail, water seeps behind the tile. This can rot the drywall, damage wood studs, and cause hazardous mold growth inside your walls.
Do I need to remove all the old grout?
No, you do not need to reach the very bottom. You should remove about 1/8 inch to 1/4 inch of the old material. This gives the new mixture enough room to grip and hold strong.
Can I just put new grout over the old cracked grout?
Never do this. The new layer will be too thin and will flake off within a few weeks. You must scrape out the damaged layer first.
What type of grout is best for showers?
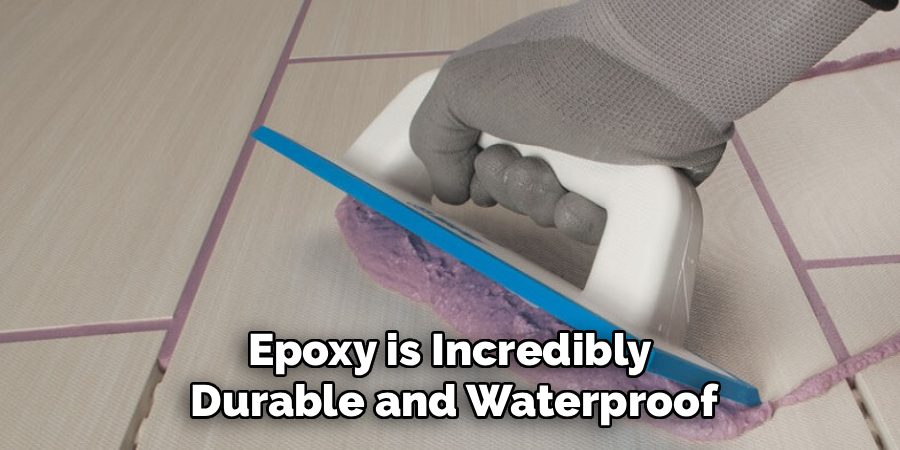
Epoxy is incredibly durable and waterproof, making it great for wet areas. However, sanded or unsanded cement varieties work perfectly fine as long as you seal them properly afterward.
How long does it take to dry?
The material feels dry in a few hours, but it needs time to cure. Wait at least 48 to 72 hours before using the shower or applying any protective liquid sealant.
Conclusion
Taking care of your bathroom does not have to be intimidating. By following this guide on how to repair cracked grout in shower areas, you protect your home from water damage.
You also get the satisfaction of mastering a new DIY skill. Remember to take your time during the removal process. Prep work is the secret to a professional-looking finish.
Grab your tools this weekend and give your bathroom the upgrade it deserves. If you found this guide helpful, check out our other home repair tutorials for more money-saving tips!