

A leaky roof can turn a great day into a stressful one. Nobody likes seeing water drip through their ceiling.
Flat roofs are common, but they need regular maintenance. Over time, the materials break down and let moisture sneak inside.
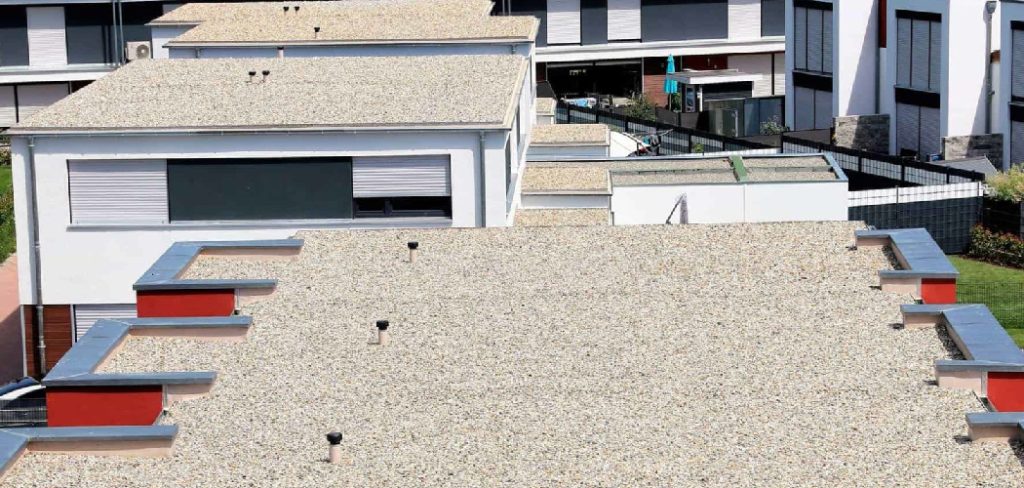
If you are wondering how to repair a tar and gravel flat roof, you are in the right place. You do not always need to hire a pricey contractor to fix small leaks.
Tackling this project yourself can save you hundreds of dollars. Plus, it gives you the confidence to handle your home’s upkeep.
Grab your work gloves, and let us walk through this process together. You can totally do this!
Why Do Flat Roofs Leak? What Causes the Problem?
Before fixing the roof, it helps to know why it started leaking. Tar and gravel roofs are tough, but they are not invincible.
Weather, age, and poor drainage all take a toll. Knowing the root cause helps you prevent future issues.
Here are the most common reasons your flat roof might be leaking:
- Ponding Water: Flat roofs are not perfectly flat, but dips can hold water for days.
- Blistering: Trapped moisture heats up and creates bubbles under the tar layers.
- Alligatoring: Sun damage causes the tar to crack, looking like alligator skin.
- Flashing Failures: The metal edges around chimneys and vents can rust or pull away.
- Gravel Loss: The gravel protects the tar from UV rays. Missing gravel exposes the roof to fast wear and tear.
- Old Age: Most tar and gravel roofs last 15 to 25 years. Eventually, the materials just dry out and fail.
Tools and Materials Needed
You cannot fix a roof empty-handed. Gathering the right supplies before you climb the ladder is crucial.
Having everything nearby saves time and keeps you safe. You will not have to climb up and down multiple times.
You can find all of these items at your local hardware store. Here is your shopping list:
- Stiff-bristled broom: For sweeping away loose dirt and gravel.
- Flat pry bar or putty knife: To scrape away old tar.
- Utility knife: For cutting open blisters.
- Roofing cement (mastic): The sticky black tar used to seal the leak.
- Fiberglass mesh tape: This acts like a bandage to reinforce the patch.
- Masonry trowel: To apply and smooth the roofing cement.
- Clean rags: To wipe your tools and hands.
- Heavy-duty work gloves: Roofing tar is messy and hard to wash off.
- Safety glasses: To protect your eyes from flying gravel.
Step-by-Step Guide on How to Repair a Tar and Gravel Flat Roof
Now that you have your tools, it is time to get to work. Wait for a dry, sunny day to tackle this repair.
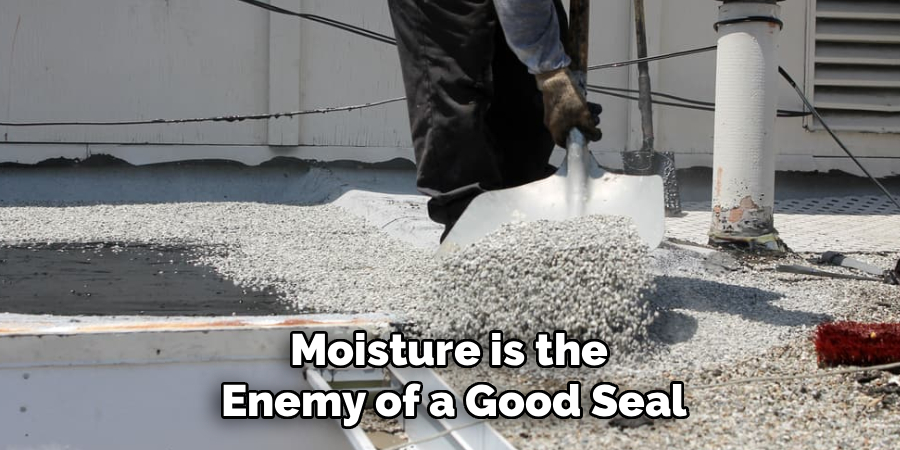
Moisture is the enemy of a good seal. The roof must be completely dry before you start patching.
Take your time with each step. Rushing the job usually leads to another leak down the road.
Step 1: Locate the Source of the Leak
Finding the leak is often the hardest part. Water can travel under the roof layers before dripping inside.
Start by looking at the ceiling stain inside your house. Measure its distance from two walls to find the general area.
Go up on the roof and measure out to that same spot. Look for bare spots, cracks, or bubbles in the tar.
Pay close attention to vents, skylights, and edges. These are the most common trouble spots on flat roofs.
Step 2: Clear the Gravel and Debris
Once you find the damaged area, you need a clean workspace. You cannot apply patch material over loose rocks.
Use your stiff-bristled broom to sweep the gravel away. Clear an area that is at least two feet wider than the actual leak.
Do not throw the gravel away! Sweep it into a neat pile nearby. You will need it later to cover the patch.
Step 3: Clean the Surface Thoroughly
A clean surface ensures the roofing tar will stick properly. Dust and dirt will ruin the seal.
Use a wire brush to scrub the bare tar. Remove any flaking, loose, or cracked material.
Take a clean rag and wipe the area down. If it is greasy or very dirty, use a rag lightly dampened with mineral spirits.
Let the area dry completely before moving to the next step.
Step 4: Cut Open Any Blisters
If the leak is caused by a blister, you must open it. A blister looks like a large bubble under the surface.
Take your utility knife and slice the blister open. Make a straight cut right down the middle of the bubble.
Do not remove the flaps of the blister. You just need to open it so it lays flat again.
Step 5: Dry the Trapped Moisture
Underneath that blister, you will likely find trapped water. You cannot seal water inside the roof.
Use clean, dry rags to soak up any standing water inside the cut. Press down firmly to squeeze the moisture out.
Leave the flap open to the sun for a few hours. If you are in a rush, use a heat gun on a low setting to dry it.
Step 6: Apply the First Layer of Roofing Cement
Now it is time to get messy. Put your heavy-duty gloves on.
Scoop out a generous amount of roofing cement with your trowel. Spread it over the cracked area or under the flaps of the blister you cut.
Press the blister flaps down flat into the wet cement. Spread another layer of cement over the top of the cut or crack.
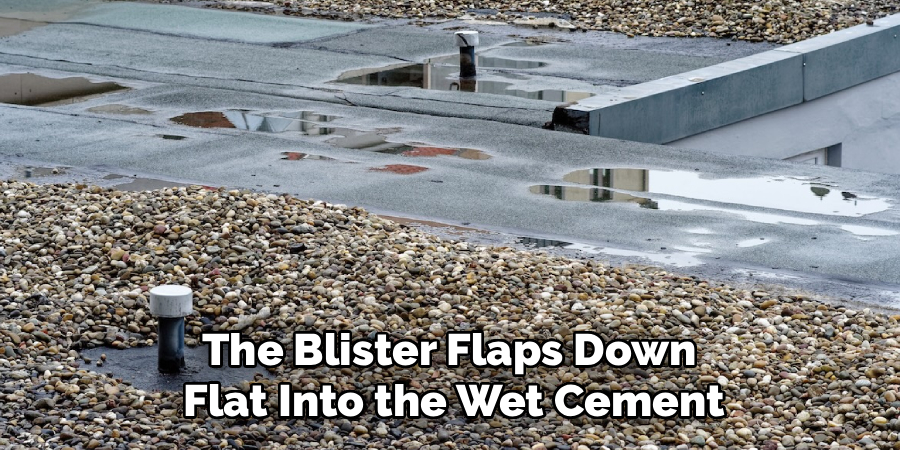
Smooth it out so it extends a few inches past the damaged area. Make sure it is thick but even.
Step 7: Add the Fiberglass Mesh
Roofing cement alone might crack again over time. You need a reinforcing layer to give it strength.
Cut a piece of fiberglass mesh tape to cover the wet cement. Press the mesh firmly into the tar.
The mesh acts just like rebar in concrete. It holds the patch together as the roof expands and contracts.
Step 8: Apply the Final Top Coat
You need to bury that fiberglass mesh completely. It should not be visible when you are done.
Take your trowel and scoop out more roofing cement. Spread it over the fiberglass mesh.
Feather the edges out smoothly. This helps water flow over the patch instead of pooling around the edges.
Make sure the patch is completely sealed and smooth.
Step 9: Replace the Protective Gravel
You are almost done! The final step is crucial for protecting your new patch.
Remember the gravel you swept aside earlier? It is time to put it back.
Press the gravel firmly into the wet top coat of cement. The gravel protects the tar from the sun’s harsh UV rays.
Without the gravel, the sun will quickly dry out your new patch. Cover it completely.
Safety Warnings for Flat Roof Repairs
Your safety is always the number one priority. No roof repair is worth a trip to the hospital.
Even though a flat roof feels safe, it still poses risks. Take these warnings seriously before you begin.
- Ladder Safety: Make sure your ladder is on solid, level ground. It should extend at least three feet above the roof edge.
- Watch Your Step: Gravel acts like marbles on a hard surface. Walk slowly and wear shoes with excellent grip.
- Avoid Power Lines: Always look up before moving ladders or long tools. Keep well away from overhead wires.
- Ventilation: Roofing cement has strong fumes. Work in a breezy area and avoid breathing the vapors directly.
- Stay Hydrated: Roofs get incredibly hot under the sun. Drink plenty of water and take breaks in the shade.
When to Call a Professional
DIY repairs are great, but they are not always the answer. Sometimes, a roof needs more than a quick patch.
Knowing your limits is a sign of a smart homeowner. Do not risk ruining your home to save a few bucks.
Call a professional roofing contractor if you notice any of these signs:
- Spongy Decking: If the roof feels soft or squishy when you walk on it, the wood underneath is rotting.
- Multiple Leaks: If your ceiling looks like a sieve, a single patch will not cut it. You likely need a full replacement.
- Large Blisters: Blisters larger than a dinner plate are hard to fix correctly. A pro should handle massive trapped moisture issues.
- Old Age: If your roof is over 20 years old, patching is just delaying the inevitable.
Cost Estimate: DIY vs. Professional
Money is a big motivator for tackling home repairs yourself. Let us look at the numbers.
Doing it yourself is incredibly cost-effective. A gallon of roofing cement costs about $20 to $30.
A roll of fiberglass mesh is around $10. Trowels and gloves might add another $15.
Your total DIY cost is usually under $60. That is a massive win for your wallet!
If you hire a professional, the minimum call-out fee is often $200 to $300.
For a basic patch job, expect to pay a pro between $300 and $600.
If the damage is extensive, professional repairs can easily top $1,000.
Frequently Asked Questions
You might still have a few questions before you climb up there. That is completely normal!
Here are some quick answers to the most common questions we hear.
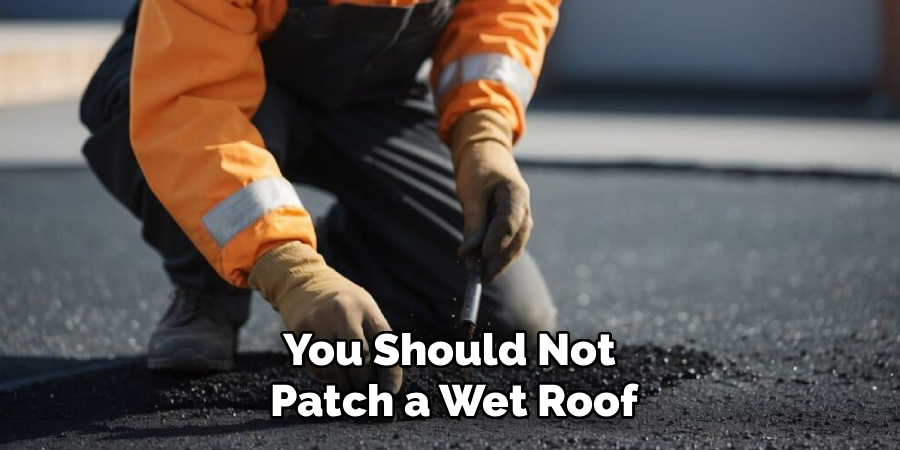
Can I repair a tar and gravel flat roof when it is wet?
No, you should not patch a wet roof. Roofing cement will not bond correctly to wet surfaces, causing the patch to fail quickly.
How long does roofing cement take to dry?
It takes a few days to fully cure. However, it becomes water-resistant almost immediately after you apply it.
Do I have to use the fiberglass mesh?
Yes, we highly recommend it. The mesh prevents the roofing tar from cracking as the weather changes.
What is the lifespan of a DIY roof patch?
If done correctly, a patch can last three to five years. It is a solid temporary fix until you need a total roof replacement.
Can I use flex seal on a flat roof?
While it might stop a leak temporarily, it is not a long-term fix. Traditional roofing cement and mesh provide a much stronger, durable repair.
Conclusion
Learning how to repair a tar and gravel flat roof is a handy skill. It saves you money and protects your home from serious water damage.
By following these simple steps, you can patch a leak in just a few hours. Remember to clean the area, use your mesh, and replace the gravel.
Safety always comes first, so take your time and watch your step. You have the tools and the knowledge to get this done right.
If you found this guide helpful, be sure to bookmark our page for more easy DIY home repair tutorials!