

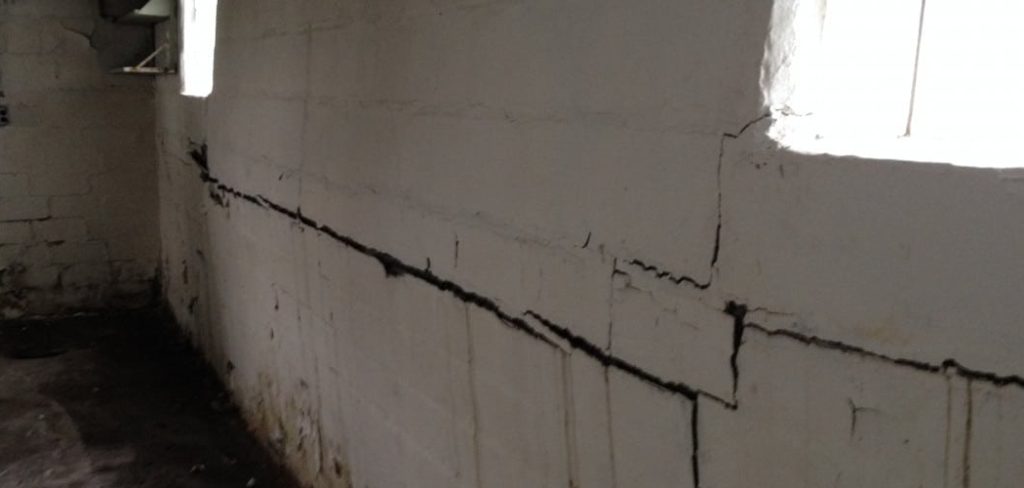
Seeing a crack or hole in your masonry can feel incredibly stressful. You might worry about your home’s structural integrity or fear a massive contractor bill.
Fortunately, learning how to repair concrete block wall damage is easier than you might think. Homeowners and renters face this common issue constantly due to weather and natural settling.
Fixing it yourself saves a significant amount of money. You can usually gather the supplies for a fraction of what a professional mason charges just to show up.
This guide walks you through the exact process to restore your masonry. We will cover the root causes, the exact tools you need, and a simple step-by-step method to get the job done right.
What Causes This Problem?
Understanding why your masonry cracked helps prevent future damage. Block foundations and garden barriers endure harsh outdoor elements year-round.
Here are the most common culprits behind crumbling masonry:
- Foundation Settling: The ground beneath your home constantly shifts. This movement puts immense pressure on rigid cinder blocks, eventually causing them to crack.
- Water Intrusion: Moisture is a masonry wall’s worst enemy. Water seeps into tiny pores, causing the material to weaken and crumble over time.
- Freeze-Thaw Cycles: When water enters the block and freezes, it expands. This expansion creates internal pressure that bursts the face of the block.
- Tree Root Growth: Large trees near your home have powerful root systems. These roots can push against the underground foundation, cracking the blocks.
- Poor Original Construction: Sometimes the original builders used an improper mortar mix. Weak mortar deteriorates much faster than the surrounding cinder blocks.
Tools & Materials Needed
Preparation makes any home project much easier. Gathering all your supplies beforehand prevents frustrating trips to the hardware store mid-project.
Here is exactly what you need for this job:
Essential Hand Tools
- Stiff wire brush
- Masonry chisel
- Heavy hammer or small sledgehammer
- Pointing trowel (for applying mortar)
- Brick jointer (to match the mortar lines)
- Stiff-bristled utility brush
- Heavy-duty sponge
- Five-gallon bucket for mixing
Required Materials
- Pre-mixed masonry mortar or concrete patching compound
- Liquid concrete bonding agent
- Clean water
- Concrete sealer (for waterproofing after the fix)
Personal Protective Equipment (PPE)
- Thick work gloves
- Safety goggles
- N95 respirator mask (critical for dust)
Step-by-Step Fix Guide: How to Repair Concrete Block Wall
Tackling this project requires a systematic approach. Follow these beginner-friendly steps to achieve a seamless, durable result.
Step 1: Assess and Clean the Damage
You must start with a completely clean surface. New mortar will never stick to loose, crumbling debris.
Put on your safety goggles and work gloves. Take your masonry chisel and hammer to chip away any loose, flaking concrete around the crack.
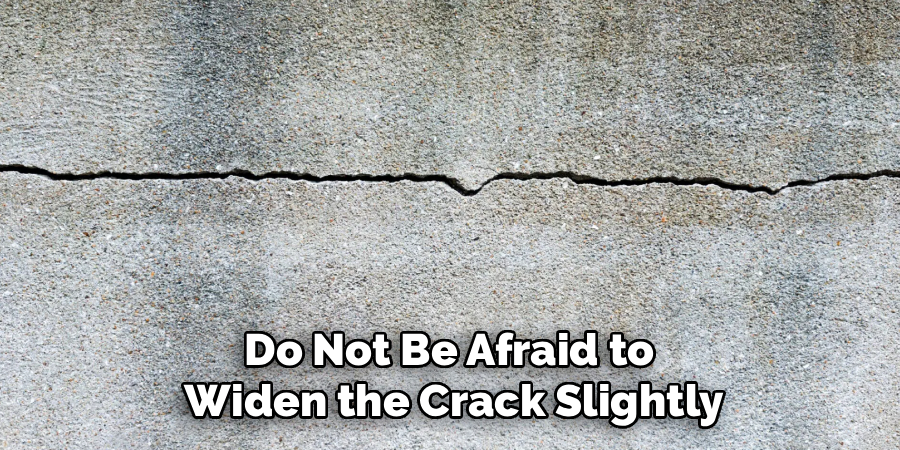
Do not be afraid to widen the crack slightly. Creating a small “V” shape actually helps the new patching material hold on tighter.
Once the loose chunks are gone, scrub the entire area vigorously with a stiff wire brush. Remove all dust, dirt, and old paint from the repair zone.
Finally, use a shop vacuum or a damp sponge to remove the remaining fine dust. The area must be completely free of debris.
Step 2: Apply the Liquid Bonding Agent
Concrete does not naturally adhere well to old, dried concrete. You need a chemical bridge to ensure your patch stays in place for years.
Grab your liquid concrete bonding agent and a cheap paintbrush. Paint a generous layer of the bonding liquid directly inside the crack and around the edges.
Make sure the liquid coats every single crevice of the damaged area. This step acts like a heavy-duty glue for your upcoming patch.
Wait for the bonding agent to become slightly tacky. Check the manufacturer’s instructions, but this usually takes about ten to fifteen minutes.
Step 3: Mix Your Patching Material
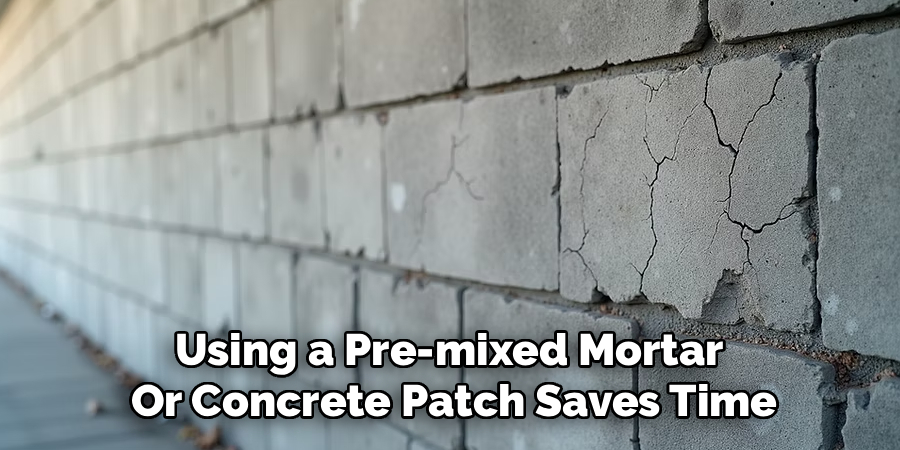
While the bonding agent sets, you can prepare your patching material. Using a pre-mixed mortar or concrete patch saves time and ensures the right ratio of sand to cement.
Pour a small amount of the dry mix into your five-gallon bucket. Add water slowly, a little bit at a time.
Stir the mixture constantly using your pointing trowel. You are looking for a very specific consistency here.
The mortar should look and feel like thick peanut butter. It needs to be wet enough to spread, but thick enough to hold its shape without dripping down the wall.
Step 4: Press the Mortar Into the Crack
Now it is time for the main event. Scoop a generous amount of your mixed mortar onto the flat side of your pointing trowel.
Press the mortar firmly deep into the crack. You want to eliminate any hidden air pockets inside the hole.
Apply strong pressure to force the material all the way to the back of the cavity. Build the patch up slowly in layers if the hole is particularly deep.
Keep adding material until the mortar sits just slightly higher than the surrounding wall surface. Do not worry about making it look perfect just yet.
Step 5: Smooth and Shape the Surface
Once the hole is packed tight, use the flat edge of your trowel to scrape off the excess mortar. Make the patch as flush with the existing wall as possible.
If the repair crosses a mortar joint (the lines between the blocks), you need to recreate that line. Take your brick jointer tool and drag it through the wet mortar.
Match the depth and shape of the surrounding joints. This simple detail hides the repair and makes the wall look uniform.
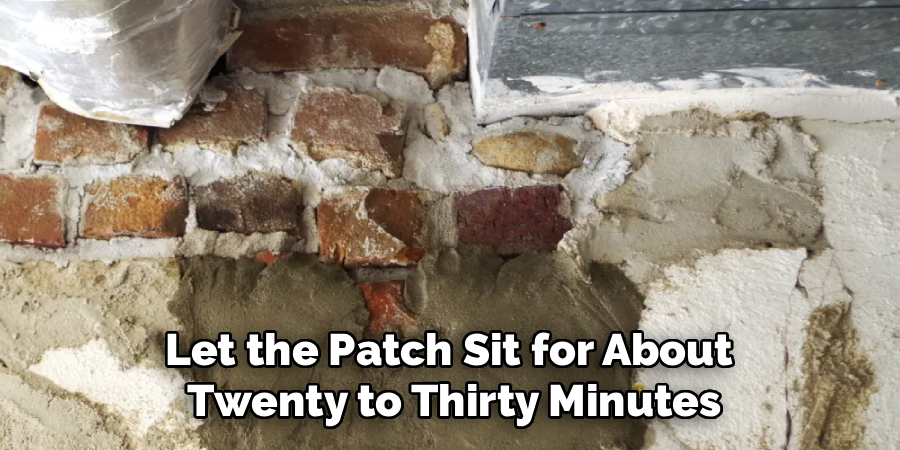
Let the patch sit for about twenty to thirty minutes. Once it feels slightly firm to the touch, gently brush the surface with a damp sponge to blend the edges.
Step 6: Cure and Seal the Area
Concrete needs time and moisture to cure properly. It does not simply “dry” like paint; it undergoes a chemical hardening process.
Lightly mist the patched area with water from a spray bottle twice a day for the next three days. This prevents the patch from drying out too quickly and cracking again.
Once the patch has cured for at least a week, you should waterproof the wall. Apply a high-quality masonry sealer over the entire area.
Sealing the block prevents water from sneaking back in and restarting the damage cycle. This final step guarantees your hard work lasts for years.
Safety Warnings
Masonry work seems straightforward, but it carries hidden dangers. Always prioritize your physical safety when working with heavy materials and chemicals.
Concrete dust contains silica, which is incredibly dangerous to inhale. Always wear a high-quality respirator mask when chipping, wire-brushing, or mixing dry cement.
Protect your eyes at all times. Flying chips of stone and metal from your chisel can cause severe eye injuries.
Wet concrete is highly alkaline and can cause chemical burns on your skin. Keep your thick work gloves on throughout the entire mixing and application process.
When to Call a Professional
DIY projects are incredibly rewarding, but you must know your limits. Some masonry issues point to severe structural failures that require expert intervention.
Call a professional contractor immediately if you notice your wall bowing or leaning inward. This indicates a dangerous lack of structural support.
Horizontal cracks running continuously across multiple blocks are another major red flag. This usually means the earth outside is crushing the foundation.
If a crack is wider than half an inch, or if you can see daylight through it, put down the trowel. A structural engineer or professional mason needs to evaluate the safety of the building.
Cost Estimate: DIY vs. Professional
One of the best parts about learning how to repair concrete block wall damage is the massive financial savings. The materials required are remarkably cheap.
A tub of pre-mixed mortar, a wire brush, a trowel, and some bonding agent will cost you between $30 and $60 at your local hardware store.
If you need to buy a chisel, safety gear, and a bucket, your total DIY cost might reach $80 to $100.
Hiring a professional mason tells a different story. Most contractors charge a minimum call-out fee of $150 to $300 just to inspect the job.
For fixing several cracks or a moderate hole, a professional repair bill easily ranges from $500 to over $1,200. Doing it yourself keeps that money in your pocket.
FAQs About How to Repair Concrete Block Wall
Can I use regular caulk to fix concrete block?
No, standard silicone or latex caulk will not hold up. You must use a specialized polyurethane masonry sealant for hairline cracks, or proper mortar for larger holes.
How long does the new mortar take to dry?
Mortar sets within a few hours but takes up to 28 days to fully cure and reach maximum strength. You should keep it slightly damp for the first few days to aid the curing process.
Do I really need to use a bonding agent?
Yes, skipping the bonding agent is a huge mistake. Old concrete drains moisture from new mortar instantly, which causes the patch to crack and fall out without a bonding liquid.
Can I paint over the repaired wall?
Absolutely, but you must wait. Give the new patch at least 30 days to fully cure and release all internal moisture before applying masonry primer and paint.
Conclusion
Taking care of your home does not have to be intimidating or overly expensive. Learning how to repair concrete block wall damage empowers you to protect your property safely and affordably.
By taking the time to clean the area, use the right materials, and follow these simple steps, you can achieve a professional-grade finish. You will save hundreds of dollars and gain serious confidence in your DIY skills.
Do not let those ugly cracks stress you out for another day. Grab your tools, put on your safety gear, and fix that wall this weekend!