

Dealing with a dark room because of a tripped switch is a headache we all know. Most of us just flip the switch back on and hope for the best. But what happens when the switch refuses to stay on?
Learning how to repair circuit breaker switches is an incredibly handy skill for any homeowner or renter. It sounds intimidating, but it is actually a straightforward project.
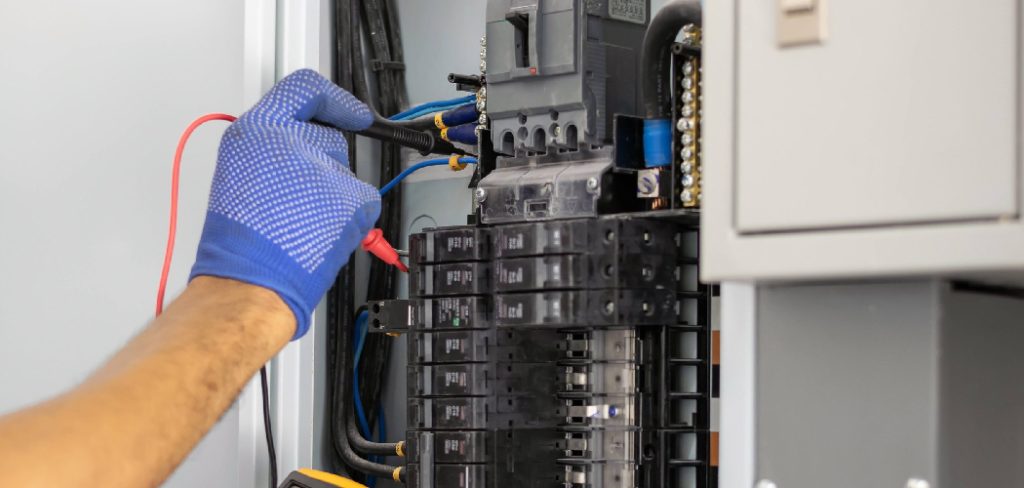
If you follow the right safety steps, fixing it yourself can save you a significant amount of money. You will not have to wait around all day for a pricey electrician to show up.
In this guide, we will walk you through the entire process like a helpful neighbor. You will learn exactly what to do, what tools you need, and how to stay perfectly safe.
Why You Need to Know How to Repair Circuit Breaker Panels
Every home has an electrical panel acting as the brain of the house. These panels protect your home from electrical fires by cutting power when a circuit overloads.
Over time, the physical breakers inside that panel can wear out or break entirely. When this happens, you lose power to essential appliances or entire rooms.
Calling a professional for such a quick swap often comes with hefty minimum service fees. Taking an hour to do it yourself keeps that money right in your pocket.
Plus, understanding your home’s electrical system gives you unmatched confidence. You will know exactly how to handle minor electrical hiccups in the future.
What Causes This Problem?
Before diving into repairs, it helps to know why your breaker failed in the first place. Breakers usually fail for a few specific reasons.
Here are the most common culprits behind a faulty circuit breaker:
- Overloaded Circuit: Plugging too many heavy appliances into one room draws more power than the breaker can handle.
- Short Circuit: A hot wire touches a neutral wire somewhere in your walls, creating a massive current spike.
- Ground Fault Surges: Similar to a short, this happens when a hot wire touches a ground wire or the metal box.
- Old Age and Wear: Like any mechanical device, breakers simply wear out after decades of flipping on and off.
- Loose Connections: Wiring that vibrates loose over time can cause arcing, which melts the breaker internals.
- Water Damage or Corrosion: Moisture in the basement or garage can rust the panel and ruin the breaker connections.
Tools and Materials Needed
You do not need a massive toolbox to fix this issue. Just a few basic, reliable tools will get the job done safely.
Gather everything on this list before you even think about touching the electrical panel.
- Replacement Circuit Breaker: Check the brand, amperage (like 15A or 20A), and type of your old breaker. You must buy an exact match.
- Digital Multimeter or Voltage Tester: This is non-negotiable for verifying that the power is totally off.
- Insulated Screwdrivers: You will need both flathead and Phillips head drivers with rubberized grips.
- Flashlight or Headlamp: Since you will turn off the main power, the room will likely be dark.
- Safety Glasses: Protect your eyes from any potential sparks or debris.
- Rubber-soled Shoes: Wear sturdy sneakers or work boots to keep yourself grounded.
- Work Gloves: Thick leather or rubber electrical gloves add a great layer of protection.
Step-by-Step Guide: How to Repair Circuit Breaker Switches Safely
Ready to get to work? This beginner-friendly guide will take you through every single step.
Take your time, breathe easy, and never rush when dealing with electricity. If you follow these directions carefully, you will have your power back in no time.
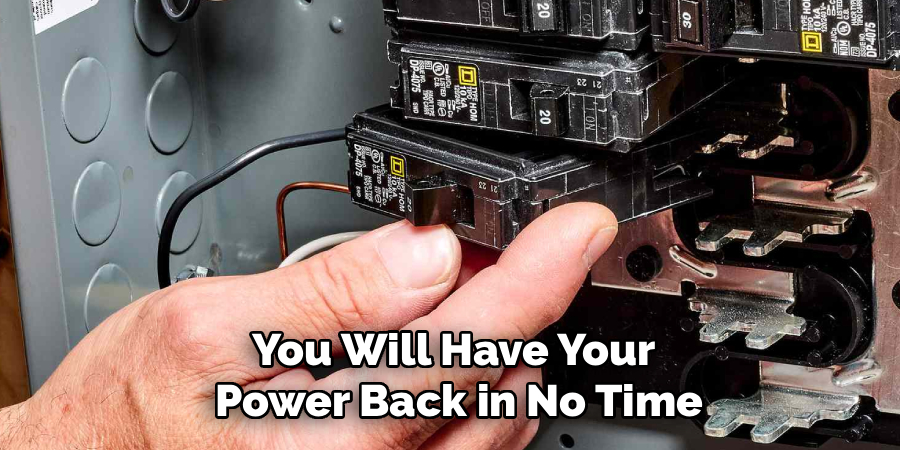
Step 1: Turn Off the Main Power Supply
Safety always comes first in any electrical repair. You must shut off the power to the entire house before opening the panel.
Locate the main breaker, which is usually a large switch at the very top or bottom of the panel. Flip this main switch to the “OFF” position.
Keep in mind that the lugs connecting to this main breaker from the street remain live. Do not touch anything near the main power wires.
Step 2: Remove the Electrical Panel Cover
With the main power off, it is time to open the panel. Put on your safety glasses and grab your insulated screwdriver.
Carefully remove the screws holding the metal panel cover in place. Leave the middle screws for last to prevent the heavy cover from dropping.
Hold the cover firmly with one hand while backing out the final screws. Set the cover and the screws aside in a safe spot.
Step 3: Verify the Power is Completely Off
Never trust a switch implicitly. You must physically test the breaker to ensure no electricity is flowing.
Take your digital multimeter or non-contact voltage tester. Touch it to the screw terminal on the broken breaker you plan to replace.
The tester should show absolutely zero volts. If it lights up or beeps, stop immediately and call a professional.
Step 4: Disconnect the Wire from the Bad Breaker
Now that you know the power is off, you can remove the attached wire. Find the terminal screw holding the black (or red) wire into the faulty breaker.
Use your insulated screwdriver to loosen this terminal screw. You do not need to take the screw out completely, just enough to free the wire.
Carefully pull the wire out of the breaker terminal. Bend it slightly out of the way so it does not touch other components.
Step 5: Remove the Faulty Breaker
Taking the old breaker out requires a specific rocking motion. Look closely at how the breaker sits on the panel’s metal bus bar.
Grab the breaker firmly with your fingers. Pivot the side of the breaker that points toward the center of the panel outward.
It should unsnap from the center bus bar with a firm tug. Once the center side is free, unhook the outer edge from the retaining clip and pull it out.
Step 6: Install the Replacement Breaker
Grab your brand new replacement breaker and ensure the switch is flipped to the “OFF” position.
Hook the outer edge of the new breaker into the panel’s retaining clip first. This acts as a hinge for the next step.
Firmly press the inner side of the breaker down onto the center metal bus bar. You should hear a distinct click when it locks securely into place.
Step 7: Reconnect the Wire and Secure the Panel
Take the wire you set aside earlier and push the bare copper end into the new breaker’s terminal.
Tighten the terminal screw firmly using your insulated screwdriver. The connection needs to be tight, but do not strip the screw.
Carefully place the metal panel cover back onto the box. Reinstall all the screws, making sure the switches line up with the cover cutouts.
Step 8: Restore the Power
You are almost at the finish line. Step to the side of the panel, rather than standing directly in front of it.
Flip the main breaker switch back to the “ON” position to restore power to the house.
Finally, flip your newly installed circuit breaker to the “ON” position. Test the room or appliance to ensure everything works perfectly.
Crucial Safety Warnings You Cannot Ignore
Electricity is completely safe when respected, but it is unforgiving if you get careless. Keep these safety tips in mind.
First, always use the “one-hand rule” when working inside an electrical box. Keep your other hand in your pocket to prevent current from passing across your chest.
Never work on an electrical panel if the floor is damp or wet. Put down a dry rubber mat or thick piece of dry plywood to stand on.
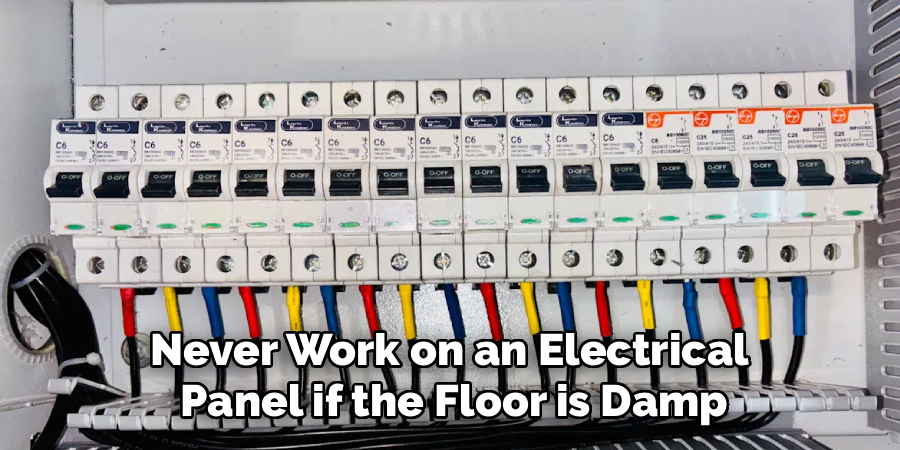
Finally, remember that the large wires feeding the main breaker are always live. Never touch the main service wires coming into your house from the utility meter.
When to Call a Professional
DIY is fantastic, but a smart homeowner knows when to pass the baton to an expert. Some situations are simply too dangerous.
If your panel is rusted, severely corroded, or shows signs of scorch marks, call an electrician. These are signs of massive underlying issues.
You should also hire a pro if your home has older aluminum wiring or a fuse box instead of modern breakers.
Lastly, if you replace the breaker and it instantly trips again, stop. You likely have a severe short circuit hidden in your walls that needs professional tracking.
Cost Estimate: DIY vs. Professional Electrician
Saving money is one of the best parts of tackling home repairs yourself. Let us break down the numbers.
If you buy a standard 15-amp or 20-amp breaker from a hardware store, it usually costs between $5 and $15. Add another $20 if you need to buy a basic voltage tester.
Hiring a professional electrician tells a very different story. They typically charge a minimum call-out fee just to show up, often between $100 and $150.
Once you factor in their markup on parts and hourly labor, a pro repair will easily cost $150 to $250. DIY saves you over a hundred dollars for a 15-minute job.
Frequently Asked Questions
Can I replace a 15-amp breaker with a 20-amp breaker?
No, you should never do this. Putting a 20-amp breaker on a 15-amp wire allows too much current to flow, which can easily start an electrical fire inside your walls.
How do I know if my circuit breaker is bad?
A bad breaker will often feel loose or sloppy when you flip it. It might also have a burnt smell, feel hot to the touch, or fail to reset entirely.
Do I need to turn off the main breaker to change a single breaker?
Yes. While professional electricians sometimes work on “hot” panels, a DIYer should always turn off the main power supply to eliminate the risk of severe shock.
Can I mix and match breaker brands?
Generally, no. You should always use the specific brand and type of breaker that matches your electrical panel. Using the wrong brand can lead to a loose fit and arcing.
How long does a circuit breaker last?
Most modern circuit breakers will last anywhere from 30 to 40 years. However, frequent power surges or a humid environment can shorten their lifespan significantly.
Conclusion
Learning how to repair circuit breaker panels is an incredibly rewarding project. It takes the mystery out of your home’s electrical system.
By taking your time, verifying the power is off, and swapping the hardware carefully, you can restore power safely. You also keep a good chunk of cash in your wallet.
Remember, safety is your top priority. If things look overly complicated once you open the panel, there is zero shame in closing it up and making a phone call.
Ready to tackle more home fixes? Grab a voltage tester today and start getting comfortable with your electrical panel!