

Finding a water stain on your ceiling is never a fun surprise.
If you own a home here in Forsyth County, you know our weather can be unpredictable. Heavy spring downpours and humid summers take a toll on our houses.
You might be wondering how to repair a roof leak in Cumming GA without emptying your wallet. The good news is that many minor leaks are completely manageable on your own.

Fixing it yourself saves you hundreds of dollars in labor costs. You also get the satisfaction of protecting your own home.
In this guide, we will walk through exactly what you need to do to find and fix that pesky leak. Grab your work gloves, and let us get started.
What Causes This Problem?
Before fixing the issue, we need to understand why it happened.
Roofs in our area face specific challenges due to local weather and tree coverage. Here are the most common culprits behind water sneaking into your house:
- Wind and Storm Damage: Strong gusts blowing off Lake Lanier can lift or tear shingles off your house.
- Damaged Flashing: The metal strips around your chimney or vents often rust or pull away over time.
- Aging Materials: Asphalt shingles become brittle and crack after years of baking in the Georgia sun.
- Clogged Gutters: Pine needles build up quickly, causing water to back up under the roofline.
- Tree Damage: Overhanging branches scrape against the surface, wearing away the protective granules.
Tools & Materials Needed
Preparation is the secret to a smooth DIY project.
You do not want to be stuck up high without the right gear. Gather these items from your local hardware store before you start working.
Materials:
- Replacement shingles (matched to your current color)
- Asphalt roofing cement or sealant
- Roofing nails (usually 1 ¼ inch galvanized)
- Underlayment patching material (if needed)
Tools:
- A sturdy extension ladder
- A flat pry bar (wonder bar)
- A hammer
- A utility knife with a sharp hook blade
- A caulking gun
Safety Gear:
- Rubber-soled work boots for traction
- Heavy-duty work gloves
- Safety glasses
- A safety harness (highly recommended)
The First Phase: How to Repair a Roof Leak in Cumming GA by Finding the Source
You cannot fix a problem if you do not know where it is.
Finding the entry point is often the hardest part of the entire job. Water is tricky and rarely drips straight down from the hole.
It usually travels along rafters or decking before finally dropping onto your ceiling.
Inspecting the Attic
Start your hunt inside the house.
Grab a bright flashlight and head up into your attic space. Look for water stains, dark spots, or mold on the wood overhead.
If it is currently raining, simply look for the active drip.
Measuring and Marking
Once you spot the wet wood, trace it back to the highest point of moisture.
Take a measurement from a fixed point, like a chimney or vent pipe. This helps you find the exact spot once you get on top of the house.
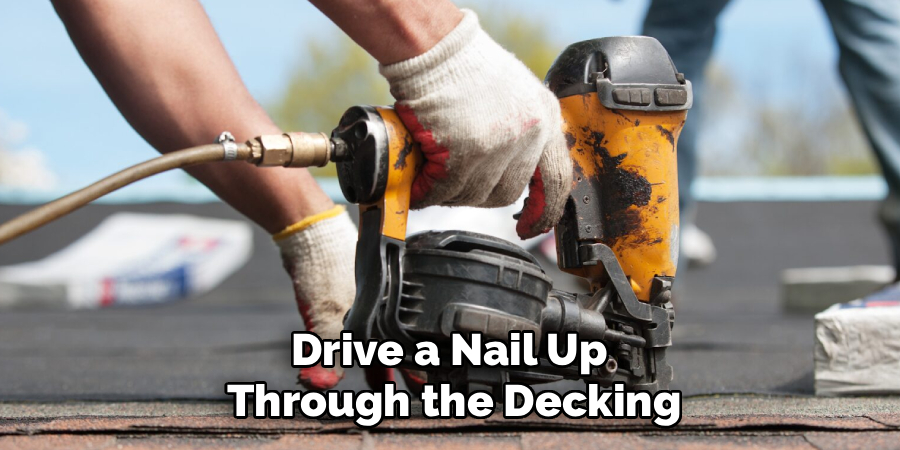
Drive a nail up through the decking so it pokes outside, making it easy to spot.
Step-by-Step Fix Guide
Now comes the hands-on part of the project.
Wait for a completely dry day before attempting these steps. Working on a wet surface is extremely dangerous.
Follow these numbered instructions to fix the issue permanently.
Step 1: Loosen the Shingles
Locate the damaged area using the nail you pushed through from the attic.
You need to remove the broken material, but the pieces above it overlap. Slide your flat pry bar under the bottom edge of the row directly above the damage.
Gently lift up to break the tar seal without tearing the good material.
Read More: How To Repair Splintered Wood Deck.
Step 2: Remove the Nails
Once the seal is broken, slide the pry bar further up to reach the nails.
Carefully pry the nails out of the damaged shingle. You also need to remove the nails from the row immediately above it.
Pull the broken piece out and set it aside.
Step 3: Inspect the Underlayment
Look at the black tar paper (underlayment) exposed underneath.
If it is torn or severely rotted, cut out a neat square using your utility knife. Cut a new patch of underlayment that is slightly larger than the hole.
Nail the new patch down and seal the edges with roofing cement.
Step 4: The Core Fix: How to Repair a Roof Leak in Cumming GA With New Shingles
Take your fresh replacement shingle and slide it up into place.
Make sure it aligns perfectly with the surrounding rows. Lift the flap of the row above it so you can drive your nails in.
Use four roofing nails per shingle, placing them exactly where the old nails were.
Step 5: Seal the Deal
Nailing it down is not quite enough to stop wind-driven rain.
Take your caulking gun loaded with asphalt roofing cement. Apply a quarter-sized dab of cement under the bottom corners of the new shingle.
Press it down firmly to create a tight, waterproof bond.
Read More: How to Repair PVC Pipe Leak.
Step 6: Secure Surrounding Areas
Do not forget about the pieces you loosened in Step 1.
Apply small dabs of roofing cement under their tabs as well. Press them flat against the new surface.
This ensures everything lays completely flat and resists future high winds.
Safety Warnings
Your personal safety is far more important than saving a few dollars.
Never walk on a steep incline if you feel unbalanced or dizzy. Always wear rubber-soled shoes to maximize your grip on asphalt granules.
Avoid working early in the morning when morning dew makes surfaces incredibly slick.
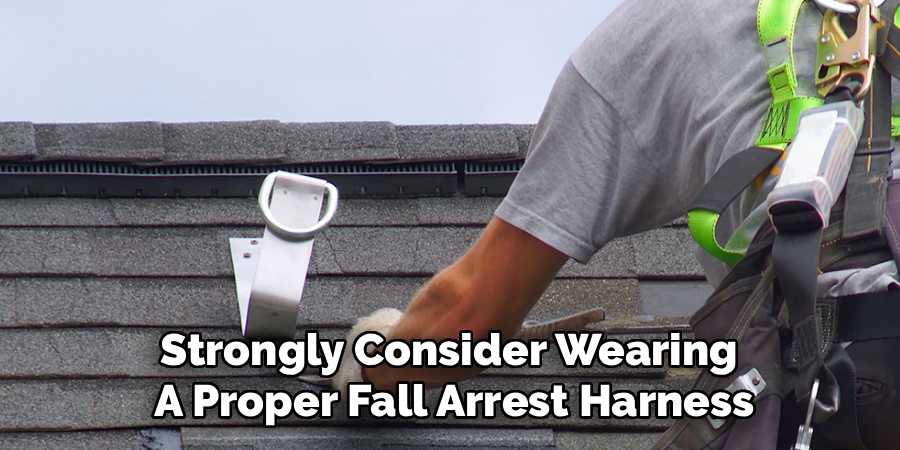
Always have a spotter on the ground holding the ladder steady for you. If your house is two stories high, strongly consider wearing a proper fall-arrest harness.
Keep an eye out for power lines when moving your ladder around the yard.
When to Call a Professional
DIY is great, but it has sensible limits.
You should know when a project requires professional expertise. If the pitch of your structure is extremely steep, stay off it entirely.
Call a local Forsyth County contractor if you notice large sections of rotted wood decking.
Extensive damage from a fallen tree also requires a structural assessment. If the leak originates around a complex chimney or skylight, flashing repairs get complicated quickly.
Be honest with yourself about your comfort level and physical ability.
Cost Estimate
Handling this project yourself keeps costs incredibly low.
A bundle of replacement shingles costs around $35 to $45. A tube of quality sealant runs about $10, and a small box of nails is $5.
Your total DIY cost will likely stay under $75.
Hiring a professional contractor changes the math significantly. Most companies charge a minimum service fee just to come to your house.
A standard professional patch job typically runs between $300 and $800, depending on severity.
Frequently Asked Questions
Can I fix a roof leak from the inside?
No, you cannot permanently stop water from the inside. You can put a bucket down or apply a temporary patch, but the exterior must be sealed.
Does homeowners insurance cover this?
It depends on the cause of the damage. Sudden storm damage is usually covered, but normal wear and tear from age is generally not.
How long does a DIY repair last?
If you use proper materials and seal everything correctly, a patch can last for years. It should hold up just as long as the surrounding materials.
Should I use a tarp?
A tarp is an excellent temporary fix if a storm is approaching. Use furring strips and nails to secure it tightly until you can do a permanent fix.
Conclusion
Taking care of your home does not have to be intimidating.
By following these simple steps, you can confidently handle minor exterior maintenance yourself. You now know exactly how to repair a roof leak in Cumming GA safely and effectively.
Tackling this project quickly prevents costly water damage to your drywall and insulation.
Remember to take your time, prioritize safety, and wait for dry weather before climbing the ladder.
If you found this guide helpful, check out our other home maintenance articles to keep your property in top shape!