

Finding a leak under your house can easily ruin your weekend. If you have an older home, you might be staring at a cracked plumbing line.
You might feel a sudden wave of panic about massive plumbing bills. But you do not always need to call an expensive plumber right away.
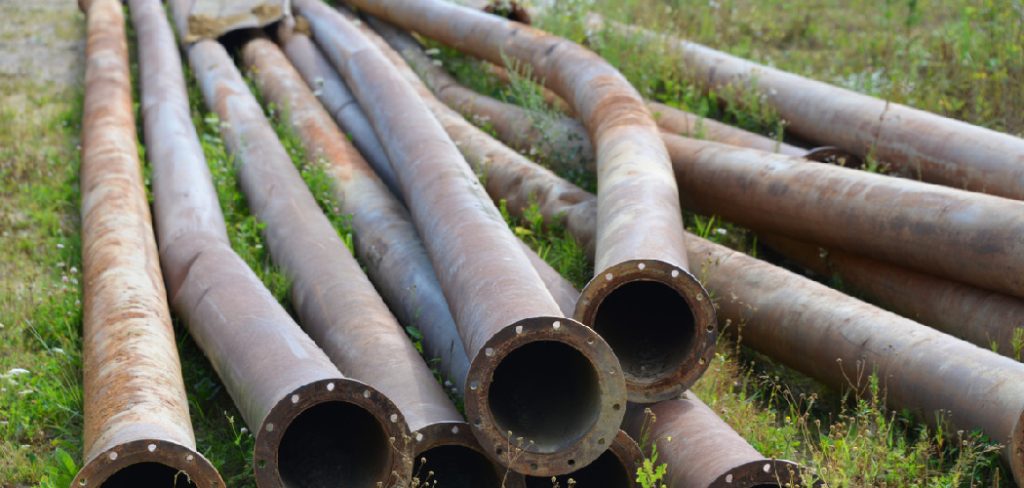
Learning how to repair cast iron pipe yourself is completely doable for most homeowners. You just need a little patience and the right tools.
Fixing it yourself keeps hard-earned cash in your wallet. It also gives you a huge sense of accomplishment. We are going to walk through this together, step by step.
What Causes Cast Iron Pipes to Fail?
Before you fix the problem, it helps to know why it happened. Cast iron is incredibly tough, but it does not last forever.
Over decades of use, these durable fixtures face a lot of wear and tear. Here are the most common reasons they break down:
- Internal Rust and Corrosion: Water naturally eats away at iron over time. This creates rust that thins the metal from the inside out.
- Tree Root Intrusion: Tiny roots seek out moisture. They can squeeze into small joints and crack the metal as they grow.
- Shifting Soil: The ground under your home moves over time. This puts heavy stress on rigid plumbing lines, causing them to snap.
- Chemical Drain Cleaners: Harsh liquid drain clearers create chemical reactions. These eat away at the heavy metal walls, leading to weak spots.
- Natural Aging: Most original iron plumbing was rated for 50 to 100 years. If your home was built before 1980, your plumbing is simply reaching its retirement age.
Essential Tools and Materials Needed
You cannot start a repair without gathering your supplies first. Having everything within reach makes the job much smoother.
You can find all of these items at your local hardware store. Here is what you need to pick up:
- Heavy-duty rubber gloves and safety glasses.
- A wire brush and coarse sandpaper.
- Clean rags or heavy-duty paper towels.
- A cast iron pipe cutter (you can often rent this tool).
- Flexible rubber couplings (Fernco fittings) matching your pipe size.
- Plumber’s epoxy putty (for minor hairline cracks).
- A socket wrench or nut driver.
- A tape measure and a permanent marker.
- Replacement PVC pipe (if cutting out a large broken section).
Step-by-Step Guide: How to Repair Cast Iron Pipe
Tackling this project is all about taking things one step at a time. Do not rush the process.
We will look at two different methods. The first is for small hairline cracks. The second is for replacing a badly damaged section.
Method 1: Fixing Minor Cracks with Plumber’s Epoxy
If you only have a tiny drip or a small crack, epoxy is your best friend. It is a fast, reliable fix for minor issues.
Step 1: Turn Off the Water
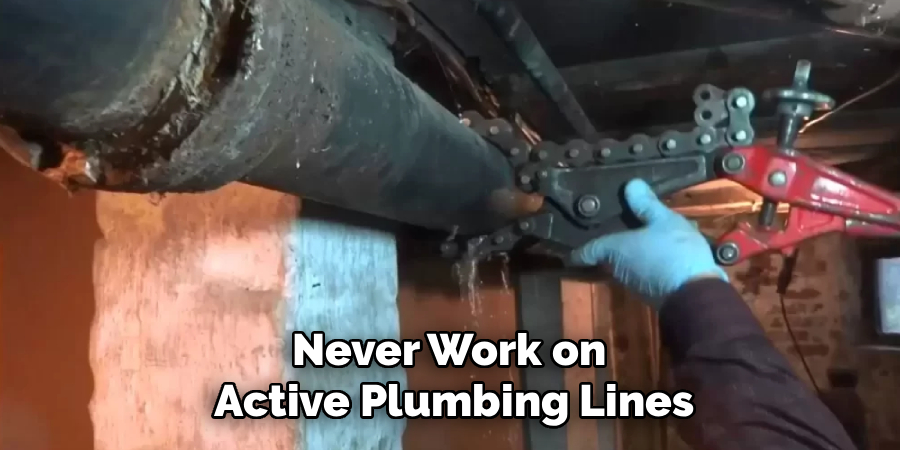
Never work on active plumbing lines. Shut off the main water valve to your house. Flush your toilets and open your faucets to drain the remaining water.
Step 2: Clean the Surface
Epoxy needs a completely clean surface to stick properly. Grab your wire brush and aggressively scrub the cracked area. Remove all rust, dirt, and peeling paint.
Step 3: Sand and Wipe
Follow up with coarse sandpaper to rough up the metal. This gives the putty something to grip. Wipe the area completely dry with a clean rag.
Read More: How to Repair PVC Pipe Leak.
Step 4: Mix the Epoxy
Put on your rubber gloves. Cut off a piece of the plumber’s epoxy putty. Knead it in your fingers until the two colors blend into a solid, uniform color.
Step 5: Apply the Patch
Press the mixed putty firmly over the crack. Push it down so it fills the gap completely. Smooth out the edges so it wraps nicely around the surface.
Step 6: Let it Cure
Read the packaging on your putty for exact drying times. Most brands take about an hour to harden like steel. Do not turn the water back on until it is fully cured.
Method 2: Replacing a Damaged Section
Sometimes a pipe is too rotten for a simple patch. When this happens, learning how to repair cast iron pipe means cutting out the bad part.
Step 1: Mark the Cut Lines
Locate the damaged section. Use your tape measure and marker to draw lines a few inches past the damage on both sides. You want to cut into healthy metal.
Read More: How to Repair Peeling Auto Paint.
Step 2: Support the Pipe
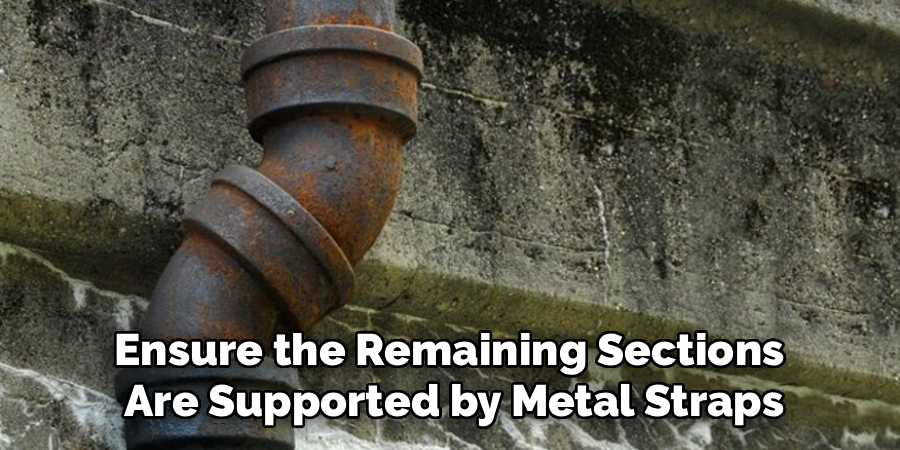
Cast iron is incredibly heavy. Before you cut, ensure the remaining sections are supported by metal straps. You do not want the heavy line crashing down on you.
Step 3: Make the Cuts
Wrap the chain of your rented soil pipe cutter around the first mark. Tighten the tool until the pressure snaps the metal cleanly. Repeat this process on your second mark.
Step 4: Remove the Bad Section
Carefully pull out the broken piece of metal. Set it aside out of your way. Be careful, as the freshly cut edges will be very sharp.
Step 5: Measure Your Replacement
Measure the empty gap you just created. Cut a piece of replacement PVC pipe to exactly match that length. PVC is much easier to work with than heavy metal.
Step 6: Slide on the Couplings
Take your flexible rubber couplings and slide one onto each end of the old iron. Loosen the metal bands on the couplings so they slide on easily.
Step 7: Insert the New PVC
Slide your new PVC section into the gap. Pull the rubber couplings over the joints. The coupling should cover half of the iron and half of the PVC.
Read More: How to Repair Water Damaged Drywall.
Step 8: Tighten the Clamps
Use your socket wrench to tighten the metal bands on the couplings. Make them as tight as you possibly can. This creates a watertight seal.
Step 9: Test for Leaks
Turn your main water supply back on. Run water through the repaired line. Watch the new joints closely for several minutes to ensure nothing is dripping.
Important Safety Warnings
Working with old plumbing carries a few specific risks. Your safety is always the most important part of any DIY project.
First, cast iron is heavy. If you are cutting a vertical stack, a falling section can cause serious injury. Always strap everything securely to the framing.
Second, the edges are razor-sharp after cutting. Never run your bare hands over a fresh cut. Always wear heavy-duty work gloves.
Finally, old sewer lines contain harmful bacteria. Wear protective glasses so nothing splashes in your eyes. Wash your hands thoroughly immediately after you finish the job.
When to Call a Professional
DIY repairs are fantastic, but you have to know your limits. Some jobs are simply too big for a weekend warrior.
If the damage spans several feet or runs directly into your concrete foundation, stop. You need heavy machinery and professional permits for that kind of work.
You should also call a pro if the pipe is completely crumbling. If your pipe shatters into dust when you try to cut it, the whole system likely needs replacing.
Do not hesitate to call a plumber if you feel overwhelmed. It is better to pay for a proper repair than to accidentally flood your basement.
Rough Cost Estimate: DIY vs. Pro
Money is usually the biggest reason people choose to do things themselves. The savings on this project are incredibly impressive.
If you patch a crack with epoxy, your total cost will be around $10 to $15. It is the cheapest fix available.
If you replace a section using rubber couplings and PVC, expect to spend about $50 to $80. Renting a pipe cutter might add another $30 to your total.
Hiring a professional plumber tells a different story. For a simple section replacement, you will likely pay between $300 and $600. If the fix is complex, it can easily exceed $1,000.
Frequently Asked Questions
Can I use flex seal on a cast iron pipe?
No, spray sealants are not meant for pressurized plumbing lines or heavy sewer stacks. They might stop a drip for a day, but they are not a permanent or code-compliant fix.
How long does plumber’s epoxy last?
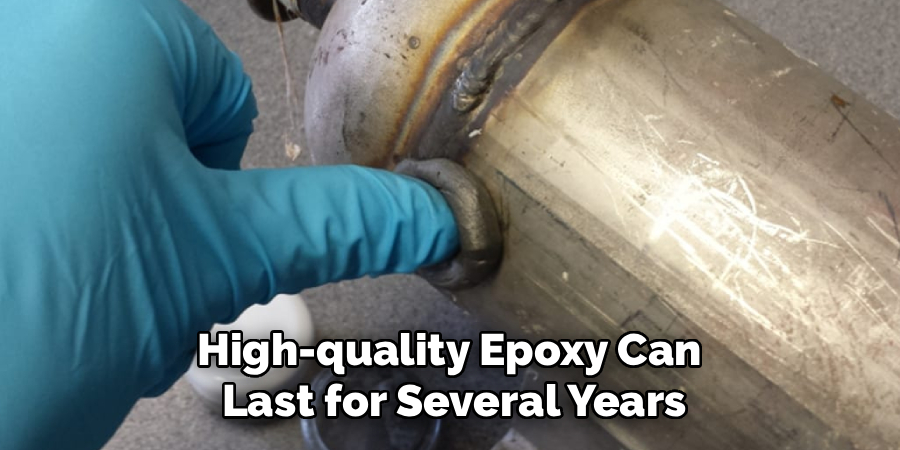
When applied correctly to a clean surface, high-quality epoxy can last for several years. However, it is generally considered a temporary fix until the section can be fully replaced.
Is it safe to connect PVC to cast iron?
Yes, it is completely safe and standard practice today. You must use the proper shielded rubber transition couplings to ensure a tight, leak-proof seal between the two different materials.
Why do my old pipes keep cracking?
If your plumbing is over 50 years old, the metal is likely reaching the end of its lifespan. Constant expanding and contracting over decades simply wears the material out.
Do I need a permit for this repair?
For minor patches or swapping a small section in an exposed basement, usually no. However, always check your local building codes, especially if you are touching the main sewer line.
Conclusion
Dealing with a broken plumbing line does not have to be a nightmare. You now have the knowledge you need to handle this problem with confidence.
By understanding how to repair cast iron pipe, you are taking control of your home’s maintenance. You are saving hundreds of dollars while learning a highly valuable new skill.
Take your time, buy the right materials, and prioritize safety above all else. Your plumbing will be flowing perfectly again before you know it.
Ready to tackle more home fixes? Check out our other DIY repair guides and become the ultimate handyman in your neighborhood today!