

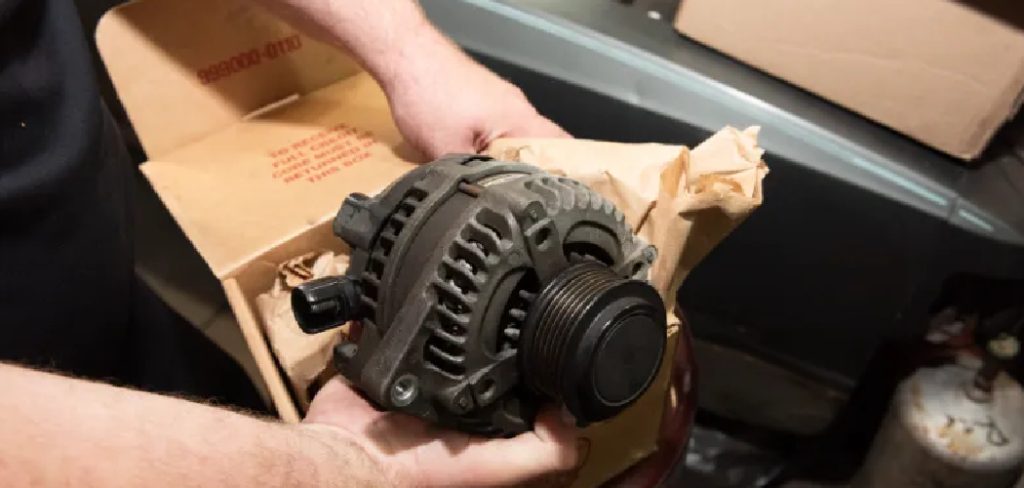
That dim dashboard light or sluggish engine start might be trying to tell you something. When your battery keeps dying or your headlights flicker, the culprit often sits quietly under your hood: a failing alternator. The good news? You don’t always need a mechanic to fix it. With a few tools, some patience, and a steady hand, you can repair an alternator right in your own driveway.
This part keeps your battery charged and powers your car’s electrical system while the engine runs. When it fails, everything suffers. Tackling the job yourself saves money and builds real confidence. This guide walks you through how to repair an alternator, step by step, so you can diagnose the problem, swap worn parts, and get back on the road with a healthy charging system.
Why Repairing Your Alternator Matters
A working alternator does more than charge your battery. It powers your lights, radio, dashboard, and dozens of small systems your car relies on every single drive. When it starts to fail, you’ll notice the warning signs fast: dimming lights, strange whining sounds, or a battery drain that leaves you stranded.
Learning this skill puts you in control. Instead of paying a shop hundreds of dollars, you handle the repair on your own schedule. You also learn how your car’s electrical system actually works, which helps you spot other problems early.
For homeowners, renters, and weekend DIYers, that knowledge is gold. A reliable vehicle means fewer surprises, lower costs, and the satisfaction of fixing something with your own two hands.
Tools and Materials You’ll Need
Before you start, gather everything so you’re not running back and forth mid-job. Having the right gear makes the work smoother and safer.
- Socket and wrench set (metric and standard)
- Screwdrivers (flathead and Phillips)
- Multimeter or voltmeter for testing
- Replacement parts: voltage regulator, diodes, brushes, or bearings
- Wire brush for cleaning corroded contacts
- Penetrating oil for stubborn bolts
- Safety gloves and eye protection
- Shop rag and cleaning solution
- Service manual for your specific vehicle
- Optional: A bench vise to hold the alternator steady while you open it up
Most of these tools live in a basic home garage already. If you’re missing the replacement parts, match them to your exact alternator model before buying.
Step-by-Step Guide on How to Repair an Alternator
Step 1 – Confirm the Alternator Is the Problem
Don’t tear anything apart until you’re sure. Start your engine and grab your multimeter. Touch the probes to your battery terminals while the engine runs. A healthy charging system reads between 13.8 and 14.5 volts.
If the number sits below 13 volts, your alternator likely isn’t doing its job. Listen for a faint whining or grinding sound near the front of the engine, too. That noise often points to worn bearings inside.
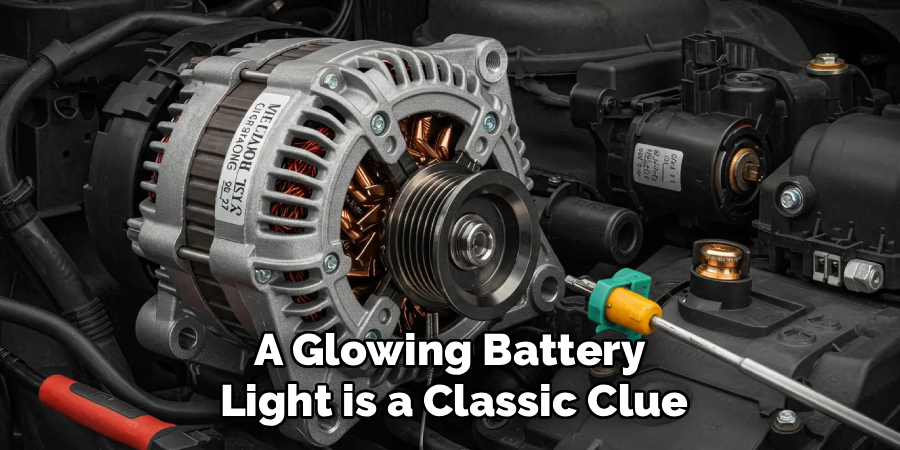
Also watch your dashboard. A glowing battery light is a classic clue. Confirming the issue first saves you from wasting hours chasing the wrong fix and replacing healthy parts you didn’t need to touch.
Step 2 – Disconnect the Battery
Safety comes first, always. Before you touch a single bolt on the alternator, kill the power. Pop the hood, find your battery, and loosen the nut on the negative terminal with a wrench.
Slide the black cable off and tuck it aside so it can’t spring back and touch the post. This simple move protects you from shocks and prevents accidental short circuits that could fry your car’s electrical system.
You’ll feel better working knowing there’s no live current flowing. Take a moment to inspect the battery terminals while you’re here. If you spot white, crusty corrosion, give them a quick scrub with your wire brush.
Step 3 – Locate and Remove the Serpentine Belt
Now find the serpentine belt. It’s the long rubber band looping around several pulleys at the front of your engine. The alternator pulley is one of them.
Most cars have a spring-loaded tensioner. Fit a wrench or breaker bar onto it and push to release the tension. You’ll feel the belt go slack. Carefully slip the belt off the alternator pulley and let it hang.
Before you go further, snap a quick photo of how the belt routes around everything. That picture becomes your roadmap when it’s time to put things back. A misrouted belt can cause squealing, overheating, or a no-start situation, so this little step matters more than it seems.
Step 4 – Unbolt and Remove the Alternator
With the belt off, you can free the alternator itself. First, disconnect the wiring. There’s usually a main power cable held by a nut and a small electrical plug. Pull them off gently and remember where each goes.
Next, locate the mounting bolts. These hold the unit firmly to its bracket. Spray them with penetrating oil if they feel stuck, then loosen with your socket set. Some bolts hide in tight spots, so take your time and use an extension if needed.
Once the bolts are out, lift the alternator free. It’s heavier than it looks, so keep a solid grip. Set it on your workbench where you’ve got room to open it up.
Step 5 – Open the Housing and Inspect Internal Parts
Time to see what’s really going on inside. Clamp the unit in your bench vise if you have one. Remove the through-bolts on the back and gently pry the two halves apart.
Look closely at the brushes, the small carbon contacts that ride against the rotor. Worn brushes are a common failure. Check the bearings by spinning the rotor; a rough or gritty feel means they’re shot.
Inspect the voltage regulator and the diodes in the rectifier, too. Burnt smells, blackened spots, or melted plastic are dead giveaways. Take note of every worn part. This is the heart of how you repair an alternator successfully, since spotting the real cause saves you from guessing.
Step 6 – Replace the Worn Components
Now swap out whatever failed. If the brushes are short or chipped, unsolder the old ones and fit the new set. Work slowly with your soldering iron so you don’t damage nearby connections.
For bad bearings, press out the old ones and seat the new ones snugly. A faulty voltage regulator simply unbolts and replaces with a matching unit. Burnt diodes call for a new rectifier assembly.
Match every replacement part to your alternator’s exact model. The smell of fresh metal and clean components tells you you’re back on track. Double-check each connection is tight and seated properly. Loose work here leads to repeat failures, and you don’t want to open this housing twice.
Step 7 – Reassemble the Alternator
With fresh parts installed, put the unit back together. Line up the two housing halves carefully so the rotor and stator sit properly. The rotor should spin freely without scraping.
Slide the through-bolts back in and tighten them evenly in a crisscross pattern. This keeps pressure balanced and prevents binding. Give the shaft another spin to confirm everything turns smooth and quiet.
Wipe down the exterior with your shop rag so it goes back clean. A tidy unit makes it easier to spot future leaks or wear. Take one last look at your wiring posts and connection points to be sure nothing’s loose. Solid reassembly now means a quiet, reliable charging system later.
Step 8 – Reinstall and Reconnect Everything
Lower the alternator back onto its bracket and line up the mounting holes. Thread the bolts by hand first, then tighten with your socket set so the threads don’t cross.
Reconnect the main power cable and the small electrical plug. Make sure each one clicks or seats firmly. Now route the serpentine belt back exactly as your photo showed. Use the tensioner to slip it over the alternator pulley, then release for proper tension.
Finally, reconnect the negative battery cable and tighten the terminal. Start your engine and check your multimeter reading again. Seeing 14 volts means you successfully managed to repair an alternator and your charging system is alive once more.
Critical Mistakes When Repairing an Alternator
Even careful DIYers slip up, so learn from the most common errors before they cost you. The biggest mistake is skipping the battery disconnect. Working on a live system risks a nasty shock and can short out delicate electronics in your car’s electrical system. Always pull that negative cable first, no shortcuts.
Another frequent error is misrouting the serpentine belt during reinstallation. If the belt doesn’t follow the original path, it can slip, squeal, or fail to drive the pulleys correctly. That photo you took earlier exists for exactly this reason, so use it.
Many people also buy the wrong replacement parts. A voltage regulator or rectifier that doesn’t match your model won’t seat right or perform correctly. Confirm the part numbers against your specific alternator before ordering anything.
Overtightening bolts ranks high on the list too. Crank them down too hard and you’ll strip threads or crack the housing. Snug them firmly but stop once they’re secure.
Finally, plenty of folks forget to test before declaring victory. Skipping the final voltage check leaves you guessing. A quick multimeter reading confirms the rotor, stator, and diodes are all doing their job.
Expert Tips
Want professional results? Start by cleaning every electrical contact you touch. Corrosion creates resistance, and resistance kills performance. A quick scrub with a wire brush goes a long way.
Keep your replacement parts organized in labeled bags as you remove them. This simple habit prevents that frustrating moment when you can’t remember where a bolt belongs.
When testing, check voltage both at idle and with the lights and radio on. A strong alternator holds steady under load. If the reading drops sharply, you may have a weak diode or a tired battery hiding the real problem.
Finally, inspect the serpentine belt itself while you’re in there. Cracks or glazing mean it’s near the end. Replacing it now saves you a roadside headache later, especially since you’ve already done the hard part.
Frequently Asked Questions
How do I know if my alternator is bad or it’s just the battery?
Test with a multimeter while the engine runs. A reading near 14 volts means the alternator works fine, so a dead battery is your issue. A reading below 13 volts points to alternator trouble. Other clues include:
- Dimming headlights while driving
- A glowing battery warning light
- Strange whining or grinding noises
Can I really repair an alternator myself without a mechanic?
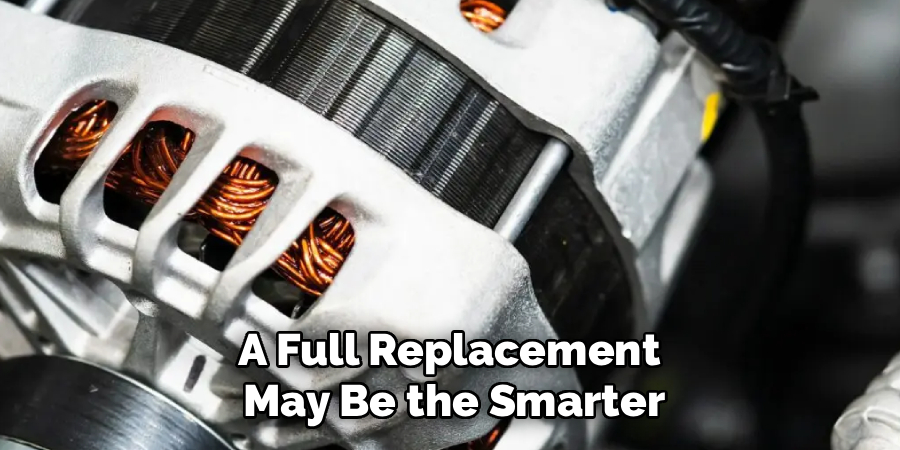
Yes, absolutely. Many alternator problems come down to worn brushes, bad bearings, or a faulty voltage regulator, all of which you can replace at home. You’ll need basic tools, a multimeter, and a little patience. If the housing is cracked or the rotor windings are burnt, though, a full replacement may be the smarter, safer choice.
How long does an alternator repair take?
For a confident DIYer, the whole job usually takes two to four hours. Diagnosis and removal eat up the first portion, while opening the unit and swapping parts fills the rest. First-timers should set aside extra time and avoid rushing. Working carefully prevents mistakes that force you to redo steps or order new parts later.
What causes an alternator to fail in the first place?
Several things wear it down over time. Heat and constant vibration take a toll on the bearings and brushes. Oil leaks can contaminate internal parts, while electrical surges fry the diodes or voltage regulator. A slipping serpentine belt also strains the system. Regular inspections help you catch a battery drain or worn part before it leaves you stranded.
Is it cheaper to repair or replace an alternator?
Repairing is usually cheaper if only one part failed, like the brushes or regulator. Replacement parts often cost a fraction of a whole new unit. However, if multiple components are damaged or the unit is old, a rebuilt or new alternator may be the better long-term value. Weigh the part costs against your time before deciding.
Conclusion
Fixing your own car doesn’t have to feel intimidating, and your alternator is proof. With a multimeter, a basic tool set, and the steps above, you’ve got everything you need to diagnose the problem, replace worn parts, and bring your charging system back to life.
Remember the essentials: confirm the issue first, disconnect the battery, and keep track of how everything fits together. Match your replacement parts carefully, test your work, and never skip that final voltage check. Those small habits separate a clean job from a frustrating do-over.
The best part is what you gain beyond the fix. You save real money, you understand your car’s electrical system better, and you walk away with skills that serve you for years. The next time those headlights flicker, you won’t panic. You’ll grab your tools and get to work.
So roll up your sleeves and give it a try. Once you repair an alternator yourself, you’ll wonder why you ever paid someone else to do it.