

A wobbly banister is more than an annoyance. It’s a safety risk that turns every trip up and down the stairs into a small gamble. The good news? You don’t need a contractor or a fat repair bill to fix it. With a few common tools and a free afternoon, you can repair a banister yourself and bring your staircase back to solid, sturdy life.
Maybe your handrail shifts when you lean on it, or a baluster rattles loose every time someone walks by. These are some of the most common stair problems homeowners face, and most have simple solutions. This guide walks you through how to repair a banister, step by step, in plain language anyone can follow, so you can restore safety and confidence to your stairs without the guesswork.

Why Repairing a Banister Matters
Your banister is the one thing standing between you and a nasty fall. When it loosens or cracks, it stops doing its job, and that puts everyone in your home at risk, especially kids and older family members who rely on the support.
Beyond safety, a shaky stair railing makes your whole home feel neglected. Loose spindles, a wiggly newel post, or a creaky handrail signal that something’s been ignored, and small problems tend to grow. A loose joint today can become a snapped baluster tomorrow.
Fixing it early saves you money, too. A quick tightening or a dab of wood glue costs almost nothing compared to replacing an entire staircase section later. Learning this skill puts you in control of your home’s upkeep and gives you real peace of mind.
Tools and Materials You’ll Need
Before you start, gather your supplies so you’re not running to the hardware store mid-project. Most of these items are inexpensive and worth keeping around for future fixes.
- Screwdriver set (both Phillips and flathead)
- Cordless drill with assorted bits
- Wood glue for tightening loose joints
- Wood screws in a few lengths
- Wood filler for cracks and old holes
- Clamps to hold glued pieces while they dry
- Rubber mallet for tapping balusters back into place
- Sandpaper (medium and fine grit)
- Damp cloth for cleanup
- Painter’s tape to protect finished surfaces
- Wood shims for filling gaps in loose joints
- Stud finder(optional, but handy for anchoring a newel post into framing)
Step-by-Step Guide on How to Repair a Banister
Step 1 – Inspect the Whole Staircase
Start by giving your entire staircase a good once-over. Grab the handrail and give it a firm shake, then move down the line and wiggle each baluster. Listen for creaks and feel for any give in the joints.
Pay close attention to the newel post at the bottom, since it carries most of the load. If it rocks, that’s likely your main culprit. Run your hand along the wood to spot hairline cracks or splinters you might have missed by sight alone.
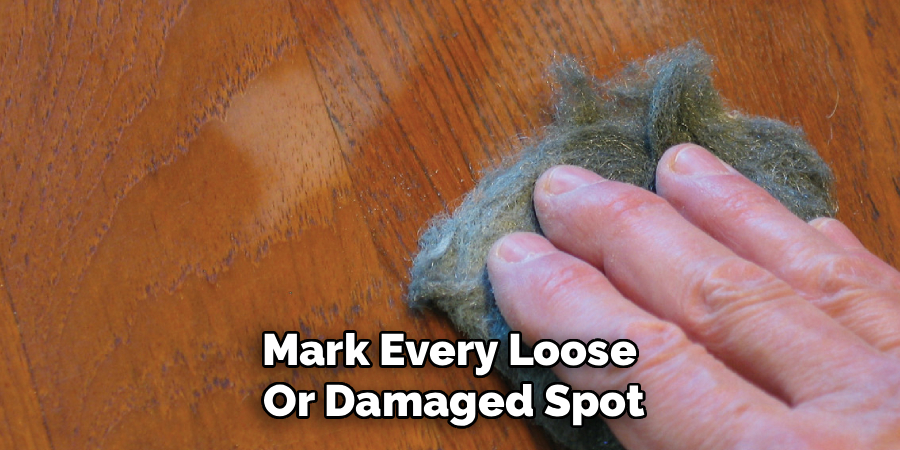
Mark every loose or damaged spot with painter’s tape as you go. This simple habit keeps you organized and makes sure nothing gets overlooked once you start the actual repair work.
Step 2 – Tighten All Loose Screws
Many wobbles come down to nothing more than loose screws. Before you reach for glue or replacement parts, grab your screwdriver and check every visible fastener along the railing and spindles.
Turn each screw clockwise until it feels snug, but stop before you strip the head. You’ll often feel the wood firm up right away, and a previously shaky section will suddenly hold steady. It’s a satisfying moment.
If a screw spins freely and won’t bite, the hole has likely worn out. Don’t force it. Make a note and come back to that spot in Step 4, where you’ll learn a quick trick to give the screw something solid to grip again.
Step 3 – Reglue Loose Balusters and Spindles
Spindles that rattle in their sockets need fresh adhesive. Gently work the loose baluster free, or pull it just enough to expose the joint where it meets the handrail or tread.
Scrape away any old, crumbly glue with a flathead screwdriver until you reach clean wood. Then squeeze a generous bead of wood glue into the socket. You’ll smell that familiar sharp scent as you work.
Press the spindle firmly back into place and wipe away the squeeze-out with a damp cloth. Use painter’s tape or a small clamp to hold it steady. To repair a banister properly, give the glue a full 24 hours to cure before putting any weight on it.
Step 4 – Fix Stripped Screw Holes
Remember those screws that wouldn’t catch? Here’s the fix. A stripped hole has lost its grip, but you can rebuild it in minutes.
Dip a few wooden toothpicks or a thin wood shim in glue, then push them into the worn hole until it’s packed tight. Snap off any excess flush with the surface and let the glue set for an hour.
Now drill a fresh pilot hole through the new wood and drive your screw back in. It’ll bite into solid material and hold firm. This old carpenter’s trick works surprisingly well and saves you from drilling awkward new holes that weaken the surrounding wood.
Step 5 – Stabilize a Wobbly Newel Post
The newel post anchors the entire railing, so a loose one makes everything feel unsafe. Look underneath or behind it to find the mounting hardware, which is often hidden by a decorative cap or trim.
If you find a lag bolt, tighten it with a wrench until the post stops rocking. If there’s no bolt, you may need to drill through the base and anchor it into the floor framing with a heavy-duty lag screw. A stud finder helps you hit solid wood.
Push and pull the post once you’re done. A secure newel post won’t budge, and you’ll instantly feel how much stronger the whole stair railing becomes.
Step 6 – Repair Cracks and Splits
Cracks in the wood weaken your handrail and look unsightly, but most are fixable. For a small split, work wood glue into the gap using a thin tool or even an old gift card.
Clamp the crack closed and wipe away the excess glue. For wider gaps or chips, press wood filler into the damaged area with a putty knife, slightly overfilling so you can sand it smooth later.
Let everything dry completely. The wait tests your patience, but rushing ruins the bond. Once cured, the repaired section should feel just as solid as the surrounding wood and disappear once you finish it.
Step 7 – Sand and Smooth Every Repair
Now comes the satisfying part. Run medium-grit sandpaper over any filled cracks, glued joints, or rough patches until they sit flush with the wood around them.
Switch to fine-grit paper for a final pass. Move with the grain, not against it, and you’ll feel the surface turn silky under your fingertips. Wipe away the dust with a damp cloth as you go.
Take your time around carved details and along the handrail, where your hands will notice every bump. A smooth finish here isn’t just about looks. It prevents splinters and gives you a clean base if you plan to repaint or restain the staircase afterward.
Step 8 – Test, Finish, and Clean Up
Before you call it done, give the whole banister a thorough test. Shake the handrail, push on each spindle, and rock the newel post. Everything should feel rock solid with zero movement.
If you sanded down to bare wood, apply a matching stain or a coat of paint to protect your repairs and blend them in. Brush thin, even layers and let each one dry fully.
Finally, peel off the painter’s tape, sweep up the dust, and put your tools away. Step back and admire your work. You just learned how to repair a banister from start to finish, and your staircase is safe, sturdy, and ready for daily use again.
Critical Mistakes When Repairing a Banister
Even simple repairs go sideways when you rush or skip steps. The most common mistake is not letting glue cure fully before testing the railing. Wood glue needs a solid 24 hours to reach full strength, and leaning on a fresh joint too soon breaks the bond before it sets. You’ll be back to square one, frustrated and wondering why your fix didn’t hold.
Another frequent error is over-tightening screws. It feels productive to crank them down hard, but you can easily strip the hole or split the wood. Once that happens, the screw loses its grip entirely and you’ve created a bigger problem than you started with. Stop the moment the joint feels snug.
Many people also ignore the root cause. They tighten a single screw without realizing the real issue is a loose newel post pulling the whole stair railing out of alignment. Treating symptoms instead of the source means the wobble returns within weeks.
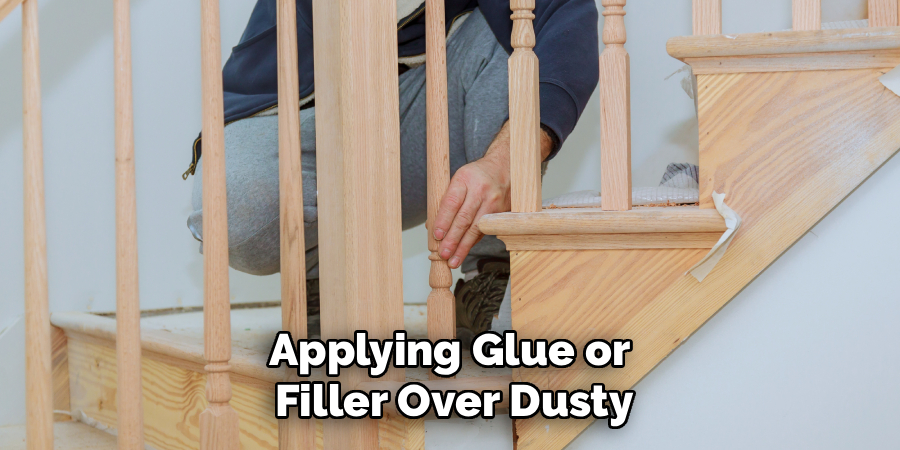
Finally, don’t skip surface prep. Applying glue or filler over dusty, greasy, or old crumbling adhesive guarantees a weak repair. Clean every joint down to bare, solid wood first, and your fixes will actually last.
Expert Tips
Want professional-grade results? Always drill a pilot hole before driving a screw into hardwood. It prevents splitting and lets the screw seat cleanly every time.
Keep a small notebook or your phone handy to snap photos before you disassemble anything. When it’s time to reassemble those balusters and spindles, you’ll know exactly where each piece belongs.
When gluing joints, less mess means a better finish. Wipe squeeze-out immediately with a damp cloth, because dried glue resists stain and leaves blotchy marks.
For an extra-solid newel post, anchor it into the floor framing rather than just the subfloor. The difference in stability is night and day. And finally, match your stain on scrap wood first so the repaired area blends seamlessly with the rest of your staircase.
Frequently Asked Questions
How long does it take to repair a banister?
Most basic fixes take one to three hours of hands-on work. Tightening screws and re-gluing a few spindles is quick. The real wait comes from drying time, since wood glue needs about 24 hours to cure fully. Plan for the project to span two days if you want every joint to reach maximum strength before you put weight on the railing.
Can I fix a wobbly banister without replacing it?
Yes, in most cases. A wobbly banister usually comes from loose screws, dried-out glue, or a shifting newel post, all of which you can fix without replacement. Replacement is only necessary when the wood is badly cracked, rotted, or broken beyond repair. Try tightening and re-gluing first, since these simple fixes solve the vast majority of wobble problems.
What kind of glue works best for stair railings?
A good-quality wood glue (PVA or polyurethane) is your best choice for most joints. Look for these features:
- Strong bond rated for interior wood
- Reasonable open time so you can position pieces
- Sandable, paintable finish once cured
For heavy structural joints near the newel post, pair the glue with screws or bolts for extra holding power.
Why does my newel post keep coming loose?
A newel post loosens when its anchor bolt backs out or when it was never secured into solid floor framing. Because it bears the load of the entire railing, repeated use slowly works it free. The lasting fix is to anchor it firmly into a floor joist or framing member with a heavy lag screw, not just into the subfloor.
Do I need special skills to repair a banister?
Not at all. Basic comfort with a screwdriver and drill is enough for most repairs. The steps are straightforward, and the tools are common household items. Take your time, follow each step in order, and let glue dry properly. Patience matters far more than skill here, making this a perfect first project for beginner DIYers.
Conclusion
A safe, sturdy staircase is well within your reach, and now you have everything you need to get there. From inspecting the whole staircase and tightening loose screws to re-gluing spindles, stabilizing the newel post, and sanding your repairs smooth, each step builds toward a railing you can trust again.
The secret isn’t fancy tools or years of experience. It’s patience and attention to detail. Clean your joints, let the glue cure, and don’t over-tighten, and your fixes will hold for years. Most wobbles come down to simple causes with simple solutions, so you rarely need to call in a pro or replace a single piece.
Take pride in the work, too. There’s real satisfaction in gripping a handrail that no longer shifts under your hand. When you repair a banister yourself, you save money, sharpen your DIY skills, and make your home safer for everyone who uses those stairs. So grab your tools, set aside an afternoon, and give your staircase the solid, dependable feel it deserves.