

A gravel driveway has a charm all its own, but those rough potholes can quickly turn a smooth ride into a bumpy mess. Left alone, they trap water, grow wider, and rattle your car every time you pull in. The good news? You don’t need a contractor or heavy machinery to set things right.
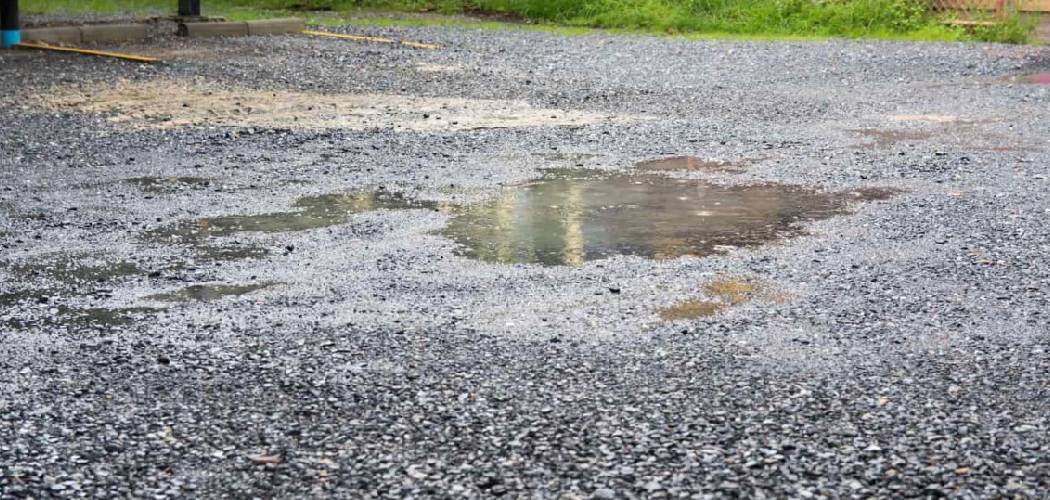
Learning how to fix a pothole in a gravel driveway is one of the easiest, most rewarding repairs you can do at home. With a few simple tools and an afternoon of effort, you can flatten that crater and stop it from coming back.
This guide walks you through every step, from clearing out loose debris to packing in fresh gravel, so you can patch potholes with confidence and keep your driveway looking great.
Why Fixing a Pothole in a Gravel Driveway Matters
Potholes aren’t just an eyesore. They’re a slow-motion problem that gets worse with every rainfall. Water pools in the dip, softens the ground beneath, and the hole spreads wider as tires push the loose stone aside.
For homeowners and renters, fixing potholes early protects your vehicle’s suspension and saves you from bigger repairs later. Good driveway maintenance also keeps your property looking cared for and prevents nasty trip hazards near the door.
Campers and outdoor beginners benefit too. Rough access roads, gravel parking areas, and backcountry pads all suffer the same potholes, and knowing how to patch them means smoother arrivals and fewer stuck wheels. Once you understand how loose stone and drainage work together, you can tackle these dips anywhere, whether at home or out at a remote campsite.
Tools and Materials You’ll Need
Gather everything before you start so you’re not stopping mid-job to hunt for a missing tool. Most of these items are cheap, reusable, and easy to find at any hardware store.
- Crushed stone or gravel that matches your existing driveway
- Road base or crusher run for deeper holes that need a solid foundation
- Hand tamper to compact each layer firmly
- Sturdy rake for spreading and leveling the gravel
- Flat-bladed shovel for digging out loose material
- Wheelbarrow to haul gravel to the spot
- Work gloves to protect your hands from sharp stone
- Garden hose for lightly wetting the gravel before tamping
- A plate compactor (optional, but it speeds up larger jobs)
A plate compactor makes quick work of big driveways, but a hand tamper handles most household potholes just fine.
Step-by-Step Guide on How to Fix a Pothole in a Gravel Driveway
Work through these eight steps in order, and don’t skimp on the digging or tamping. Solid prep and good compaction are what keep your patch from sinking again after the first heavy rain.
Step 1 – Inspect and Mark the Damage
Start by walking your driveway on a dry day and looking closely at each pothole. Notice how deep it runs, how wide it spreads, and whether water tends to collect there. Press your boot into the bottom, and you’ll feel whether the base is firm or mushy.
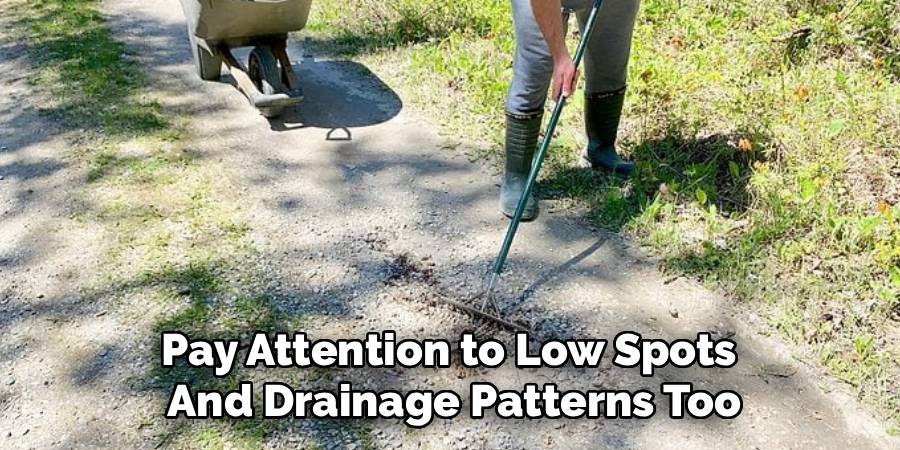
Mark each hole you plan to repair with a stick or a bit of spray chalk. Grouping them together helps you estimate how much gravel to buy and saves trips to the store.
Pay attention to low spots and drainage patterns too. If water keeps pooling in the same place, you’ll need to address the slope, not just fill the hole. A quick inspection now sets up the whole job for success.
Step 2 – Clear Out Loose Debris
Grab your shovel and dig out all the loose stone, mud, and crumbled material from inside the pothole. You want to reach firm, stable ground at the bottom, even if that means going a few inches deeper than the original dip.
Toss the loose gravel into your wheelbarrow rather than the lawn, since you can reuse the clean stone later. Scrape the sides until the edges feel solid and slightly squared off instead of crumbly.
You’ll know you’ve hit a good base when the bottom stops giving way under your shovel. Removing this soft, unstable material is the key to a patch that lasts. Skipping this step is why so many quick fixes fail within weeks.
Step 3 – Check and Improve Drainage
Before you add anything, deal with water. Standing water is the enemy of any gravel repair, and ignoring it means you’ll be back filling the same hole next season.
Look at how water flows across your driveway. If the pothole sits in a natural low spot, consider grading a slight channel so rain drains away instead of pooling. Even a gentle slope of a quarter inch per foot makes a big difference.
For stubborn wet areas, dig a small trench leading to a ditch or garden bed. You’ll see and hear the difference once water starts running off freely instead of sitting in a puddle. Solving drainage now protects every layer you’re about to add.
Step 4 – Add the Road Base Layer
For deeper potholes, start with a foundation of road base or crusher run. This coarse mix of crushed stone and fine particles locks together tightly and supports the gravel on top.
Shovel a few inches of road base into the bottom of the hole. Spread it evenly with your rake, working it into the corners so there are no gaps. The material feels gritty and dense, almost like wet sand mixed with pebbles.
Don’t dump it all at once. Add it in layers no more than three inches deep, because thinner layers compact far better than one thick pile. This solid foundation is what separates a lasting repair from a patch that sinks the moment a heavy truck rolls over it.
Step 5 – Compact Each Layer
Now comes the most important part of how to fix a pothole in a gravel driveway: compaction. Loose gravel shifts and sinks, so you need to pack each layer firmly before adding the next.
Use your hand tamper and strike straight down with steady, overlapping blows. You’ll feel the material tighten and stop giving way as the stone locks together. For bigger jobs, a rented plate compactor saves your arms and delivers an even firmer result.
Lightly wetting the gravel with a hose helps the particles settle and bind. Keep tamping until the surface feels rock-solid underfoot and no longer crunches loosely. This compacted gravel base is what holds your repair together through rain, frost, and daily traffic.
Step 6 – Fill With Crushed Stone
With your base packed tight, it’s time to add the top layer of crushed stone that matches the rest of your driveway. Shovel it in and rake it level, filling low spots until the gravel sits slightly above the surrounding surface.
Overfill the hole by about an inch, since the gravel will settle and compress once cars start driving over it. Rake it smooth so the new patch blends naturally into the old driveway, with no sharp edges or visible dips.
Run your hand or the back of your rake across the top to check for evenness. The fresh stone should feel uniform and look seamless. A well-blended patch is barely noticeable once the dust settles.
Step 7 – Tamp the Surface Smooth
Compact this final layer just as firmly as the ones below. Work your tamper across the entire patch, pressing down with overlapping strikes until the surface feels hard and level.
Lay a flat board across the repair to check for high or low spots. If the board rocks or you see a gap, add a thin scoop of gravel and tamp again. The goal is a smooth, even surface that flows right into the surrounding driveway.
You’ll hear the difference as you go, the loose rattle of fresh stone slowly turning into a solid, packed thud. Don’t rush this. A few extra minutes of tamping now prevents the pothole from reopening after the next big storm.
Step 8 – Final Check and Cleanup
Step back and look over your work. Walk across the patch a few times and feel for any softness or sinking underfoot. Drive a vehicle slowly over it, then check again, since real weight reveals spots that need a little more gravel.
Rake any stray stone back onto the driveway and sweep loose bits off the lawn or pathway. Top off the patch with a final scoop if it settled lower than expected.
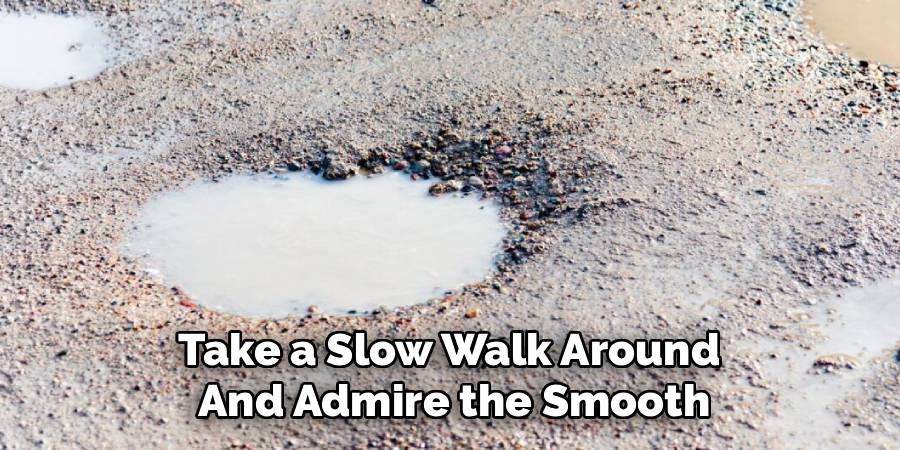
Take a slow walk around and admire the smooth, even surface you just created. Snap a quick photo so you’ll remember where the trouble spots were. That record makes future driveway maintenance faster and helps you catch new potholes before they grow.
Critical Mistakes to Avoid When Fixing a Pothole in a Gravel Driveway
Even simple repairs go wrong when you skip the fundamentals, so let’s clear up the traps that catch most beginners.
The biggest mistake is ignoring drainage. People fill the hole, feel proud, then watch it collapse after the first rain because water still pools there. Always fix the water flow before you patch, or you’ll repeat the same job again and again.
Another common slip is failing to dig out the soft, loose material first. Dumping fresh gravel on top of mud and crumbled stone creates a spongy base that sinks fast. Reach firm ground before you add anything new.
Many folks also forget to compact in layers. Filling the whole hole at once and tamping only the top leaves loose, unstable gravel underneath that shifts under tire weight. Add and pack the material a few inches at a time.
Using the wrong gravel causes trouble too. Smooth, round pea gravel won’t lock together like angular crushed stone, so it scatters and reopens the hole. Finally, don’t overlook the slight overfill. Gravel always settles, so a patch left perfectly flush quickly becomes a dip again.
Expert Tips
A few smart habits turn a decent patch into one that lasts for years.
First, always buy a little more gravel than you think you need. Running short mid-job means an awkward pause and an uneven repair. Leftover crushed stone stores easily for future touch-ups.
Second, repair potholes when the ground is slightly damp but not soaked. Lightly moist gravel compacts better and binds tighter than bone-dry stone.
Third, keep your driveway crowned slightly higher in the center so water sheds to the sides. This simple shape prevents most potholes from ever forming.
Finally, rake and inspect your driveway a few times each year. Catching small dips and filling low spots early stops them from becoming deep, car-rattling craters. A little regular attention saves you hours of heavy work down the road.
Frequently Asked Questions
How long does a gravel pothole repair last?
With proper digging, drainage, and layered compaction, a gravel pothole repair can last several years. The exact lifespan depends on traffic, weather, and how well water drains away from the spot. Patches done quickly without addressing the base or drainage often fail within weeks. Regular raking and topping off low spots will keep your repair solid for the long haul.
What kind of gravel should I use to fill a pothole?
Use angular crushed stone or road base rather than smooth, round gravel. Here’s why each matters:
- Road base or crusher run: packs into a firm foundation for deep holes
- Crushed stone: locks together tightly for a stable top layer
- Pea gravel: avoid it, since the round shape scatters and reopens holes
Matching your existing gravel size also helps the patch blend in seamlessly.
Do I really need to fix the drainage too?
Yes, drainage is the most overlooked part of the job. Standing water softens the base and washes away your gravel, which is why so many potholes return in the same spot. Grading a slight slope or digging a small channel directs water away and protects your repair. Skip this step, and you’ll likely be patching the same hole again after the next heavy rain.
Can I fix a gravel pothole without a tamper?
You can, but the results won’t last as long. Compaction is essential, so without a tamper you’ll need a creative substitute. A few options work in a pinch:
- Drive your car slowly over the patch several times
- Use a heavy steel post to pound the gravel down
- Stomp firmly with your boots in overlapping steps
A proper hand tamper is cheap and makes the job far easier.
How do I stop potholes from coming back?
Prevention comes down to water and shape. Keep your driveway crowned so rain runs off to the sides instead of pooling. Fill low spots early before they deepen, and compact every repair firmly. Regular driveway maintenance, like an occasional rake and a fresh layer of gravel every year or two, keeps the surface even and stops new potholes from forming in the first place.
Conclusion
Patching a rough driveway is one of those weekend projects that pays off every time you pull in without that jarring bump. You’ve seen that the secret isn’t expensive equipment, it’s good prep, smart drainage, and packing your gravel in firm, even layers.
Start by digging out the loose material and reaching solid ground, fix the water flow, then build up your base, compact each layer, and overfill slightly so the patch settles flush. Respect the drainage and the compaction, dodge the common mistakes, and your repair will hold strong through season after season.
A little regular attention, like raking low spots and topping off gravel now and then, keeps small dips from growing into deep craters. Once you’ve mastered how to fix a pothole in a gravel driveway, you’ve gained a handy skill that protects your car, your property, and your weekends.
So grab your shovel, pick a dry afternoon, and get to work. Your driveway and your suspension will thank you for it.