

A cracked limb or a frayed string can stop your archery fun in seconds. The good news? You don’t always need a pro to get back to shooting. With a little patience and the right approach, you can fix many common problems at home. Learning how to repair a bow saves money, builds confidence, and keeps your gear ready for your next trip outdoors.
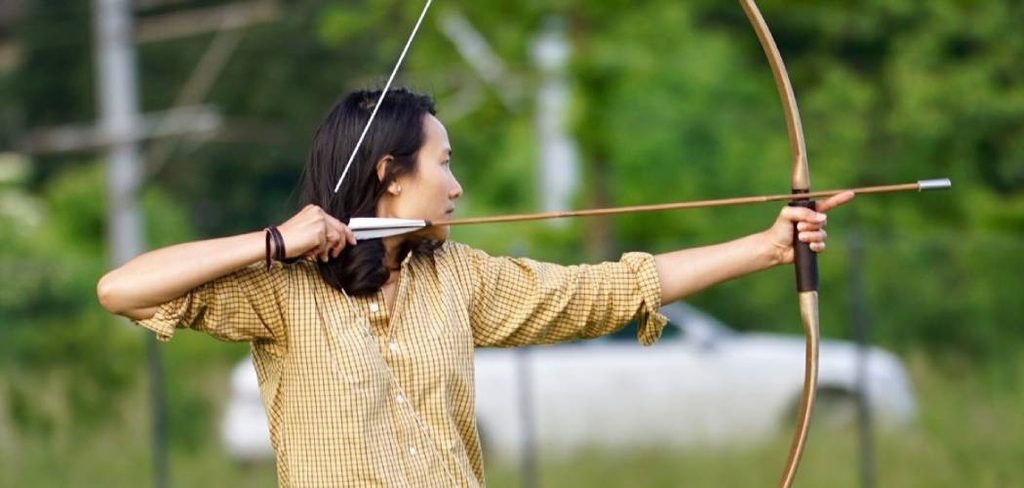
Whether you shoot a wooden longbow or a modern fiberglass recurve, the basics stay surprisingly simple once someone walks you through them. You just need clean hands, a steady eye, and a few household tools. This guide breaks down each fix into clear, beginner-friendly steps so you can repair your bow safely and get it back into action fast.
Why Repairing a Bow Matters for Campers and Outdoor Beginners
When you’re miles from the nearest shop, a damaged bow can ruin a whole trip. Knowing how to handle a snapped string or a loose limb means you stay self-reliant in the field. That confidence matters when you camp, hunt, or practice in the backcountry.
Repairs also protect your wallet. A new bow can cost a lot, while a small fix often takes minutes and a few cents of adhesive. You learn how your gear actually works, which makes you a smarter, safer shooter.
Beyond savings, there’s real satisfaction in fixing your own equipment. You start to notice small problems early, like a hairline crack or a worn nocking point, before they turn into a dangerous failure mid-draw.
Tools and Materials You’ll Need
Before you start, gather everything within easy reach so you’re not scrambling mid-repair. Most fixes use simple supplies you likely already own.
You’ll want a quality wood or epoxy adhesive rated for high tension, plus at least one sturdy clamp to hold the bow limb while glue cures. Keep fine-grit sandpaper handy for smoothing rough spots and old finish. A roll of serving thread or waxed string material covers nocking point and string wear, and a sharp utility knife trims excess cleanly. Add a soft cloth and rubbing alcohol to clean surfaces, a bow stringer for safe stringing, and a small ruler to check brace height and alignment. Painter’s tape helps mask areas during gluing. For convenience, a bow square makes measuring tension points faster, though it’s optional if you’re careful.
Step-by-Step Guide on How To Repair a Bow
Step 1 – Inspect the Bow Carefully
Start by giving your bow a slow, hands-on inspection in good light. Run your fingers along each limb and feel for any crack, splinter, or soft spot in the wood or fiberglass. Listen too; a faint creaking sound when you flex the limb often signals trouble inside.
Check the string for fraying, the nocking point for slippage, and the tips for chips. Look closely where layers meet, since delamination usually begins as a thin dark line. Knowing how to repair a bow starts with finding the real problem, not just the obvious one. Mark every flaw with painter’s tape so you don’t lose track. A thorough inspection now saves you from a surprise failure later.
Step 2 – Unstring the Bow Safely
Never work on a bow under tension. The stored energy in a strung limb can snap free and injure you fast. Grab your bow stringer, loop it onto both limb tips, and step on the cord to bend the bow gently.
Slide the string off its groove with steady hands and ease the limbs back to rest. You should feel the tension melt away as the bow relaxes. Lay it flat on a clean, padded surface so nothing scratches the finish.
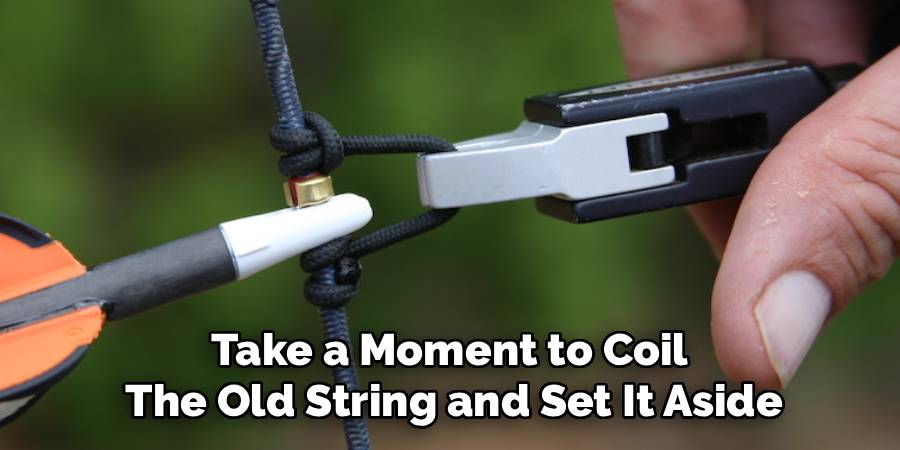
Take a moment to coil the old string and set it aside. Working on a relaxed bow gives you full control and keeps every repair safe and predictable from here on.
Step 3 – Clean the Damaged Area
Dirt and oil ruin adhesion, so clean the spot before you glue anything. Dampen a soft cloth with rubbing alcohol and wipe around the crack or loose joint until the surface feels dry and grit-free.
For deeper cracks, gently open the gap with your fingers and remove dust trapped inside. A quick puff of air clears stubborn debris. You want clean, bare material so the adhesive bonds tight against the wood or fiberglass.
Let the area air-dry for a few minutes. The surface should look matte, not shiny, when it’s ready. This small step makes a huge difference; skip it, and even the best glue peels away. Patience here pays off with a stronger, longer-lasting bond.
Step 4 – Apply Adhesive to the Crack
Now comes the fix everyone waits for. Squeeze your high-tension adhesive directly into the crack, working it deep with a toothpick or thin applicator. You want full coverage along the entire split, not just the surface.
Press the edges together and watch for a thin bead of glue to seep out; that tells you the gap is filled. Wipe away excess immediately with your alcohol cloth before it dries.
If you’re learning how to repair a bow with delamination, slide adhesive between the separated layers and press them flat. The smell of epoxy means it’s curing. Move quickly but carefully, since most strong adhesives set faster than you’d expect once they meet the air.
Step 5 – Clamp and Hold the Repair
Pressure makes a glue joint strong, so clamp the repair firmly. Place a soft cloth or scrap wood between the clamp and the bow limb to protect the finish from dents.
Tighten the clamp slowly until you feel solid resistance and see the joint close tight. Don’t crank it so hard that the wood bows or the glue squeezes out completely. You want even, steady pressure across the whole repair.
Check the alignment one more time before the glue locks in. A limb that cures crooked will never shoot straight. Let everything sit undisturbed for the full cure time listed on your adhesive, usually several hours. Resist the urge to peek; movement now weakens the bond you just built.
Step 6 – Sand and Smooth the Surface
Once the adhesive cures hard, remove the clamp and inspect your work. You’ll likely see a small ridge of dried glue along the repair. Grab your fine-grit sandpaper and smooth it down with light, even strokes.
Sand in the direction of the wood grain to keep things looking clean. Run your fingertips over the area; it should feel flush and seamless, with no sharp edges left behind.
Wipe away dust with a dry cloth and check the limb’s shape against good light. A smooth surface isn’t just about looks. Rough spots create stress points where new cracks love to form. Take your time here, and the repaired section will blend right in with the rest.
Step 7 – Replace or Repair the String
If your string caused the trouble, fix it now while the bow rests unstrung. Inspect the serving thread around the nocking point and rewrap any worn sections with fresh waxed material, keeping each loop tight and even.
For a frayed string, replacing it beats patching it. Slide the new string loops over both tips and seat them properly in the grooves. A snug, well-served string holds tension reliably and protects your fingers during the draw.
Run a thin layer of wax along the string with your fingers, feeling it grip and smooth as you go. This guards against future fraying. A healthy string is the heart of a smooth, safe shot every single time.
Step 8 – Restring and Test the Bow
Bring out your bow stringer again and string the bow the same safe way you unstrung it. Step on the cord, flex the limbs, and slide the string into both grooves until it seats with a satisfying click.
Now measure your brace height with a ruler from the string to the grip. Compare it to your bow’s recommended number and adjust if needed. Correct brace height keeps shots consistent and protects the limbs.
Finish with a full safety check. Draw the bow slowly a few times, watching the repair and listening for any creak or pop. If everything holds quiet and firm, you’re ready to shoot. Start with light, close-range shots first.
Critical Mistakes When Repairing a Bow
The biggest mistake people make is working on a bow that’s still strung. That stored tension can release without warning and cause serious injury, so always unstring first, no exceptions. Rushing this step turns a simple fix into a trip to the emergency room.
Another common error is using the wrong adhesive. Craft glue or basic super glue can’t handle the constant stress a limb endures. When the bond fails mid-draw, the limb may shatter. Stick with a high-tension wood or epoxy adhesive made for the job.
Many beginners also skip cleaning the surface. Oil, dust, and old finish stop glue from bonding, so the repair peels apart within days. A quick wipe with alcohol prevents this entirely.
Ignoring alignment ruins otherwise solid work too. If you clamp a limb crooked, it cures crooked, and the bow will shoot wide forever. Check alignment twice before the glue sets. Finally, don’t shoot at full draw right after a repair. Test gently first, building up power slowly while you watch the joint for any movement or sound.
Expert Tips
Work in a warm, dry room whenever you can. Adhesives cure stronger and faster when the temperature sits around room level, and humidity won’t sneak into your joints. Cold garages slow everything down.
Always keep a spare string in your kit. Strings fail more often than limbs, and a backup turns a trip-ending problem into a two-minute swap. Wax that spare regularly so it’s ready.
Mark your nocking point and brace height measurements somewhere safe before you start any work. That way you can return your bow to its exact original setup. Finally, repair early. A hairline crack fixed today costs pennies, while a snapped limb tomorrow may cost you a whole new bow.
Frequently Asked Questions
Can I fix a cracked bow limb at home?
Yes, you can repair many limb cracks at home if the damage is minor and the limb isn’t fully snapped. Clean the area, fill the crack with a high-tension adhesive, then clamp it until fully cured. Sand it smooth and test gently. For deep cracks running through the core or full breaks, replacement is safer than repair.
What glue works best for bow repairs?
Use an adhesive built to handle stress and flexing. Good options include:
- Two-part epoxy for fiberglass and layered limbs
- Quality wood glue for solid wooden bows
- Specialty bow-repair adhesives sold by archery shops
Avoid basic craft glues or standard super glue. They can’t survive the repeated tension of drawing, and a failed bond mid-shot is dangerous.
How do I know if my bow is safe to shoot again?
Run a full safety check before shooting at full power. Inspect the repair for gaps, draw the bow slowly several times, and listen carefully for any creak, pop, or shifting sound. Check the string seating and brace height too. If the joint stays quiet and firm through gentle draws, start with light, close-range shots and build up gradually.
How often should I replace my bowstring?
Replace your string roughly once a year with regular use, or sooner if you spot fraying, stretching, or a worn nocking point. Waxing the string every few weeks extends its life. A string that looks fuzzy, feels dry, or has loose serving threads is telling you it’s time. Don’t wait for a snap mid-draw.
What is brace height and why does it matter?
Brace height is the distance from the bowstring to the grip when the bow is strung and at rest. It matters because it controls how the bow stores and releases energy. Too low or too high, and your shots lose accuracy and the limbs face extra stress. Measure it with a ruler and match your bow’s recommended setting.
Conclusion
Fixing your own gear feels great, and it’s more doable than most beginners expect. You’ve now seen how a careful inspection, a safe unstringing, the right adhesive, and a patient clamp-and-cure routine can bring a damaged bow back to life. Add in smooth sanding, a fresh string, and a proper brace height check, and you’ve covered every major repair on a wooden or fiberglass bow.
The real secret to learning how to repair a bow is patience. Take your time, clean every surface, keep your alignment true, and never test at full draw until you’ve checked the joint gently first. Those habits keep you safe and your equipment reliable.
Don’t let a small crack or a frayed string keep you off the range or stuck at camp. Grab your tools, follow these steps, and trust the process. Each repair you tackle builds skill and confidence for the next one. Your next move? Pull out that bow, inspect it closely, and fix that nagging problem today.