

You love your dog, but those dark spots on your hardwood tell a different story. Maybe a puppy had an accident during training, or an older pet couldn’t make it outside in time. Either way, dog urine soaks into wood fast, leaving behind ugly stains, a stubborn smell, and sometimes warped boards.
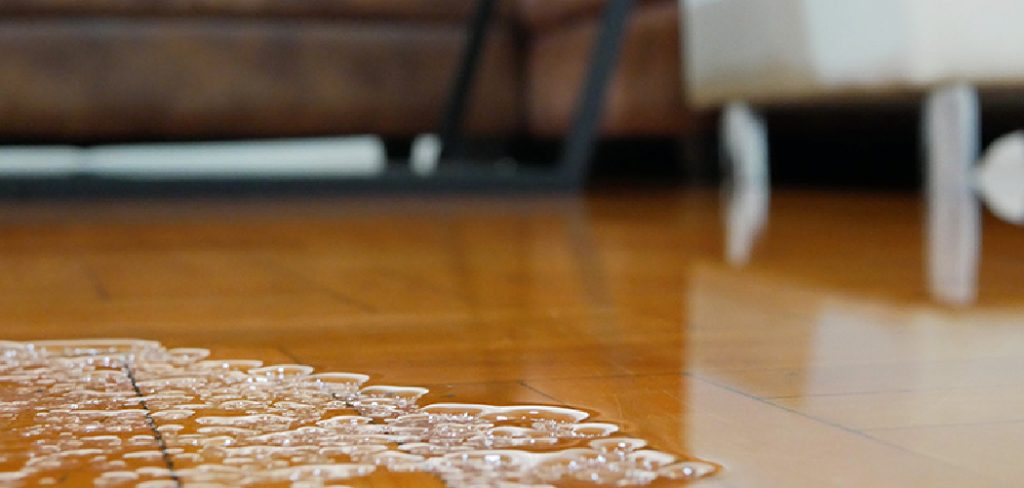
It feels overwhelming, but here’s the good news: you can fix most of this yourself without paying a pro hundreds of dollars. With patience and a few common tools, you can bring that floor back to life. Learning how to repair wood floor damaged by dog urine saves money, protects your home’s value, and clears the air in more ways than one. This guide walks you through every step, from cleaning the mess to sealing a fresh, like-new finish.
Why Restoring Dog Urine Damage on Wood Floors Matters
Pet urine damage is more than an eyesore. The acids in urine eat into the wood grain, darken the surface, and seep down into the subfloor, where that sour smell lingers for months. Left alone, the spot spreads, and the boards can cup or warp as moisture works its way deeper.
For homeowners, fixing it protects your floor’s value and keeps your home smelling fresh. For renters, a quick repair can mean the difference between getting your deposit back or losing it. And for DIY beginners, this project teaches core skills like sanding hardwood, stain matching, and sealing wood that you’ll use on future fixes. Best of all, you gain confidence. Once you tackle one stain, hardwood floor repair stops feeling intimidating and starts feeling doable.
Tools and Materials You’ll Need
Round up your supplies before you start so you’re not running to the store mid-project. Most of these items are affordable and handy for other home repairs too.
Here’s what you’ll need:
- Enzymatic cleaner made for pet messes
- Rubber gloves and a face mask
- Orbital sander or sanding block
- Sandpaper in coarse, medium, and fine grits
- Wood bleach (oxalic acid works well)
- Clean rags and a bucket of water
- Wood filler for gouges or gaps
- Wood stain that matches your floor
- Polyurethane finish for sealing
- Foam applicators and a quality brush
- Plastic sheeting to block off the room
Optional but helpful: a moisture meter, which tells you when the boards are fully dry before you sand. It takes the guesswork out and helps you avoid trapping dampness under your new finish.
Step-by-Step Guide on How to Repair Wood Floor Damaged by Dog Urine
Take each stage slowly, especially the drying and bleaching parts. Rushing those is the main reason stains creep back later.
Step 1 – Clean and Neutralize the Stain
Start by killing the smell and lifting any surface residue. Pull on your gloves, then soak the spot with an enzymatic cleaner made for pet messes. These break down the proteins that cause that sharp urine odor, rather than just masking it.
Let it sit the full time on the label, usually ten to fifteen minutes. You’ll notice the sour smell start to fade as it works. Blot up the liquid with a clean rag, then repeat if the area still smells strong.
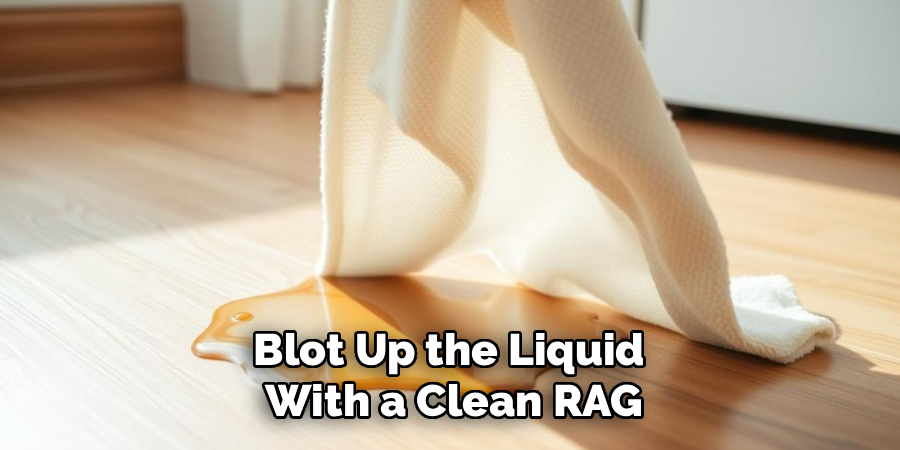
Knowing how to repair wood floor damaged by dog urine begins here, because a clean, odor-free base sets up every step that follows. Don’t sand or stain until the smell is truly gone, or it will haunt you later.
Step 2 – Let the Wood Dry Completely
Patience pays off now. Even after cleaning, moisture hides deep in the wood grain and possibly the subfloor below. Sanding or sealing damp boards traps that water, which leads to subfloor odor and warped boards down the road.
Open windows, run a fan, and aim it across the wet spot. Give it at least 24 to 48 hours, longer if the damage is deep or the weather is humid. Press your palm to the boards and feel for any coolness or softness, both signs that water still lingers.
If you bought a moisture meter, use it here. The reading should match the dry wood nearby before you move on. Once the boards feel firm and dry, you’re ready to assess the real damage.
Read More: How to Repair Buckled Wood Floor.
Step 3 – Assess the Damage and Remove Old Finish
Now look closely at what you’re dealing with. Run your fingers over the spot. A light surface stain feels smooth, while deep pet urine damage often leaves a cloudy finish, raised grain, or black stains on wood floor that reach into the wood.
Use a fine grit sandpaper or a chemical stripper to lift the old polyurethane finish over the damaged area. This exposes the bare wood so your treatment can actually reach the stain.
Wipe away the residue with a damp rag and let it dry. You’ll see the true color and depth of the staining once the cloudy topcoat is gone. This honest look tells you whether a simple sanding will do or whether you’ll need bleach and filler later.
Step 4 – Sand the Damaged Area
Time to dig into the discoloration. Fit your orbital sander with coarse sandpaper and work the stained area in the direction of the grain, never across it. You’ll see fine sanding dust kick up and the top layer of wood lighten as you go.
Sanding hardwood removes the outer fibers where the urine soaked in, and for shallow stains, this alone may lift the color. Feather the edges into the surrounding boards so there’s no sharp ridge between old and new wood.
Switch to medium, then fine grit to smooth the surface. Run your hand over it; it should feel even and silky, with no rough patches. Vacuum and wipe away every speck of dust before moving on, since leftover grit ruins a clean finish.
Step 5 – Treat Deep Stains With Wood Bleach
If dark spots survive the sanding, you’ll need stronger help. Wood bleach, usually oxalic acid, lifts those stubborn black stains on wood floor that sanding can’t reach. Mix it per the label, then brush it evenly over the discolored area.
Wear your gloves and mask, and keep the room ventilated, since the fumes are sharp. Let the bleach sit and watch the dark color slowly fade over the next several hours. Deep stains may need a second round.
Once the spot lightens to match the surrounding wood, neutralize the bleach with a damp rag and let everything dry fully. This is one of the most satisfying moments in the whole project, watching years of staining finally disappear.
Read More: How to Repair Home Foundation Cracks.
Step 6 – Fill Gaps and Repair Surface Damage
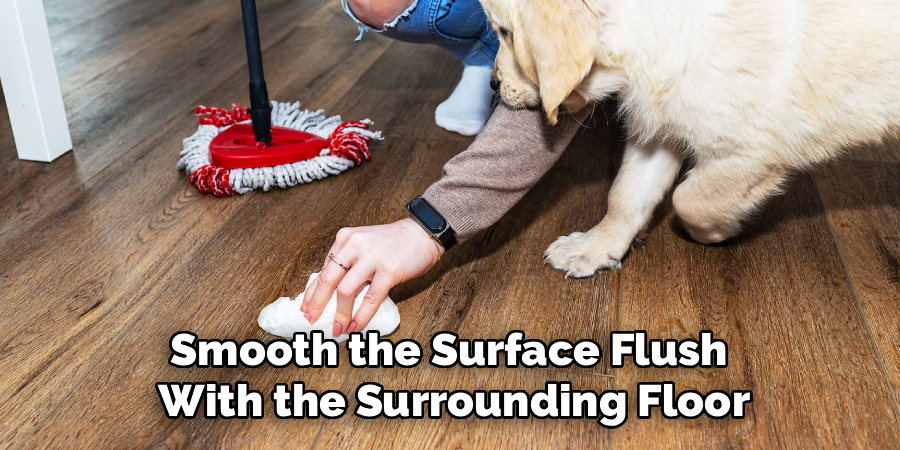
Sometimes urine leaves more than a stain. Cupped boards, small gouges, or gaps where the wood split need patching before you stain. Press a quality wood filler into any low spots or cracks with a putty knife, packing it in firmly.
Smooth the surface flush with the surrounding floor and scrape away the excess. Let the filler cure completely per the label, which may take a few hours.
Once dry, lightly sand the patched spots with fine grit until they feel level under your palm. If a board is badly warped or rotted through, replacing damaged boards is the better fix; cut out the bad plank and slot in a matching piece before refinishing.
Step 7 – Stain to Match Your Floor
Now blend the repair into the rest of the floor. Test your stain on a hidden scrap or an inconspicuous corner first, since color can shift once it soaks in. Stain matching is the trick that turns an obvious patch into an invisible one.
Apply the stain with a foam applicator, working with the grain in smooth, even strokes. Wipe off the excess after a few minutes so the color doesn’t pool. Build it up in thin coats until the repaired area matches the boards around it.
Step back and check it under different lighting. Floor refinishing lives or dies on this match, so take your time and add another coat if the patch still looks lighter than its neighbors.
Step 8 – Seal With a Protective Topcoat
Lock in all your hard work with a fresh finish. A polyurethane finish protects the wood from future accidents and gives the surface that smooth, durable sheen. Stir the can gently to avoid bubbles, then apply a thin coat with a clean brush, following the grain.
Let it dry per the label, usually a few hours, then lightly sand with fine grit between coats for better adhesion. Wipe away the dust, and add two or three coats total for solid protection.
Sealing wood this way keeps moisture out and makes cleanup easier next time. Let the final coat cure fully before walking on it or moving furniture back. Step back and admire your spotless, refreshed floor.
Read More: How to Repair Carpet Damage by Pets.
Critical Mistakes When Repairing Dog Urine Damage on Wood Floors
The biggest mistake is rushing past the cleaning and drying stages. People scrub the surface, wait an hour, and start sanding while moisture still hides deep in the wood. That trapped dampness causes subfloor odor and warped boards, and the sour smell returns no matter how nice the finish looks. Give the area a full day or two to dry, and confirm it before you touch the sander.
Another common slip is sanding too aggressively or against the grain. Heavy hands gouge the wood and create dips that show through every coat of stain. Work gently, follow the grain, and feather your edges into the surrounding boards.
A third frequent error is skipping wood bleach on deep stains. Sanding alone won’t lift black stains that have penetrated the grain, so the dark spot ghosts through your fresh finish. Treat stubborn discoloration properly before you stain.
Finally, many beginners ignore stain matching and rush the topcoat. They slap on color without testing, then seal a patch that’s two shades off from the rest of the floor. Always test your stain first and build the color in thin layers for a seamless blend.
Expert Tips
Work in good lighting, and bring in a portable lamp if the room runs dark. Stains and color mismatches hide in shadow, only to jump out once you flip the lights on later.
Keep a scrap board or test the floor in a closet before you commit to a stain shade. Wood drinks up color differently than you expect, and this quick check saves you from a glaring mismatch.
When using wood bleach, two lighter applications beat one heavy soak. Thin rounds lift the stain evenly without bleaching the wood lighter than its neighbors.
If the smell stubbornly lingers after cleaning, the urine likely reached the subfloor. Pull the affected board, treat or seal the subfloor underneath, then refinish. Sealing wood at that level stops the odor for good.
Frequently Asked Questions
Can I fix dog urine stains without sanding?
Sometimes, yes. Fresh, shallow stains often lift with a strong enzymatic cleaner alone, especially if you catch them early. But once the urine darkens the wood or reaches the grain, sanding becomes necessary to remove the damaged fibers. Deep black stains usually need both sanding and wood bleach. If the spot is only on the surface finish, a light buff and recoat may be enough.
How do I get rid of the urine smell for good?
Surface cleaning isn’t always enough, since the odor often soaks into the subfloor. To clear it fully:
- Use an enzymatic cleaner that breaks down urine proteins
- Let the area dry completely before sealing
- Pull the board and seal the subfloor if the smell lingers
Trapped odor only returns if you seal over damp or untreated wood, so address the source first.
When should I replace the boards instead of repairing them?
Repair shallow stains and minor gouges with sanding, bleach, and filler. Replace the wood when boards are badly cupped, soft, rotted, or stained black all the way through. If pressing the surface leaves a dent or your filler can’t level it, the board has lost its strength. Replacing damaged boards gives you a solid base that stains and seals cleanly.
Will wood bleach lighten my whole floor?
Only if you let it spread. Wood bleach like oxalic acid targets the dark stained area, but it will lighten any wood it touches. Brush it carefully onto the stain alone, avoid drips, and neutralize it promptly. Apply it in thin rounds so you can stop once the spot matches the surrounding boards. Then stain the bleached area to blend it back in.
How long does the whole repair take?
Plan for a few days, mostly because of drying and curing time. Cleaning takes under an hour, but drying the wood needs 24 to 48 hours. Sanding, bleaching, filling, staining, and sealing each add time, with hours of curing between coats. Active work might total an afternoon or two, but rushing the drying and curing stages is what ruins the result, so build in patience.
Conclusion
Bringing a stained, smelly floor back to life is far more doable than it first appears. You’ve learned to neutralize the odor, dry the wood completely, sand away the damage, bleach out stubborn black stains, fill any gouges, match your stain, and seal it all with a tough polyurethane finish. The real secret isn’t expensive gear; it’s patience with the cleaning and drying. Skip those, and the stain or smell sneaks right back.
Take pride in the smooth, fresh surface you create. No more dark spots catching your eye, no more sour smell in the room, and no more worry about hidden moisture damage. Knowing how to repair wood floor damaged by dog urine turns a frustrating accident into a fix you can handle with confidence, whether you own your place or rent it.
So pull on your gloves, open the windows, and start by lifting that stain at the source. Once you watch the dark spot vanish and run your hand over a sealed, like-new floor, you’ll feel like a true DIY pro.