

That yellowish-brown ring on your ceiling has a way of catching your eye every single time you walk into the room. Maybe it showed up after a storm, or maybe it slowly crept across the drywall while you weren’t paying attention. Either way, water spots make a clean room look neglected, and they often hint at a bigger problem hiding above. The good news? You don’t need to call a pro to make it disappear.
With a little patience and the right supplies, you can tackle this yourself in an afternoon. Learning how to repair water spots on ceiling not only restores a smooth, fresh look but also helps you catch leaks before they turn costly. This guide walks you through every step, from finding the source to blending the final coat of paint.
Why Fixing Ceiling Water Spots Matters
A stained ceiling is more than a cosmetic flaw. Those rings usually signal moisture damage, and ignoring them lets small problems grow into expensive ones. Trapped dampness invites mold risk, weakens drywall, and can spread to insulation or framing if left alone.
For homeowners, fixing the spot protects your property value and keeps your living space healthy. For renters, addressing a water-damaged ceiling early shows your landlord you’re on top of things and may save you from blame later. And for DIY beginners, this project teaches core skills you’ll use again and again, like patching, priming, and painting. Best of all, you learn to spot trouble early. Once you understand what causes these stains, you’ll feel confident handling future ceiling stain repair jobs without hesitation or hiring help.
Tools and Materials You’ll Need
Gather everything before you climb the ladder so you’re not stopping mid-project to hunt for a brush. Most of these items are cheap and useful for other home fixes too.
Here’s what you’ll need:
- Sturdy ladder or step stool
- Drop cloths or old sheets
- Stain-blocking primer
- Interior ceiling paint that matches your existing finish
- Putty knife
- Lightweight drywall patch or joint compound
- Sandpaper (120 to 150 grit)
- Paint roller and angled brush
- Clean rags and a bucket of water
- Mild bleach solution for mold spots
- Safety goggles and a dust mask
Optional but handy: a paint edger tool, which helps you blend repairs into the surrounding ceiling without leaving harsh lines. It makes feathering paint far easier, especially on textured surfaces where matching the finish gets tricky.
Step-by-Step Guide on How to Repair Water Spots on Ceiling
Take each step slowly, especially the part where you track down the leak. Skipping that single stage is why so many repairs fail and the stain returns within weeks.
Step 1 – Find and Fix the Leak Source
Before you touch the stain, you have to play detective. A fresh coat of paint over an active leak just hides the problem temporarily. Climb up and press gently near the stain edges. If the drywall feels soft or springy, water is still getting in.
Trace the moisture upward. Common culprits include a leaky roof, a burst pipe, an overflowing tub above, or condensation around vents. Look for damp insulation, dripping fittings, or daylight peeking through the roof deck. Knowing how to repair water spots on ceiling starts here, because a sealed leak source is the foundation of a lasting fix. Don’t move forward until you’re certain the water has stopped flowing in.
Step 2 – Let the Area Dry Completely
Patience pays off here. Even after you stop the leak, the drywall and any insulation behind it hold moisture. Painting over damp drywall traps water, ruins your primer, and invites mold growth right back.
Set up a fan or a small space heater nearby and let air circulate for at least 24 to 48 hours. In humid weather, give it longer. Run your hand across the spot and feel for any lingering coolness or softness, both signs that moisture is still trapped. A musty odor also tells you the area needs more drying time.

Once the drywall feels firm and dry to the touch, you’re ready to move on. Rushing this stage undoes everything that follows.
Step 3 – Clean the Stained Surface
Now prep the spot so your repair materials grip properly. Mix a mild bleach solution, about one part bleach to three parts water, and dab it gently over the stain with a rag. This kills any surface mold and lightens the discoloration before you prime.
Wear goggles and a mask, since bleach drips love to find their way into eyes. Wipe in soft, circular motions and avoid soaking the drywall all over again. You’ll notice the brown ring fade a little as you work.
Let the cleaned area dry fully, then run your fingers across it. The surface should feel smooth and chalky, not slick or gritty. A clean base helps your stain-blocking primer bond and last.
Step 4 – Scrape Away Peeling Paint and Damage
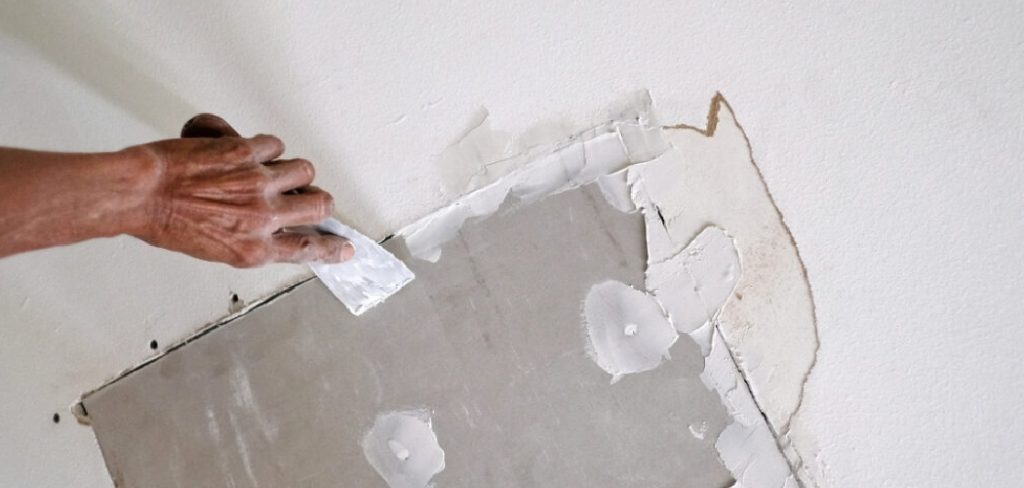
Water often loosens the layers above it, so check for peeling paint or bubbling around the stain. Hold your putty knife at a low angle and gently scrape away anything that flakes or lifts. You’ll hear a soft crackle as the loose bits come free.
Don’t gouge the drywall. The goal is a smooth transition between the damaged spot and the solid surface around it. If the paper face of the drywall is torn or fuzzy, lightly sand it flat.
Brush away the debris and wipe the area with a dry rag. Running your hand over it should reveal a clean, even surface with no raised flakes. This prep work makes your patch and paint sit flush later.
Step 5 – Patch Any Soft or Damaged Drywall
If the water left the drywall crumbly or sagging, you’ll need a drywall patch. Press the surface again. Solid drywall stays firm, while ruined drywall dents easily and feels spongy.
For small soft spots, spread a thin layer of joint compound with your putty knife, feathering the edges outward so it blends smoothly. For larger holes, cut out the damaged section and fit a fresh piece of drywall before applying compound over the seams.
Smooth it as flat as you can, since bumps show through paint later. Let the compound dry fully, then sand it with 120-grit paper until it feels seamless under your palm. Wipe off the dust before priming.
Step 6 – Apply Stain-Blocking Primer
This step is non-negotiable. Regular paint won’t hide a water stain, because the discoloration bleeds right through. You need a true stain-blocking primer, either oil-based or shellac-based, to seal the ring for good.
Stir the primer well, then roll or brush a smooth, even coat over the entire repaired area. Extend it a few inches past the stain edges so the seal is complete. The primer goes on a bit thick and has a sharp smell, so open a window for ventilation.
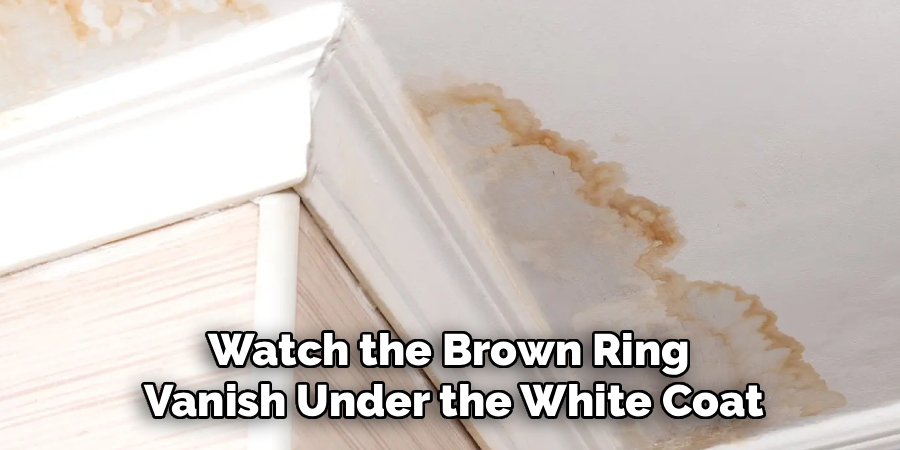
Watch the brown ring vanish under the white coat, which is honestly the most satisfying part. Let it dry per the label, usually one to two hours, then add a second coat if any shadow still peeks through.
Step 7 – Repaint and Blend the Ceiling
Once the primer cures, grab your interior ceiling paint. Match the existing color and sheen as closely as you can, since a mismatched patch stands out almost as much as the original stain.
Roll the paint over the primed area, feathering outward with light strokes so the new paint melts into the old. If your ceiling has texture, dab the paint to mimic the surrounding pattern instead of rolling it flat. An edger tool helps here.
Step back and view the spot from different angles and lighting. You may need a second coat for full, even coverage. Proper ceiling finish blending is what turns an obvious fix into an invisible one that nobody will ever notice.
Step 8 – Inspect and Clean Up
Give the paint time to dry completely, then do a final walk-through. View the ceiling in daylight and again with the lights on, looking for any faint stain shadow, missed spots, or uneven sheen. Touch up as needed.
Run your eyes along the blended edges to make sure the texture and color flow naturally into the surrounding ceiling. A good ceiling stain repair should be nearly impossible to spot once finished.
Fold up your drop cloths carefully so dust and paint drips don’t scatter across the floor. Clean your brushes and rollers right away, since dried paint ruins good tools. Store your leftover primer and paint for future touch-ups, and step back to enjoy your fresh, spotless ceiling.
Critical Mistakes When Fixing Ceiling Water Spots
The single biggest mistake is painting over the stain without finding the leak first. A fresh coat looks great for a week, then the ring bleeds right back as water keeps seeping in. Always trace and seal the leak source before you do anything cosmetic, or you’ll repeat this whole project soon.
Another common slip is rushing the drying stage. People stop the leak, wait an hour, and start painting over damp drywall. Trapped moisture ruins the repair and feeds mold risk behind the surface. Give it a full day or two, and confirm the area is bone dry before moving on.
Skipping the stain-blocking primer is a third frequent error. Regular interior ceiling paint simply can’t seal discoloration, so the brown ring ghosts through every coat you add. Spend the few extra dollars on a proper primer.
Finally, many beginners ignore texture and color matching. They patch the spot, paint a flat circle, and end up with an obvious mismatch that draws the eye just as much as the original stain. Feather your edges and mimic the existing finish for a seamless result.
Expert Tips
Work in good lighting and bring a portable lamp if your ceiling sits in shadow. Stains and texture differences hide in dim light, only to reappear once you flip the switch later.
Keep a small offcut of drywall handy to test your primer and paint before committing. This quick check saves you from a mismatched finish on the real spot.
When dealing with a stubborn stain, two thin coats of stain-blocking primer beat one heavy coat every time. Thin layers dry evenly and seal more reliably.
If the water-damaged area feels widespread or smells strongly musty, check for mold inside the cavity before sealing it up. Trapped mold only spreads. Finally, snap a photo of the dry stain before you start, so you can confirm later that it never bled back through your repair.
Frequently Asked Questions
Can I just paint over a water stain without priming?
No, and this is the most common shortcut people regret. Regular interior ceiling paint won’t seal the discoloration, so the brown ring bleeds right back through within days. You need a stain-blocking primer, either oil-based or shellac-based, to lock the stain in first. Only after that primer dries should you apply your finish coat for a clean, lasting result.
How do I know if the leak is actually fixed?
Watch the area after the next rain or run water in the room above. Then check for these signs:
- Drywall stays dry and firm to the touch
- No fresh discoloration appears around the stain edges
- No musty odor returns to the room
If the spot stays clean and dry through a wet spell, your leak source is sealed and you’re safe to finish the repair.
Should I worry about mold behind the ceiling?
Sometimes, yes. If the water sat for a while or you notice a strong musty odor, mold risk goes up. Small surface mold wipes away with a mild bleach solution. But if the drywall feels soft over a large area or the smell is overpowering, open up the cavity and inspect. Trapped mold spreads and can affect your health, so don’t seal it in.
When should I replace drywall instead of patching it?
Patch small soft spots and minor stains with joint compound. Replace the drywall when it sags, crumbles, or feels spongy across a wide area. If pressing the surface leaves dents or your finger pushes through, the material has lost its strength. A fresh drywall patch gives you a solid, flat base that paint and primer can actually bond to.
How long does the whole repair take?
Most jobs take one afternoon of active work, but drying time stretches it across a day or two. Finding and sealing the leak might take an hour, drying the area needs 24 to 48 hours, and priming plus painting adds another few hours with cure time between coats. Plan for completeness over speed, since rushing the drying stage is what ruins repairs.
Conclusion
Erasing that stubborn ceiling stain is far easier than it looks once you follow the right order. You’ve learned to track down the leak, dry the area completely, clean and patch the drywall, seal it with stain-blocking primer, and blend fresh paint into the surrounding ceiling. The real secret isn’t fancy gear, it’s patience with the leak and the drying time. Skip those, and the stain comes right back.
Take pride in the smooth, spotless finish you create. No more brown ring catching your eye, no more worry about hidden moisture damage, and no more guests glancing up at that awkward mark. Knowing how to repair water spots on ceiling turns a frustrating eyesore into a quick, confident fix you can handle anytime it pops up.
So grab your ladder, set up your drop cloths, and start by finding where that water snuck in. Once you watch the stain disappear under your final coat, you’ll feel like a true DIY pro, and your ceiling will look brand new again.