

You walk into your bathroom, plug in your hair dryer, and nothing happens. You check the kitchen, and the coffee maker will not turn on either.
Dead electrical receptacles are frustrating. They disrupt your morning routine and make simple tasks difficult.
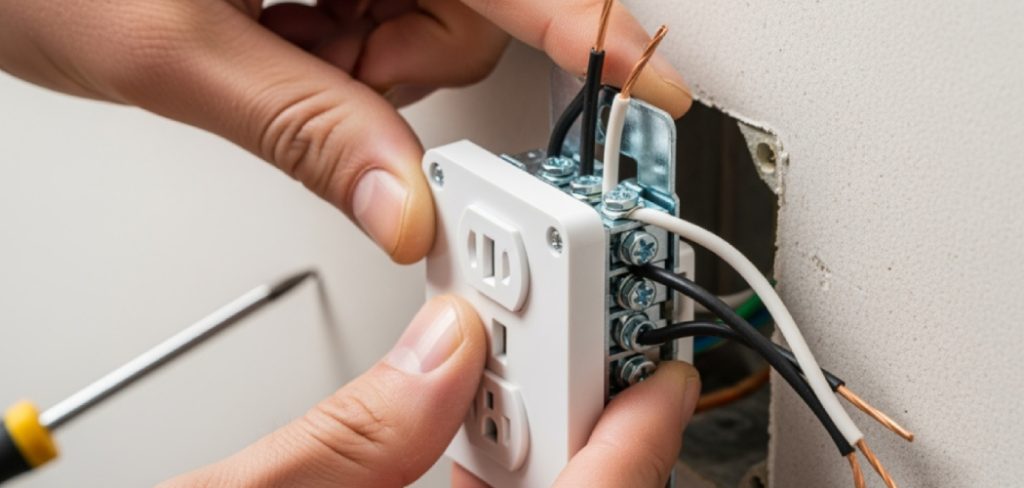
Many homeowners immediately call an electrician when they face electrical problems. This often leads to paying an expensive service fee for a five-minute fix.
You can save a lot of money by tackling this project yourself. Learning how to repair gfci outlet problems safely is easier than you might think.
With basic tools and careful attention to safety, anyone can swap out a faulty receptacle. Let us walk through the process together.
Understanding Your Ground Fault Circuit Interrupter
Before we dive into the repair, it helps to understand what a GFCI actually does. These special receptacles protect you from electrical shocks.
You will typically find them in areas near water. Kitchens, bathrooms, garages, and outdoor spaces require them by building codes.
They constantly monitor the electrical current flowing through the circuit. If they detect even a tiny imbalance, they cut the power instantly.
This fast reaction prevents severe electrical shocks and potential fires. Because they work so hard, these devices simply wear out over time.
They usually last between ten and fifteen years before needing replacement. When they fail, learning how to repair GFCI outlet connections restores safety to your home.
What Causes This Problem?
GFCI failure happens for several different reasons. Knowing the root cause helps you fix the issue correctly.
Here are the most common culprits:
- Moisture intrusion: High humidity or splashing water can short out the internal sensors.
- Tripped circuit breaker: The issue might not be the receptacle itself, but the main electrical panel.
- Loose wiring connections: Over time, temperature changes can cause wire screws to loosen.
- Worn out internal parts: The delicate test and reset mechanisms eventually break down from normal use.
- Actual ground faults: An appliance you plugged in might have a dangerous short circuit.
Tools & Materials Needed
Preparation makes any DIY project go smoothly. Gather all your supplies before turning off the power.
You do not want to search for tools in the dark.
Here is what you need to complete this fix:
- A non-contact voltage tester (crucial for safety)
- A Philips head screwdriver
- A flathead screwdriver
- Wire strippers and cutters
- Needle-nose pliers
- Electrical tape
- A replacement GFCI receptacle (matching your current amp rating, usually 15A or 20A)
- A new faceplate (optional)
Preparing Your Workspace
Safety is your highest priority during electrical work. Never rush the preparation phase of this project.
Make sure your hands and the surrounding floors are completely dry. Wear rubber-soled shoes for an extra layer of protection.
Clear away any clutter around your work area. You want plenty of room to move your arms and see what you are doing.
Having a flashlight or a battery-powered work light is highly recommended. Once you cut the power, the room might get quite dark.
Step-by-Step Fix Guide How to Repair GFCI Outlet Problems Safely
This beginner-friendly guide walks you through the entire replacement process. Take your time and follow each step carefully.
Do not skip any safety checks along the way.
Step 1: Turn Off the Power
Head directly to your main electrical panel. Locate the breaker switch that controls the dead receptacle.
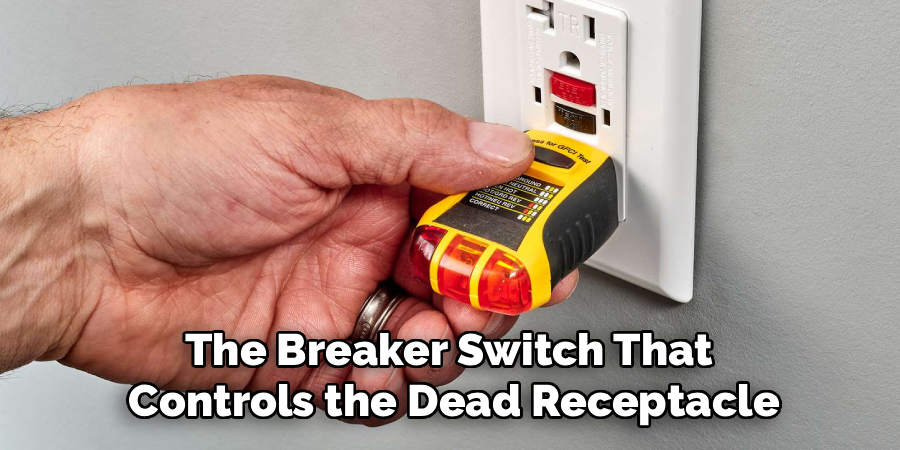
Flip the switch to the “Off” position. If your panel lacks clear labels, turn off the main breaker for the entire house.
Step 2: Test for Power
This is the most critical step for your safety. Take your non-contact voltage tester and insert it into the receptacle slots.
The tester should not light up or beep. If it does, the power is still active, and you must find the correct breaker.
Step 3: Remove the Faceplate and Receptacle
Use your flathead screwdriver to remove the small screw holding the faceplate. Set the plate and screw aside safely.
Take your Phillips screwdriver and remove the two long mounting screws at the top and bottom. Gently pull the device out of the wall box.
Step 4: Inspect the Wires
Look at the back of the device before touching anything. You will see black wires, white wires, and a bare copper wire.
Check for any scorch marks or melted plastic. If you see severe burning, stop the project and call an electrician.
Step 5: Identify Line and Load Wires
GFCI devices have “Line” and “Load” terminals. The Line wires bring power in, while Load wires send power to other receptacles.
Pay close attention to how the old device connects. Take a clear picture with your phone so you remember the exact wiring layout.
Step 6: Disconnect the Old Wires
Loosen the terminal screws holding the wires in place. Carefully slide the wires out from under the screw plates.
Remove the green grounding screw last. Set the broken device aside.
Step 7: Prepare the New Receptacle
Open your new device and locate the Line and Load terminals. The Load terminals usually come covered with yellow safety tape.
Do not remove this tape unless you are connecting additional down-stream receptacles. Most simple replacements only use the Line terminals.
Step 8: Connect the Ground Wire
Always connect the bare copper wire first. Wrap it around the green grounding screw on your new device.
Use your needle-nose pliers to pinch the wire tight. Tighten the screw firmly.
Step 9: Connect the White and Black Wires
Take the white neutral wire and connect it to the silver Line terminal. Tighten the screw securely so the wire cannot move.
Take the black hot wire and connect it to the brass Line terminal. Make sure no bare copper wire shows outside the terminal housing.
Step 10: Tape and Install
Wrap a single layer of electrical tape around the sides of the device. This covers the metal screws and prevents accidental shorts inside the box.
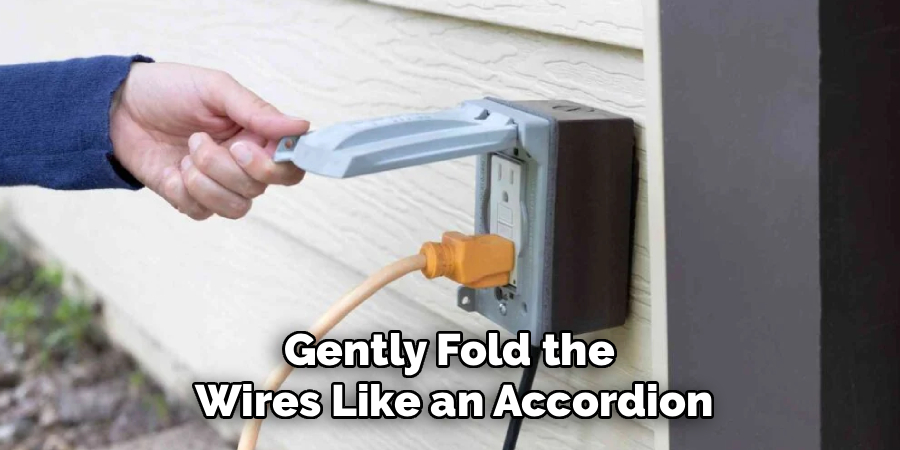
Gently fold the wires like an accordion and push the device back into the wall. Secure it with the two long mounting screws.
Step 11: Attach the Faceplate
Place the plastic cover over the device. Insert the center screw and tighten it gently until snug.
Do not over-tighten this screw. The plastic faceplate can crack very easily.
Step 12: Turn on Power and Test
Return to your electrical panel and flip the breaker back on. Walk back to your newly installed device.
Press the “Reset” button firmly until it clicks. Plug a lamp or radio in to verify it works correctly.
Safety Warnings
Working with electricity demands complete respect. Never assume a wire is safe to touch without testing it first.
Always use a reliable non-contact voltage tester. Test the tester itself on a known working plug before relying on it.
Never mix up the Line and Load terminals during installation. Wiring the device backward removes the life-saving shock protection.
If your home has older aluminum wiring instead of copper, stop immediately. Aluminum wiring requires special connectors and should be handled by experts.
When to Call a Professional
DIY electrical work is highly rewarding, but you must know your limits. Sometimes, learning how to repair GFCI outlet problems means knowing when to stop.
Call a licensed electrician if the circuit breaker repeatedly trips right after you install the new device. This indicates a deeper wiring problem.
Seek professional help if you discover frayed, crumbling, or heavily scorched wires inside the wall box. Damaged insulation is a major fire hazard.
If your wall box is too crowded with dozens of tangled wires, do not force the device inside. An electrician can safely expand or organize the junction box.
Cost Estimate
Fixing this issue yourself keeps money in your pocket. A standard replacement receptacle costs between $15 and $25 at a hardware store.
If you need to buy a basic voltage tester, expect to spend another $15. Your total DIY cost rarely exceeds $40.
Hiring a professional electrician looks much different. Most professionals charge a minimum call-out fee ranging from $100 to $150.
Once you add parts and hourly labor, a pro repair can cost between $150 and $250. Doing it yourself yields massive savings for an hour of work.
Frequently Asked Questions How to Repair GFCI Outlet Problems Safely
Why does my GFCI button keep popping out?
The device is detecting a ground fault or a wiring problem. It could also mean the internal mechanism is broken and the unit requires replacement.
Can I replace a regular plug with a GFCI?
Yes, you absolutely can. Upgrading standard plugs in kitchens, bathrooms, and basements heavily improves your home safety.
Do I need an electrician to replace a GFCI?
No, most homeowners can complete this task themselves. As long as you turn off the power and follow safety steps, it is very straightforward.
How do I know if my GFCI is bad?
Use the built-in test button. If it does not click when you press “Test,” or if it refuses to reset afterward, the unit is dead.
What happens if I wire the Line and Load backward?
The receptacle might still provide power, but it will not provide shock protection. Modern models often feature safety lockouts that prevent power entirely if wired backward.
Conclusion
Taking care of your own home maintenance feels fantastic. Knowing how to repair GFCI outlet issues gives you confidence to handle minor household emergencies.
You save hundreds of dollars by skipping the professional service call. Plus, you ensure your family remains safe from electrical shocks in wet areas.
Remember to turn off the breaker, test for power, and match your wires carefully. Take your time and double-check your connections.
Ready to tackle more home improvements? Grab your screwdriver, pick up a new receptacle today, and restore safe power to your home!