

A leaky roof can cause a lot of stress for any homeowner. Water damage ruins ceilings, destroys insulation, and promotes harmful mold growth inside your home.
If you have a metal roof showing signs of wear, you might be worried about the upcoming repair bills. Contractors often charge a premium just to show up and inspect the damage.
The good news is that you can tackle many of these issues yourself. Learning how to repair a tin roof is surprisingly straightforward if you have the right guidance.
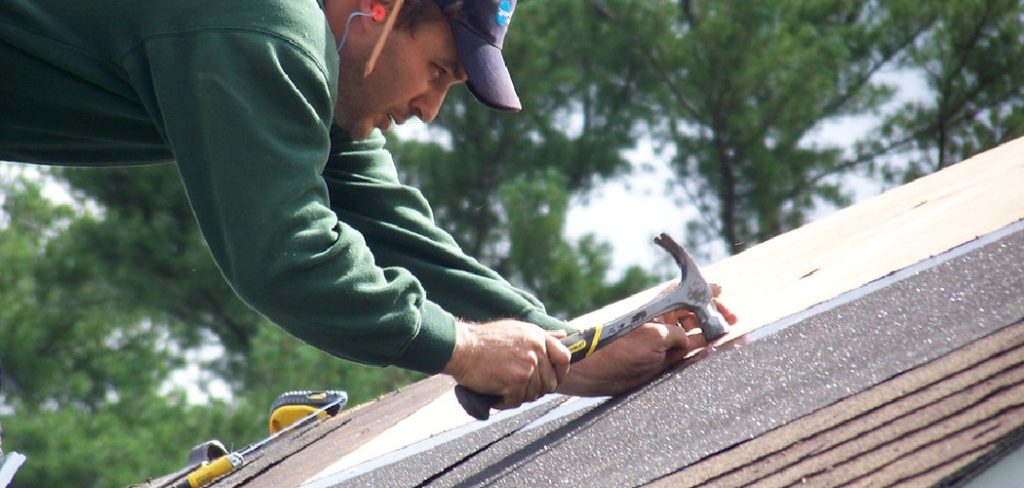
Handling this project on your own saves you hundreds, if not thousands, of dollars. You also gain the confidence that comes from maintaining your own property.
This guide will walk you through everything you need to know. We will cover the tools you need, the steps to take, and the safety measures you must follow.
What Causes This Problem?
Before you grab your ladder, it helps to understand why metal roofs fail. Knowing the root cause helps you prevent future damage.
Tin roofs are highly durable, but they are not invincible. Years of exposure to the elements will eventually take a toll on the metal.
Here are the most common causes of tin roof damage:
- Thermal Expansion: Metal expands in the heat and contracts in the cold. This constant shifting loosens screws and widens seams over time.
- Rust and Corrosion: If the protective coating wears off, moisture attacks the bare metal. This leads to rust, which eventually eats completely through the panels.
- Storm Damage: High winds can lift panels and bend edges out of place. Falling branches and heavy hail can puncture holes directly into the metal surface.
- Deteriorated Sealants: The caulking and butyl tape used around vents and chimneys breaks down. UV rays bake these sealants until they crack and let water inside.
- Improper Installation: Sometimes, the original roofers drove screws in too tight or left them too loose. Crooked fasteners crush the rubber washers, causing slow leaks.
- Debris Buildup: Leaves and pine needles trap moisture against the metal. This accelerates the rusting process and creates hidden weak spots.
Tools & Materials Needed
Preparation is the secret to a successful DIY repair. You do not want to be stuck up on the roof missing a crucial item.
Gather all your supplies before you set up your ladder. Most of these items are readily available at your local hardware store.
Here is everything you need to get the job done right:
Essential Tools
- Cordless drill with a hex nut driver bit (for roofing screws)
- Stiff wire brush and medium-grit sandpaper
- Putty knife or paint scraper
- Metal snips (if cutting patch pieces)
- Caulk gun
- Heavy-duty push broom
- Extension ladder
Required Materials
- Urethane roofing cement or high-quality metal roof sealant
- Self-tapping roofing screws with rubber washers
- Simple Green or a similar degreasing cleaner
- Clean utility rags
- Mesh roofing tape
- Sheet metal patch (for larger holes)
- Rust-inhibiting metal primer
Safety Gear
- Thick leather work gloves
- Rubber-soled, slip-resistant shoes
- Safety goggles
- A certified fall protection harness (if working on steep slopes)
Step-by-Step Fix Guide: How to Repair a Tin Roof
Now that you have your tools, it is time to get to work. Fixing a metal roof requires patience and attention to detail.
Do not rush through these steps. A sloppy patch job will only leak again during the next heavy rainstorm.
Follow this beginner-friendly process to ensure a watertight seal.
Step 1: Locate the Leak or Damage
Finding the exact source of a leak can be tricky. Water often travels along the roof deck before it finally drops onto your ceiling.
Start by inspecting your attic during a rainy day. Look for wet spots on the rafters and trace them upward.
Once the rain stops, take your ladder outside and inspect the roof exterior. Check the areas directly above the wet spots you found inside.
Look closely at the screws, seams, and metal panels. Pay special attention to areas around chimneys, vents, and skylights.
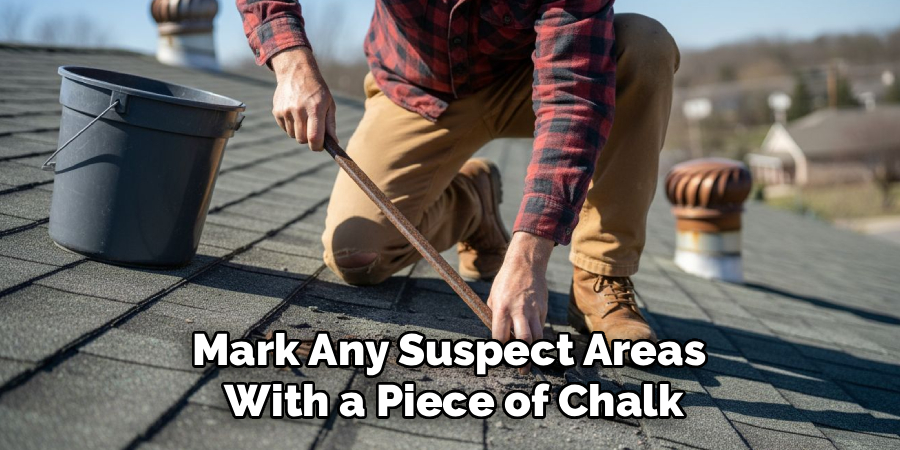
Mark any suspect areas with a piece of chalk. This makes them easy to find when you return with your tools.
Step 2: Clean the Surface Area
You cannot apply sealant to a dirty roof. Dust, pollen, and algae will prevent the repair materials from sticking to the metal.
Take your push broom and sweep away any loose debris. Clear off all the leaves and twigs near the repair zone.
Mix your degreasing cleaner with warm water in a bucket. Use a rag or a stiff brush to scrub the damaged area thoroughly.
Wipe the area down with a clean, wet rag to remove any soapy residue. Let the metal dry completely before moving on to the next step.
Step 3: Remove Rust and Old Sealant
If you are patching an old leak, you must remove the failed materials. Slapping new caulking over old, cracked sealant never works.
Use your putty knife to carefully scrape away the old roofing cement. Be gentle so you do not gouge the metal underneath.
If you spot rust, grab your wire brush. Scrub the rusty patch vigorously to remove all the flaking, oxidized metal.
Follow up with medium-grit sandpaper to smooth out the edges. You want to expose solid, clean metal so your patch has a strong foundation.
Wipe away the metal dust with a dry rag. Brush on a coat of rust-inhibiting primer to stop further corrosion.
Step 4: Fix Loose or Missing Screws
Sometimes, learning how to repair a tin roof is as simple as replacing hardware. Backed-out screws are a massive source of metal roof leaks.
Inspect the fasteners in your chalked repair zone. If a screw is missing, the hole is letting water directly into your home.
Remove any crooked or rusted screws with your cordless drill. Throw them away, as the rubber washers are likely ruined.
Insert a slightly larger self-tapping roofing screw into the old hole. Drive it in straight until the rubber washer compresses slightly against the metal.
Do not over-tighten the screw. If the washer squishes out completely flat, it will dry out and crack prematurely.
Step 5: Patch Small Holes and Punctures
Small holes from falling branches or rust spots require a good sealant. Urethane roofing cement is usually the best choice for this.
Load your urethane sealant into your caulking gun. Squeeze a generous bead of sealant directly over the small hole.
Use your putty knife to spread the sealant out evenly. Extend the material at least an inch past the edges of the hole on all sides.
For added strength, press a small square of mesh roofing tape into the wet sealant. Apply a second, thin layer of sealant over the tape to lock it in place.
Feather the edges of the sealant out flat against the roof. This prevents water from pooling against the patch.
Step 6: Patch Large Holes or Tears
Large gaps require an actual metal patch. Sealant alone will eventually sag and break if the hole is wider than an inch.
Measure the damaged area with a tape measure. Use your metal snips to cut a piece of sheet metal that is two inches larger than the hole on all sides.
Apply a thick, continuous bead of urethane sealant around the perimeter of the hole. Press your metal patch firmly down into the wet sealant.
Secure the patch by driving roofing screws around the edges every two inches. Make sure the screws bite firmly into the metal below.
Finally, run another bead of sealant over the screw heads and the edges of the patch. Smooth it out with your putty knife for a seamless, watertight finish.
Safety Warnings for Metal Roof Repairs
Working on any roof is inherently dangerous. Working on a metal roof adds a few unique risks you must prepare for.
Safety should always be your absolute top priority. No DIY repair is worth a trip to the emergency room.
First, never walk on a wet tin roof. Moisture turns metal panels into a frictionless sliding board, making falls incredibly likely.
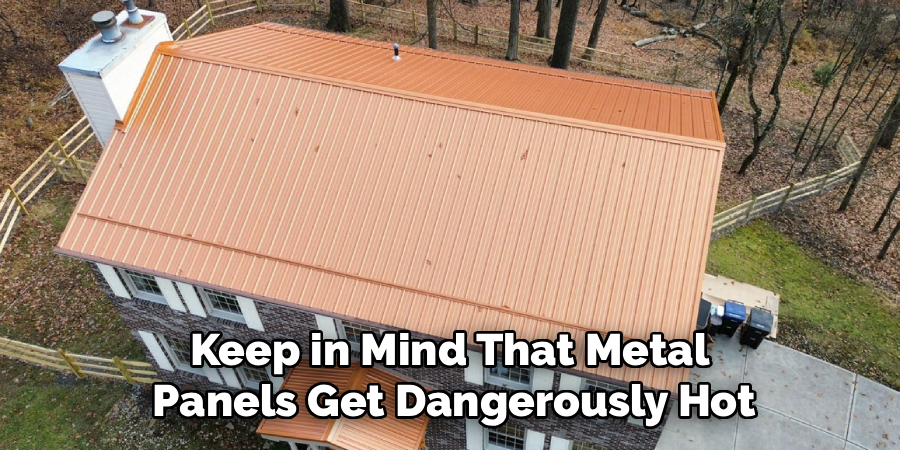
Only do roof work on dry, clear days with mild temperatures. Keep in mind that metal panels get dangerously hot under the midday summer sun.
Always wear soft-soled, rubber shoes for maximum traction. Avoid stepping on the raised ribs of the metal; keep your feet flat in the flat valleys.
If your roof has a steep pitch, do not attempt this without a safety harness. Anchor the harness securely to a solid roof truss, never just to the sheet metal.
Finally, watch out for sharp edges. Cut metal can slice through skin instantly, so keep your heavy leather work gloves on at all times.
When to Call a Professional
Being a confident DIYer is great, but knowing your limits is even better. Some roofing problems are simply too big for a quick weekend fix.
You should call a professional if you find that the rust has compromised multiple panels. Extensive corrosion means the roof has reached the end of its lifespan.
Call a pro if you notice the wood decking underneath the metal feels soft or spongy. This indicates severe rot that requires structural carpentry work.
If the leak is located around complex flashing, like a brick chimney or a skylight, consider getting help. Fixing these areas requires advanced sheet metal bending skills.
Finally, step back if the roof is simply too high or too steep for you to safely navigate. A local roofer has the specialized scaffolding and lifts to handle dangerous heights.
Cost Estimate: DIY vs. Pro
One of the biggest motivations for doing this yourself is the financial savings. Let us look at what you can expect to spend.
If you tackle this project yourself, your main costs are materials. A tube of urethane sealant costs around $10 to $15.
A box of quality roofing screws runs about $15, and a small piece of patch metal might cost $20. Add in a few dollars for cleaning supplies and primer.
Total DIY Cost: You can easily complete a standard patch job for $45 to $80.
If you hire a professional roofer, the equation changes drastically. Most roofing companies have a minimum service call fee just to show up.
This fee covers their travel time, insurance, and labor. Even for a minor patch, expect a professional to quote you between $300 and $600.
Total Professional Cost: For larger repairs or multiple leaks, this bill can quickly exceed $1,000.
Doing it yourself keeps that money right in your pocket. It is an incredible return on investment for a few hours of honest work.
FAQs About How to Repair a Tin Roof
Homeowners usually have a lot of questions before they start drilling into their roofs. Here are answers to some of the most common concerns.
Can you patch a hole in a tin roof?
Yes, patching a hole is highly effective. Small holes can be filled with urethane sealant and mesh tape. Larger holes require a piece of matching sheet metal screwed and sealed over the damaged area.
What is the best sealant for metal roofs?
Urethane or polyurethane roof cement is widely considered the best choice. It stays flexible after it cures, allowing it to stretch as the metal panels expand and contract in the weather. Avoid standard silicone caulking, as it lacks durability on roofs.
How long does a tin roof patch last?
A properly installed roof patch can easily last 10 to 15 years. If you clean the metal thoroughly and use high-quality urethane sealant, the patch will likely outlast the surrounding older roof panels.
Can I put a new metal roof over an old one?
Yes, this is a common practice called a “layover.” If your current tin roof is heavily rusted but the wood underneath is solid, contractors can install new panels directly on top. It saves money on tear-off costs.
Why do the screws on my tin roof keep backing out?
This happens due to thermal expansion. As the metal heats and cools every day, it expands and shifts. This tiny movement slowly turns the screws out of the wood framing over several years.
Conclusion
Taking the time to learn how to repair a tin roof is a fantastic investment for any homeowner. By catching leaks early and applying the right materials, you extend the life of your home and protect your interior.
Remember to take your time, prioritize safety, and properly prep the metal before applying any sealant. A clean surface makes all the difference in creating a permanent, watertight fix.
Are you ready to tackle more household projects and save even more money? Browse our other DIY repair guides today and build your home maintenance confidence!