

Spilled drinks, leaky plant pots, and accidental window leaks happen to the best of us. You walk into the room and spot a nasty stain on your favorite table.
Panic sets in. You might think that piece of furniture is ruined forever.
Take a deep breath. I have great news for you.
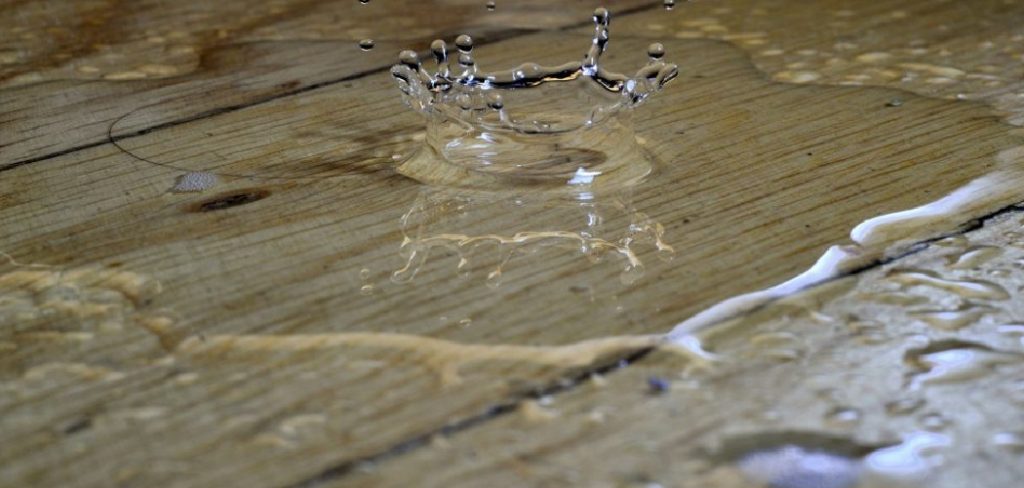
Learning how to repair water damage on wood is a highly rewarding DIY project. You do not need to be a master carpenter to fix this issue.
Whether you are a homeowner, a renter, or just someone who loves fixing things, you can tackle this. Best of all, fixing it yourself saves you a ton of money.
Instead of paying hundreds of dollars to a professional restorer, you can use basic supplies to make that wood look brand new again. Grab your work gloves, and let’s get started.
What Causes This Problem?
Before we dive into the fix, it helps to know what causes wood to warp, stain, or rot.
Understanding the root cause helps you prevent the same issue from happening again.
Here are the most common culprits behind ruined wood surfaces:
- Condensation from cold drinks: Sweating glasses leave behind those dreaded white rings on coffee tables.
- Overwatered houseplants: Potted plants without proper drainage trays slowly leak moisture into wood floors or shelves.
- Leaky windows and doors: Rainwater seeping through bad weatherstripping can easily soak into wooden window sills and floorboards.
- Appliance leaks: Dishwashers and refrigerators often drip silently, damaging the cabinetry and flooring underneath them.
- High indoor humidity: Basements and bathrooms with poor ventilation expose wood to constant, damaging airborne moisture.
- Plumbing accidents: Burst pipes or overflowing sinks deliver a massive amount of moisture to wood surfaces all at once.
Tools & Materials Needed
You cannot start a job without the right gear. Gather these items before you begin.
Having everything within arm’s reach makes the process smooth and stress-free.
Here is exactly what you need for this project:
- Clean, dry microfiber cloths
- A hair dryer or an iron (for light water rings)
- Fine-grit and medium-grit sandpaper (120 and 220 grit)
- A high-quality wood filler or wood putty
- A plastic putty knife
- Oxalic acid or wood bleach (for dark stains)
- Mineral spirits
- Wood stain matching your current finish
- Clear polyurethane sealant
- A soft bristle paintbrush
- Safety goggles and a respirator mask
- Rubber gloves
Step-by-Step Guide on How to Repair Water Damage on Wood
Are you ready to restore your wood? Follow these numbered steps carefully.
Take your time with each phase. Rushing the process usually leads to sloppy results.
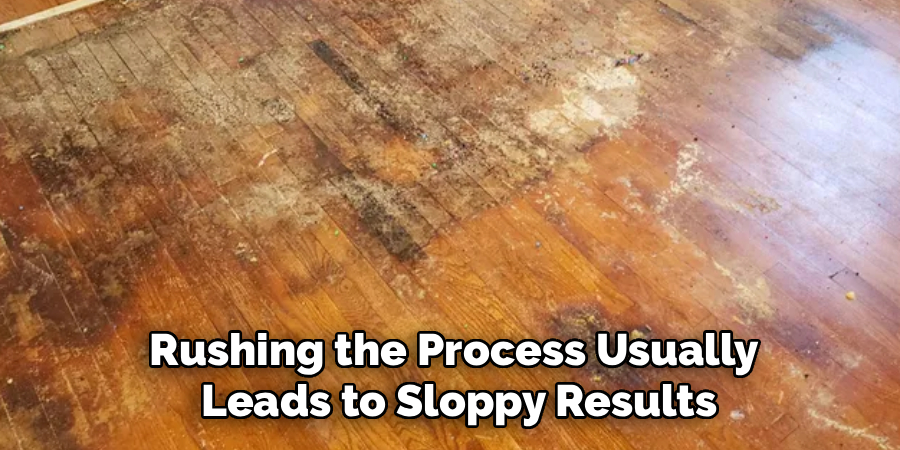
If you follow along, you will be amazed at what you can accomplish.
Step 1: Assess the Type of Damage
First, you need to look closely at the stain. Wood water marks usually come in two colors: white and black.
White rings mean the moisture is trapped in the clear finish. This is the easiest type of damage to fix.
Dark or black stains mean the water has penetrated past the finish and into the actual wood fibers.
If the wood is soft, crumbly, or heavily warped, you might be dealing with wood rot.
Step 2: Dry Out the Area Completely
You cannot fix wet wood. You must dry it out first.
If the spill just happened, blot up the standing liquid immediately with a dry cloth.
Do not rub the liquid. Rubbing pushes the moisture deeper into the grain.
Set up a desk fan pointing directly at the wet spot. Leave it running for at least 24 hours to ensure deep drying.
Step 3: Tackle Light White Rings First
If you only have a white cloudy stain, you might not need to sand anything.
Grab your hair dryer and set it to the lowest heat setting.
Move the hair dryer back and forth over the stain from a few inches away.
The gentle heat often evaporates the trapped moisture, making the white ring vanish right before your eyes.
Step 4: Strip the Old Finish
If the stain is dark, the hair dryer trick will not work. We need to go deeper.
You must remove the top layer of polyurethane or varnish to reach the damaged wood.
Take your 120-grit sandpaper and gently sand the affected area.
Always rub in the direction of the wood grain to avoid leaving ugly cross-scratches.
Step 5: Treat Dark Water Stains
Once the raw wood is exposed, you can treat that dark, ugly blemish.
Dark stains happen because the water reacts with the tannins in the wood, or because mold has started to form.
Mix a solution of oxalic acid (wood bleach) according to the package directions.
Brush the bleach onto the stain and let it sit. As it dries, it pulls the dark color out of the wood.
Step 6: Clean and Neutralize
After the bleach has done its magic, you must clean the surface.
Wipe the wood down with a cloth dampened with plain water or a baking soda solution.
This stops the bleaching process.
Let the wood dry completely once again before moving to the next step.
Step 7: Fill in Gouges and Cracks
Sometimes, water causes the wood fibers to split or warp.
If you have small cracks or missing chunks, grab your wood filler.
Use a plastic putty knife to press the filler firmly into the gaps.
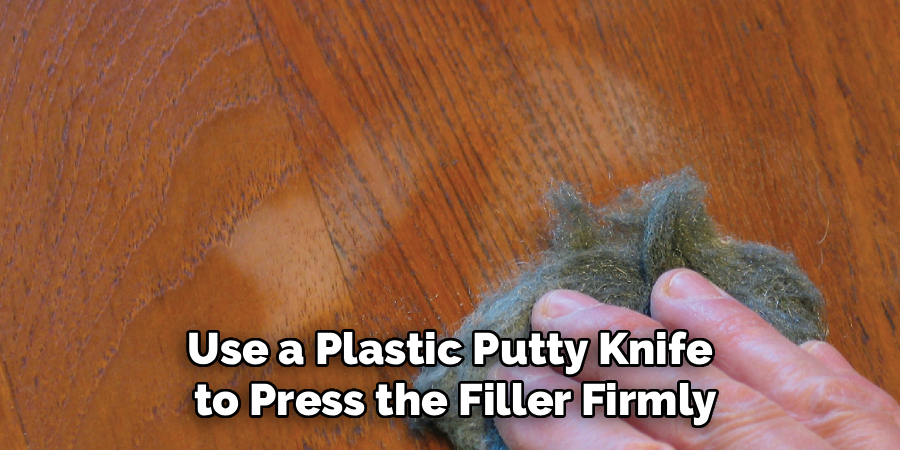
Overfill the hole just a tiny bit, as the filler will shrink slightly as it dries.
Step 8: Sand Everything Smooth
Once the wood filler is rock hard, it is time to make the surface perfectly flat.
Switch to your fine 220-grit sandpaper for this step.
Lightly sand the entire patched area until it feels smooth as glass under your fingertips.
Wipe away all the sanding dust with a tack cloth or a rag slightly dampened with mineral spirits.
Step 9: Apply the New Wood Stain
Now comes the fun part. We get to bring the color back.
Stir your matching wood stain thoroughly. Do not shake the can, as that creates bubbles.
Use a clean cloth or brush to apply the stain in long, even strokes following the grain.
Let it penetrate for five to ten minutes, then wipe off the excess with a clean rag.
Step 10: Seal and Protect
You need to lock in your hard work and protect the wood from future spills.
Open your clear polyurethane sealer.
Brush on a thin, even coat over the repaired area.
Let it dry completely, lightly sand it with 220-grit paper, and apply a second coat for maximum durability.
Essential Safety Warnings
DIY projects are fun, but your safety always comes first.
Working with chemicals and dust requires some basic precautions.
Please keep these safety tips in mind while working on your wood repair:
- Wear a mask: Sanding creates fine dust particles that are harmful to your lungs. Always wear a snug-fitting dust mask.
- Protect your eyes: Chemical splashes from wood bleach or stain can cause serious eye injuries. Wear safety goggles.
- Ventilate the room: Mineral spirits, stains, and sealers emit strong fumes. Open your windows and run a fan.
- Use gloves: Oxalic acid is a harsh chemical. Wear thick rubber gloves to protect your skin from burns and irritation.
- Dispose of rags safely: Rags soaked in stain or mineral spirits can spontaneously combust. Lay them flat to dry outside before throwing them away.
When to Call a Professional
I love tackling repairs myself, but sometimes a job is just too big.
It is important to know your limits. You do not want to accidentally make the problem worse.
If the wood feels spongy and easily crumbles in your hand, you have severe wood rot.
Structural wood rot in floors or support beams requires a professional contractor.
Additionally, if you uncover widespread black mold during your repair, stop immediately.
Large mold colonies are a serious health hazard and require professional remediation.
Finally, if the damaged piece is a rare, expensive, or priceless family antique, leave it to an expert restorer.
Cost Estimate: DIY vs. Professional
Let’s talk numbers. Everyone loves saving a few bucks.
When you learn how to repair water damage on wood, the financial savings are huge.
If you hire a professional furniture restorer or a flooring contractor, expect to pay a premium.
Professionals usually charge between $45 and $100 per hour for their labor alone.
For a moderate repair, a pro might quote you anywhere from $200 to over $500.
If you do it yourself, your only cost is the materials.
Sandpaper, wood filler, stain, and a small can of sealer will run you about $30 to $50 at the hardware store.
Plus, you will have leftover supplies for your next household project!
Frequently Asked Questions
Can I fix water damaged wood without sanding?
Yes, but only if the damage is a superficial white ring. You can often remove white moisture rings using the hair dryer trick or by applying mayonnaise to the spot overnight. If the stain is dark, sanding is required.
Does mayonnaise actually remove water stains?
Believe it or not, yes. The oils in mayonnaise can seep into the wood finish and displace the trapped moisture causing a white ring. Rub it in, leave it for a few hours, and wipe it clean.
How long does wood filler take to dry?
It depends on the brand and how deep the hole is. Shallow scratches may dry in 15 to 30 minutes. Deep gouges might take anywhere from two to eight hours to cure completely.
What is the best way to match my existing wood stain?
Testing is key. Buy a few small sample cans of stain that look close to your color. Test them on an inconspicuous area of the furniture, like the back or the underside, before applying it to the repair spot.
Will painting over water damaged wood fix it?
No. Painting over wet or rotting wood just hides the problem temporarily. The trapped moisture will eventually cause the paint to bubble and peel. You must dry and treat the wood first.
Conclusion
Fixing your home does not have to be an intimidating chore.
When you take it one step at a time, you can conquer almost any household mishap.
You now know exactly how to repair water damage on wood like a seasoned pro.
By drying the area, stripping the old finish, treating the stains, and sealing it properly, you have extended the life of your furniture.
Plus, you kept hundreds of dollars right where they belong—in your wallet.
Do not let a little spill ruin your favorite wooden pieces ever again.
Grab your supplies this weekend and bring that beautiful wood back to life!
If you found this guide helpful, check out our other beginner-friendly repair articles to keep your home in top shape.