

Has your favorite drinking glass, picture frame, or glass décor suddenly shattered? You are definitely not alone. Many homeowners and renters face this exact issue every single week.
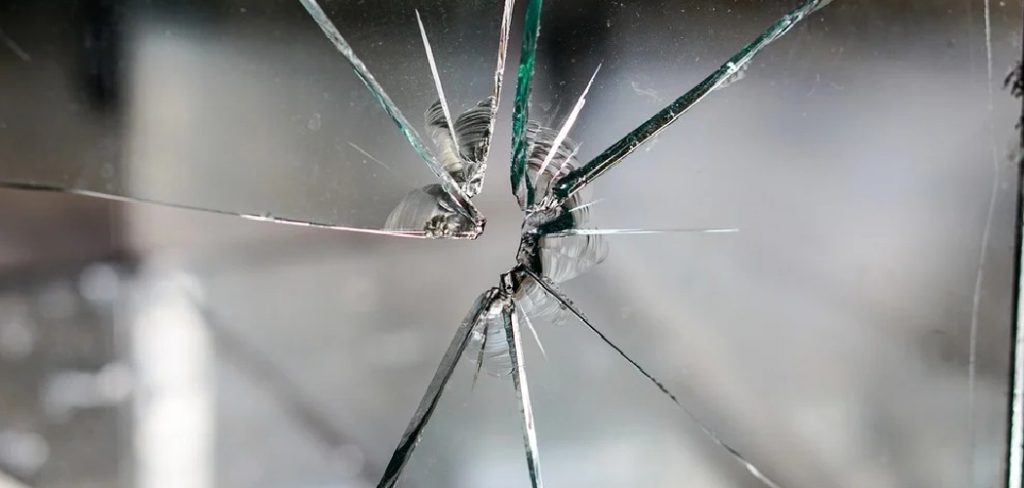
Learning how to repair a broken glass is an incredibly useful skill. It keeps your beloved items out of the trash bin. Plus, fixing it yourself saves you the high cost of replacement or professional repair.
You do not need to be a master craftsman to get this done. With a little patience and the right supplies, you can make your glass look almost brand new. Let’s walk through the process together.
What Causes Glass to Break in the First Place?
Before we dive into the fix, it helps to understand why your glass broke. Knowing the cause can prevent future accidents.
Here are the most common culprits behind broken glass:
- Thermal Shock: Sudden temperature changes, like pouring boiling water into a cold cup, cause instant cracking.
- Physical Impact: Dropping the item or accidentally banging it against a hard surface.
- Stress Cracks: Over time, tiny manufacturing defects can widen into full breaks.
- Improper Storage: Stacking fragile items too tightly can create dangerous pressure points.
- Age and Wear: Antique or highly used glass naturally becomes brittle over the years.
Tools and Materials Needed for the Job
Gathering your supplies before you start is the secret to a stress-free project. You want everything within arm’s reach.
Here is what you need to successfully fix your item:
- Glass adhesive or epoxy resin: A clear, two-part epoxy works best for strong, invisible bonds.
- Safety gear: Thick rubber gloves and safety goggles.
- Cleaning supplies: Rubbing alcohol and cotton swabs for proper surface preparation.
- Application tools: Toothpicks or a small wooden craft stick.
- Masking tape: To hold the pieces together while the glue dries.
- Razor blade: For scraping off any excess dried glue.
Step-by-Step Guide on How to Repair a Broken Glass
Ready to get your hands a little dirty? Follow these simple steps carefully. Take your time, and do not rush the drying process.
Step 1: Prioritize Your Safety First
Put on your safety goggles and thick gloves. Broken glass edges are incredibly sharp and unpredictable. Lay down a thick layer of newspaper over your entire workspace. This makes cleanup easy and catches any stray shards.
Step 2: Thorough Surface Preparation
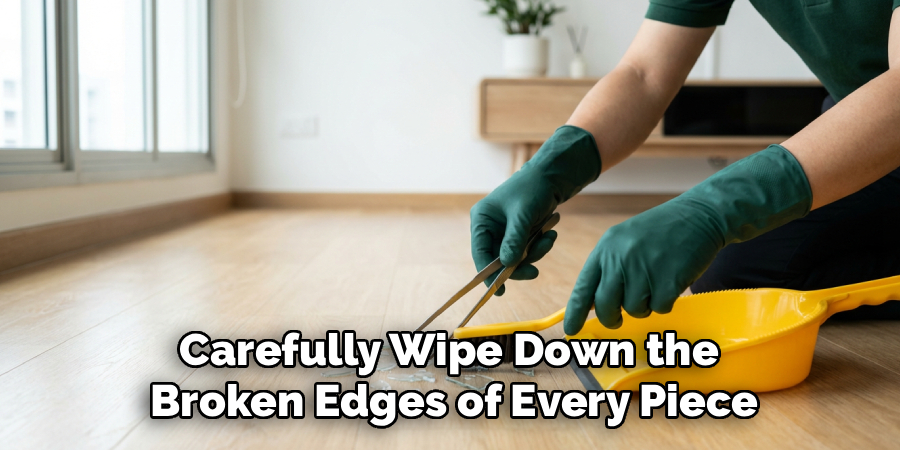
For the glue to hold, the glass must be perfectly clean. Dip a cotton swab in rubbing alcohol. Carefully wipe down the broken edges of every piece. This crucial surface preparation removes skin oils, dust, and old soap residue. Let the pieces air dry completely before moving on.
Read More: How to Repair Home Foundation Cracks.
Step 3: Do a Dry Run
Before mixing any adhesives, practice fitting the broken pieces together. This helps you understand how the puzzle pieces align. It also ensures you are not missing any tiny, crucial fragments.
Step 4: Mix Your Epoxy Resin
If you are using a two-part epoxy resin, squeeze equal amounts onto a disposable surface. A scrap piece of cardboard works perfectly. Use a toothpick to blend the resin and hardener together thoroughly. Work quickly, as epoxy usually begins to set within five minutes.
Step 5: Apply the Glass Adhesive
Using a clean toothpick, apply a very thin, even layer of the glass adhesive to one broken edge. Do not overdo it. Too much glue will squeeze out the sides and create a messy, cloudy joint.
Step 6: Press and Secure
Carefully press the broken pieces together. Hold them firmly in place for about 60 seconds. Once they feel stable, wrap a piece of masking tape tightly around the repair. This maintains steady pressure while the glue fully cures.
Read More: How to Repair Sticking Piano Keys.
Step 7: Wait for the Cure
Leave the item completely undisturbed for at least 24 hours. Even if the package says it dries quickly, a full day ensures maximum strength. Patience here is key to a long-lasting repair.
Step 8: Clean Up the Excess
Once fully cured, remove the masking tape. You might see a thin line of dried glue along the seam. Take a fresh razor blade and gently scrape away the excess adhesive. Wipe the glass with glass cleaner, and you are done!
Important Safety Warnings for Handling Glass
Never underestimate the danger of shattered glass. A small slip can cause a serious cut. Always work in a well-lit area so you can see tiny splinters.
Ensure your workspace is well-ventilated, especially when working with strong chemical adhesives. Keep pets and young children completely out of the room until the project is finished and cleaned up.
When to Call a Professional (And When to DIY)
DIY repairs are incredibly rewarding, but they have their limits. Knowing when to step back is just as important as knowing how to fix things.
You should tackle the job yourself if it is a decorative item, a picture frame, or a non-structural piece. DIY is also great for sentimental items that do not hold hot liquids.
Call a professional if you are dealing with a large window, a broken mirror, or an auto windshield. Additionally, never use DIY-repaired glass for drinking or eating, as microscopic glass particles and toxic glue can be ingested.

Cost Estimate: DIY vs. Professional Repair
Fixing it yourself is almost always the budget-friendly route. Let’s look at the numbers.
A high-quality glass adhesive or epoxy resin will cost you between $5 and $12. The cleaning supplies and tape are likely already in your house.
Taking an item to a professional glass restorer usually starts at $50. For intricate pieces, it can easily exceed $100. By doing it yourself, you keep that money safely in your pocket.
Frequently Asked Questions
Here are some common questions people ask when they need to fix broken items.
Can I use super glue to fix broken glass?
While super glue bonds quickly, it does not hold up well to washing or temperature changes. A dedicated glass adhesive or clear epoxy resin provides a much stronger, lasting bond.
How long does glass glue take to dry?
Most glass glues set within 10 to 15 minutes. However, you should wait a full 24 hours before handling or washing the item to allow for a complete cure.
Is it safe to drink from a repaired glass?
No. Even if you use a food-safe adhesive, microscopic shards can flake off from the repair line. Repaired drinking glasses should be repurposed as decorative items or pen holders.
Can I fix a glass that has shattered into tiny pieces?
If a glass has spider-webbed or shattered into dozens of tiny fragments, it is usually beyond safe repair. DIY fixes are best for clean breaks involving just a few large pieces.
Conclusion
We hope this guide has shown you exactly how to repair a broken glass safely and effectively. With the right surface preparation, a quality adhesive, and a little patience, you can rescue your favorite items from the trash.
DIY repairs are all about building confidence and saving money. Do not let a simple break ruin your day. Grab your safety glasses, pick up some epoxy, and bring your cherished glass pieces back to life.
Have you successfully fixed a broken item using these tips? Bookmark our blog for more easy, practical home repair guides, and share this article with a friend who loves DIY!